


The trick is knowing where to spend and where to save. Most people blow their budget on the wrong things and end up with buffering, tinny sound, or a remote that drives them crazy. This guide walks you through building a balanced, genuinely good setup for under $300, piece by piece, with realistic costs and the mistakes to skip.
The Quick Budget Breakdown
Here's the rough way to split $300 so every part of your experience improves, not just the picture. A solid plan looks like roughly $40–60 on a streaming device, $100–150 on a soundbar, $30–50 on Wi-Fi improvements if you need them, and the rest as a cushion for cables, mounts, or a small upgrade.
You'll notice there's no TV in that budget – at $300 total, this guide assumes you already have a television and want to make it stream beautifully. If you need a TV too, that's a different (larger) budget, though a budget 4K smart TV plus a cheap streaming stick can still get you surprisingly far.
Now let's build it.
Step 1: Start With a Great Streaming Device ($40–60)
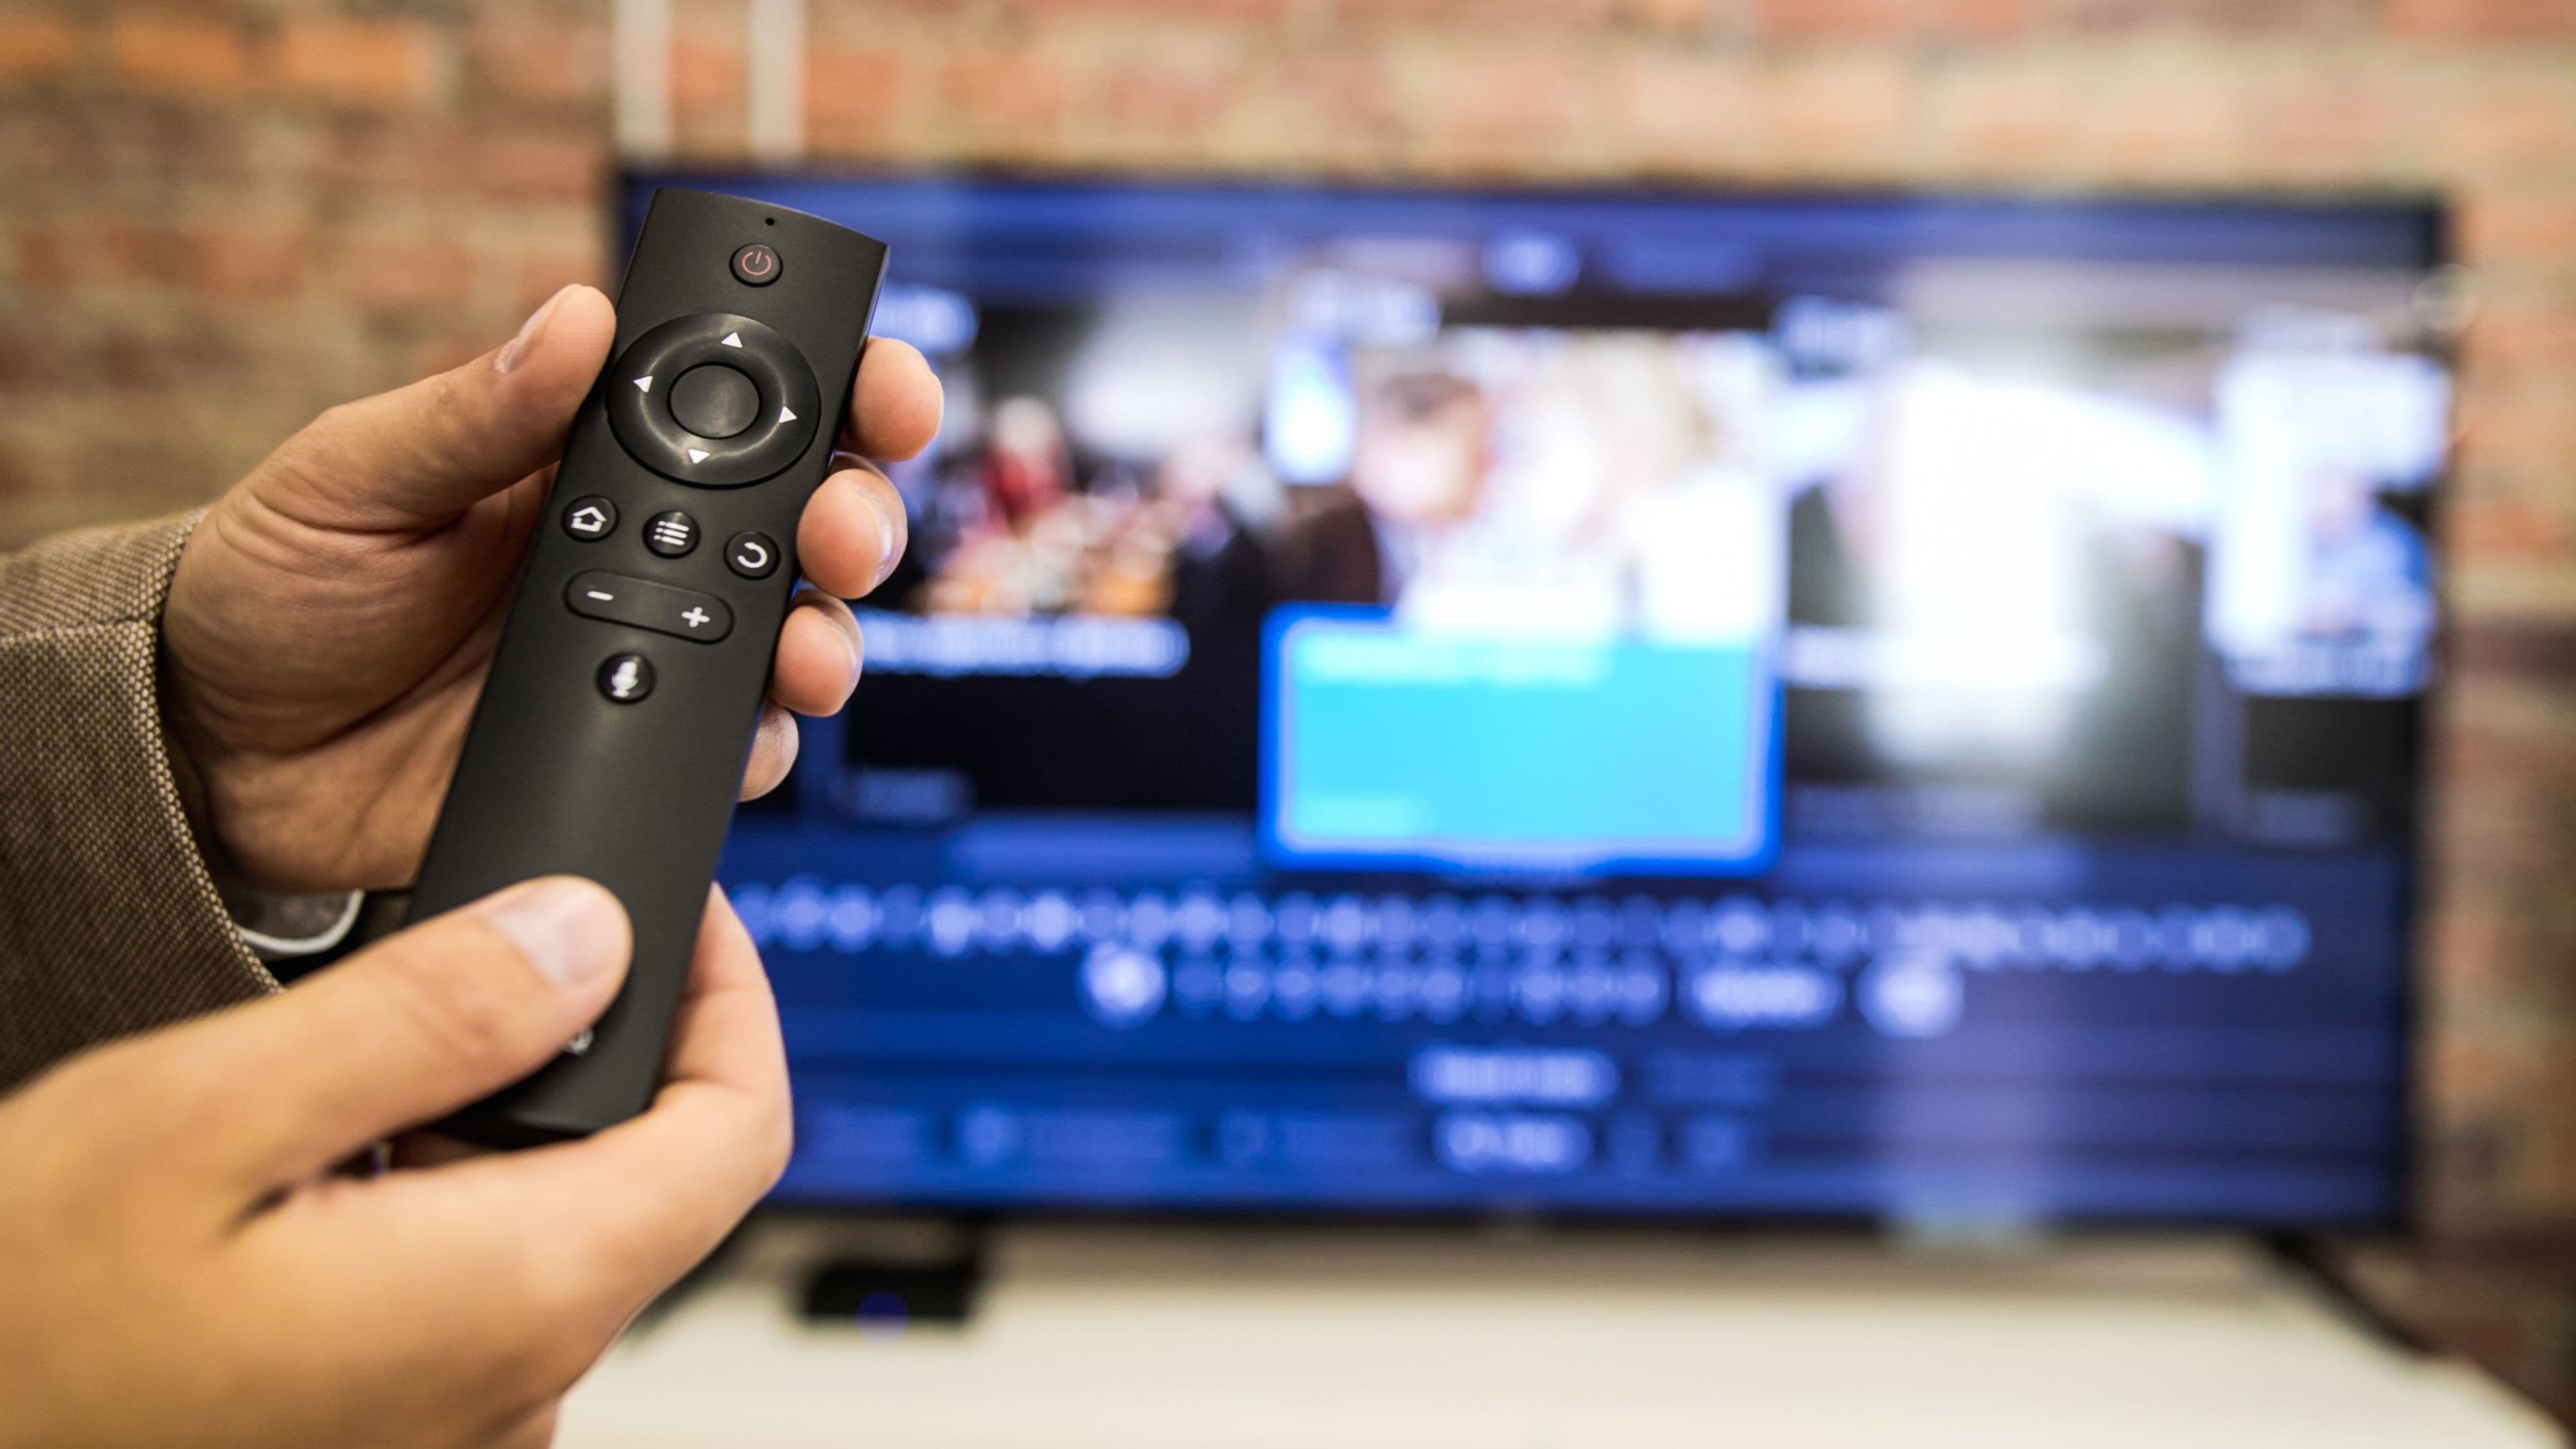
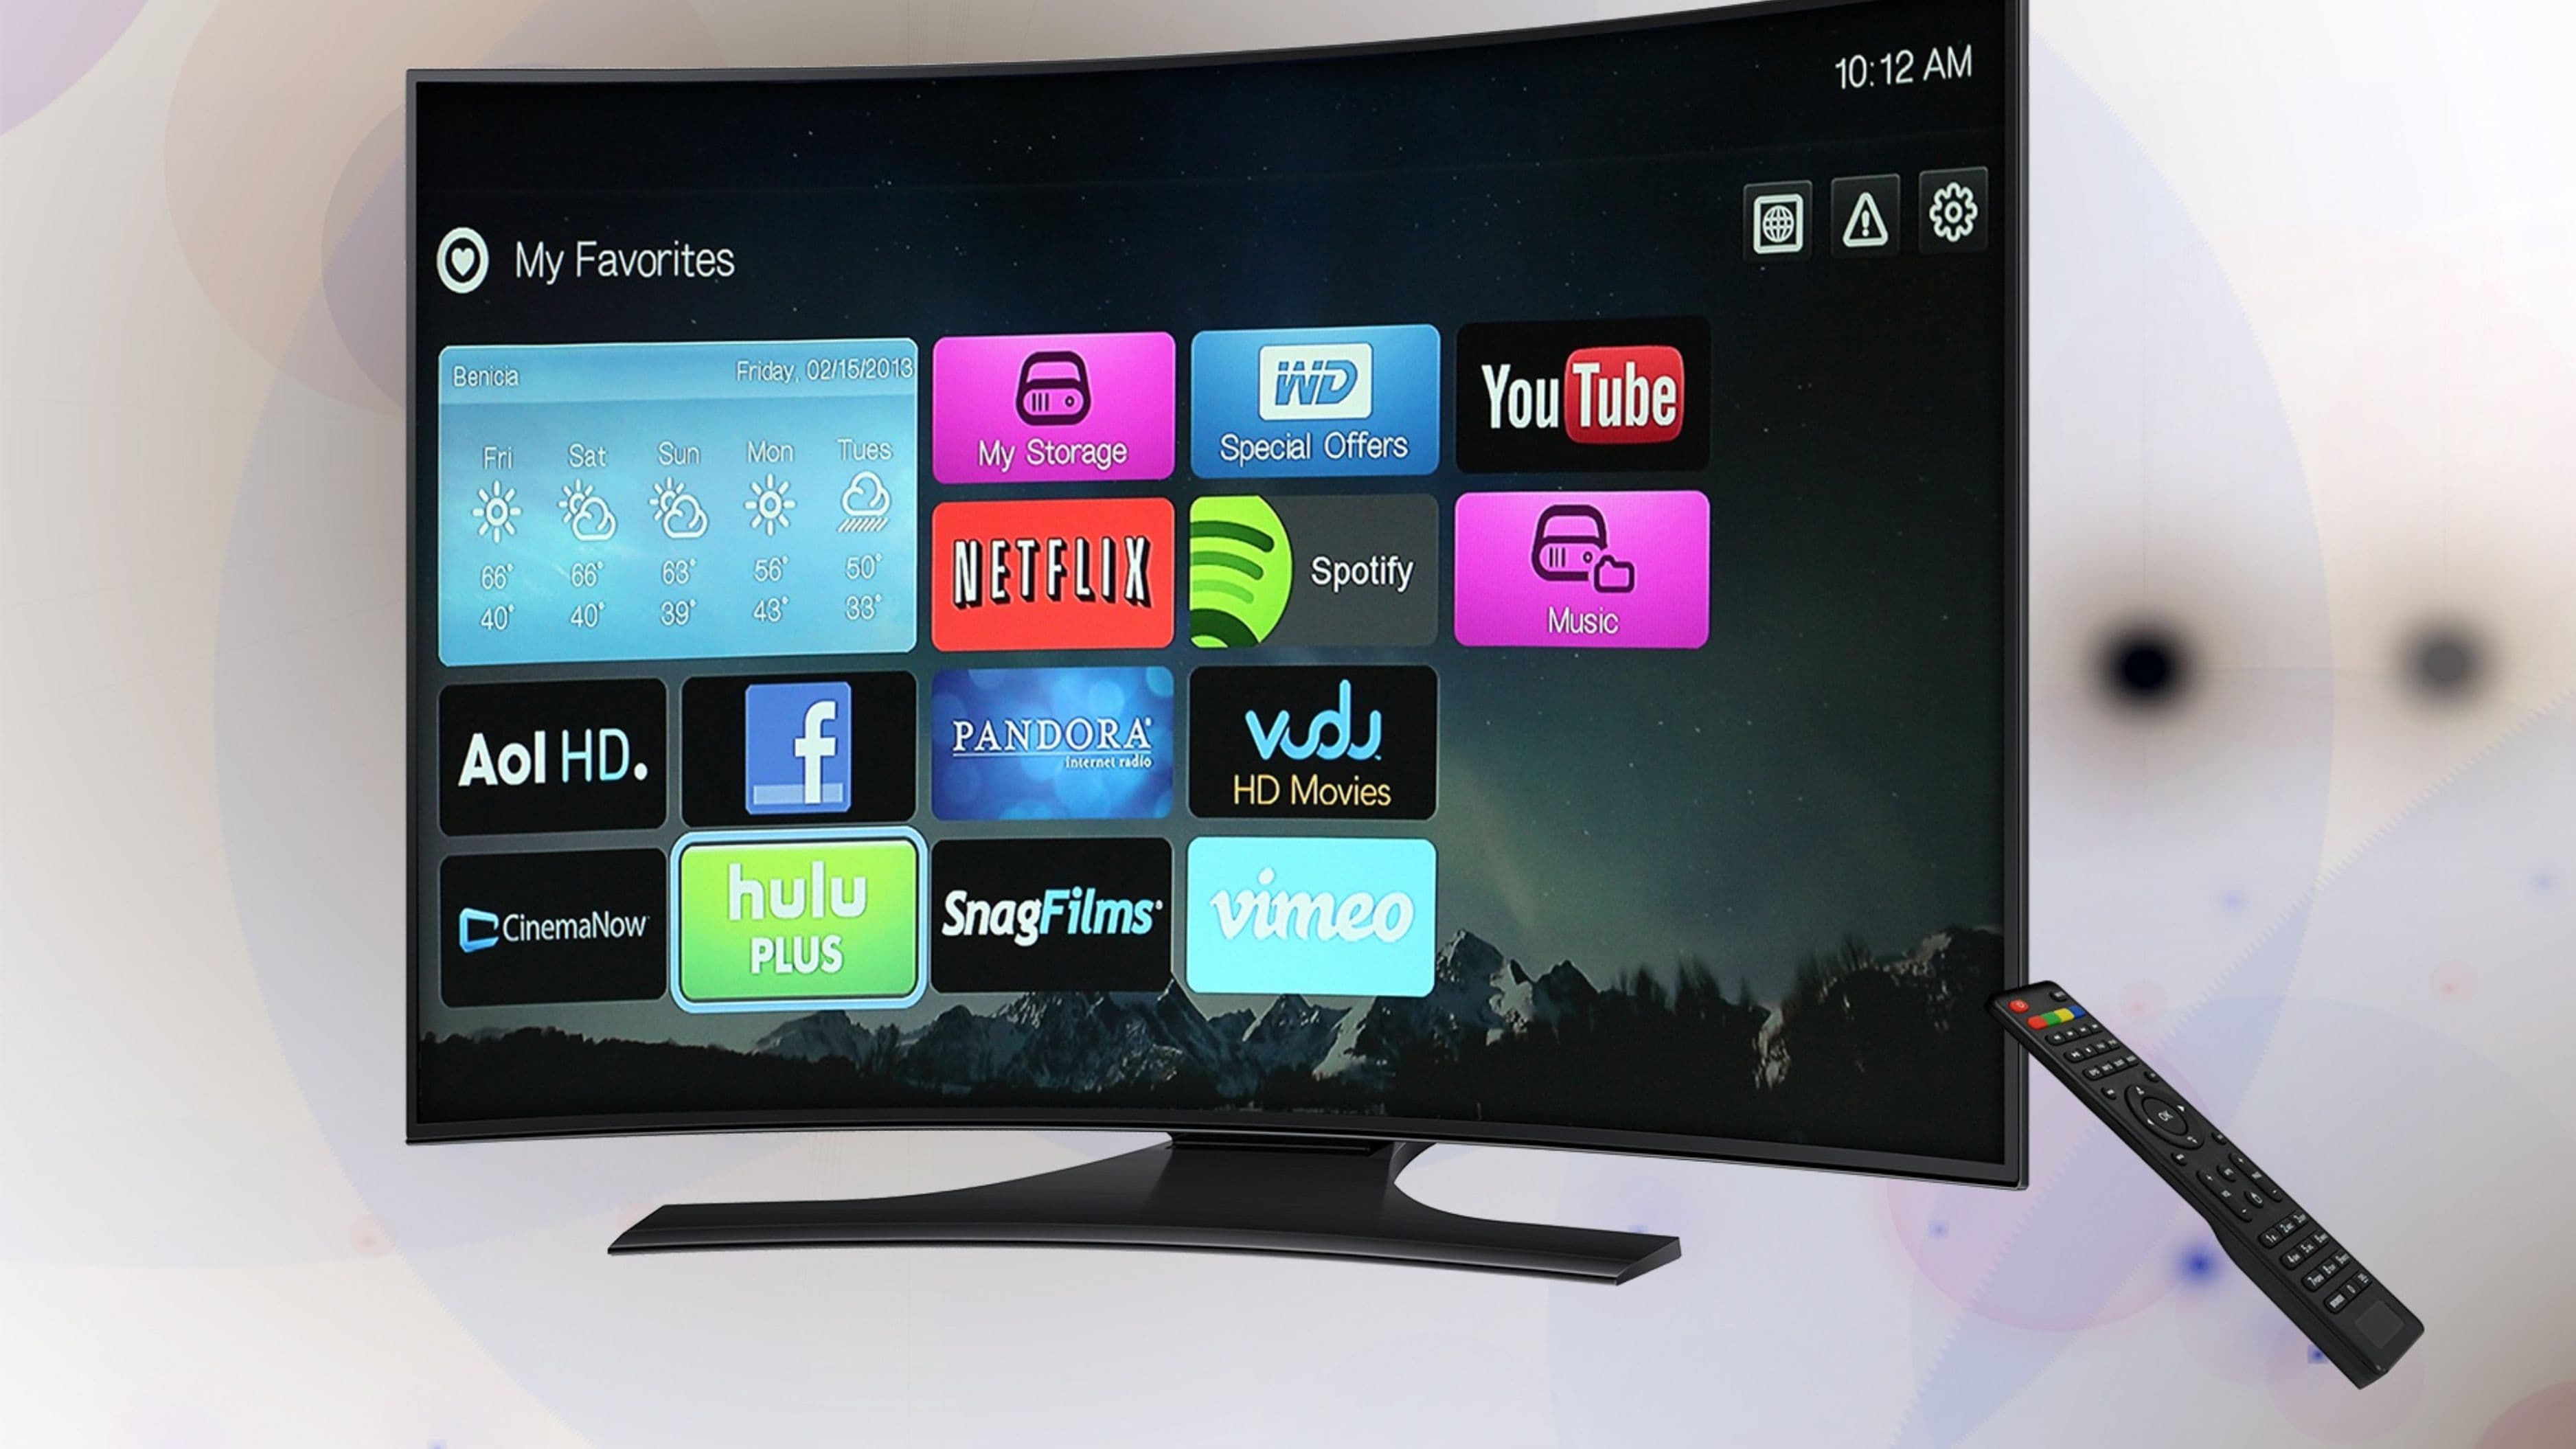
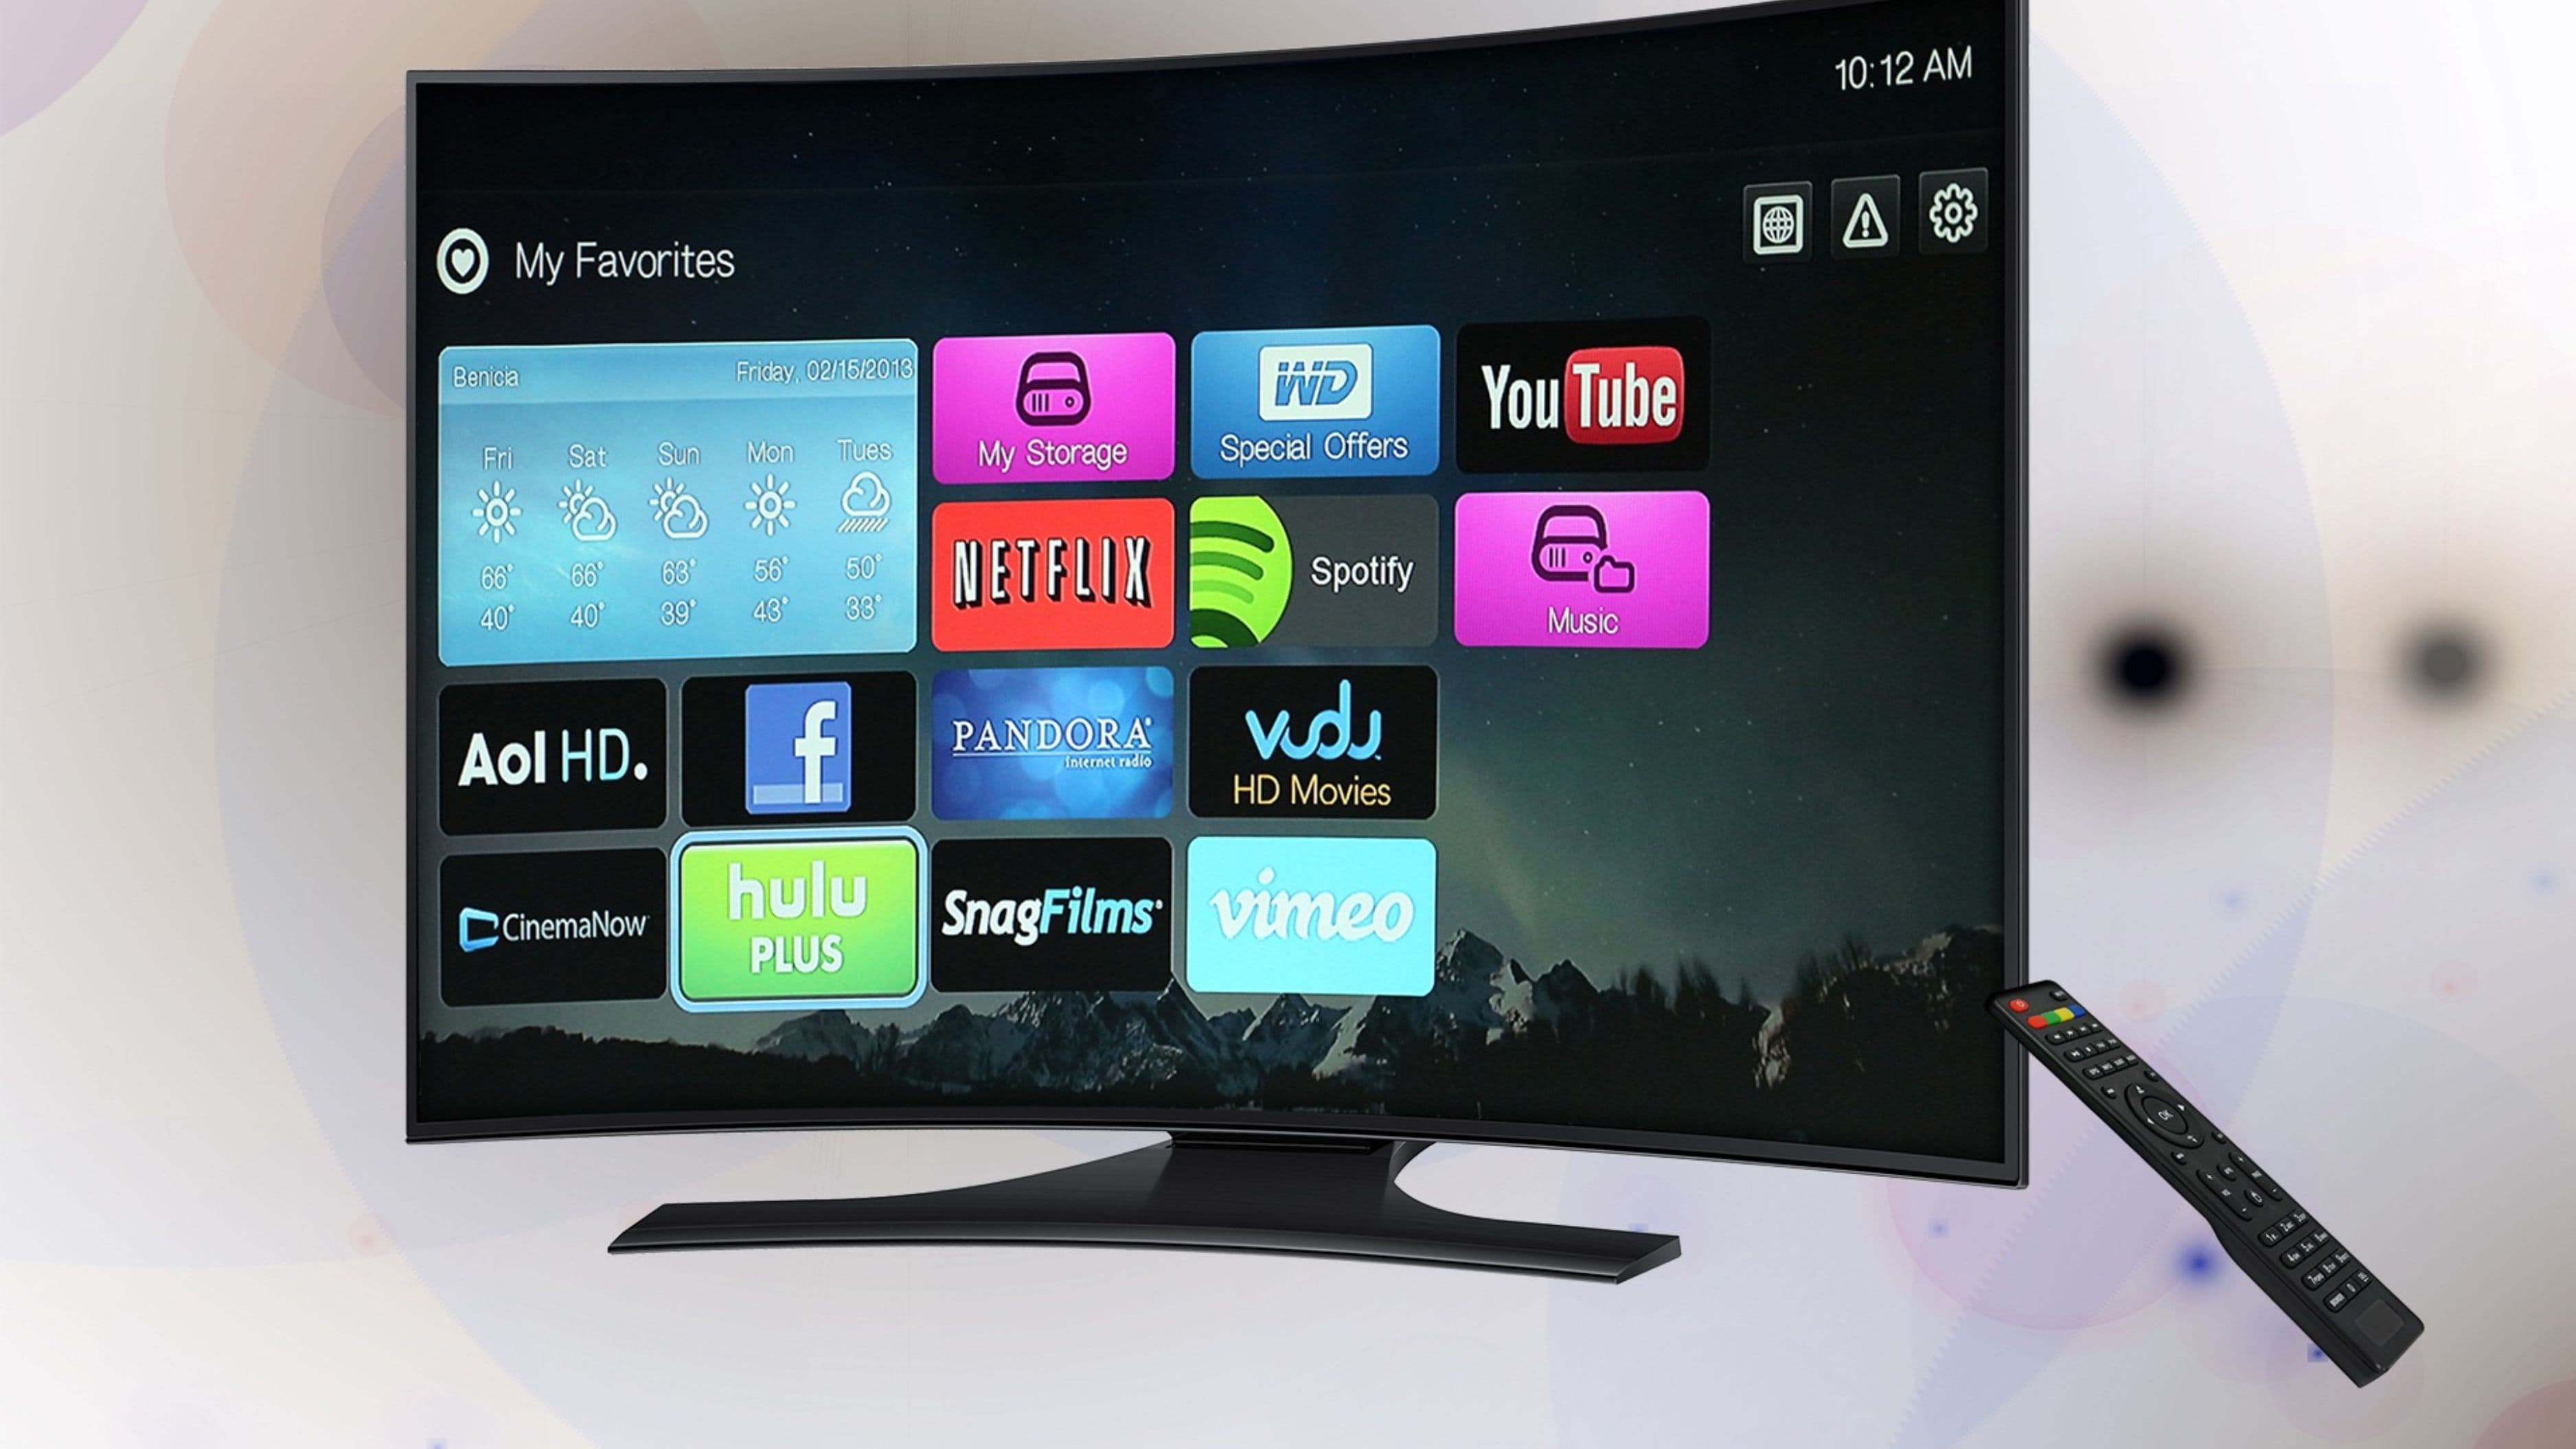
The single highest-impact purchase is a good streaming device, because it controls everything you actually interact with: speed, apps, search, and picture quality. A modern 4K streaming stick or box from a major brand transforms even an older TV into a fast, app-rich smart TV for very little money.
Look for one that supports 4K and HDR (for the best picture your TV can show), has a responsive interface, and includes a voice remote, which makes finding content far less painful. The good news is the sweet-spot devices in the $40–60 range are excellent now – you genuinely don't need the premium model unless you want extras like more storage or higher-end audio passthrough.
A quick reality check: if your TV is only 1080p (not 4K), buy the cheaper 1080p version of the stick and save the difference. There's no point paying for 4K output your TV can't display.
Step 2: Fix Your Wi-Fi Before Anything Else ($0–50)
This is the step people skip and regret. The most common streaming complaint – buffering and quality drops – is almost always a Wi-Fi problem, not a device problem. Before spending on anything fancy, make sure your connection can actually deliver.
If your streaming device sits far from your router, even a great setup will stutter. The cheapest fix costs nothing: move your router to a more central, open spot, off the floor and away from walls and metal. If that's not enough, a budget Wi-Fi extender or a wired Ethernet connection to your streaming device (many support it via adapter) dramatically improves stability for $20–50. For 4K streaming, a stable connection of around 25 Mbps or more to the device is the target.
Spending here instead of on a flashier streaming box is one of the smartest moves in the whole budget, because buffering ruins even the best picture.
Step 3: Upgrade the Sound With a Soundbar ($100–150)
Built-in TV speakers are the weakest part of almost every television, and fixing them is where your setup goes from "fine" to "wow." A good budget soundbar in the $100–150 range delivers clearer dialogue, real bass, and a fuller sound that makes movies and shows dramatically more immersive – often a bigger perceived upgrade than the picture itself.
Look for a soundbar that connects via HDMI ARC (the simplest, best-quality connection to your TV) and, ideally, includes a small subwoofer for bass. You don't need a sprawling surround system; a single quality soundbar covers most rooms beautifully and keeps the setup simple. This is usually the largest single purchase in the budget, and it's worth it.
If $300 is tight, the soundbar is the one place a slightly cheaper model still sounds far better than TV speakers – so don't let it crowd out the essentials.
Step 4: Tidy Up With Cables, Mounts, and Extras (Remaining Budget)
With the big three handled, your leftover budget goes to the small things that make the setup feel finished. A decent HDMI cable (you don't need an expensive one – a standard High-Speed HDMI is fine) connects your soundbar cleanly. A few cable clips or a sleeve hide the mess behind your TV for a tidier look.
If your streaming device or soundbar needs a better spot, inexpensive mounts or stands help. And if you have a little left, it can go toward a smart plug to power everything on together, or a universal remote if juggling multiple remotes bothers you. None of these are essential, but they're what separate a thrown-together setup from one that feels intentional.
Putting It All Together
Once you've got your pieces, setup is straightforward and takes under an hour for most people. Plug the streaming device into an HDMI port, connect the soundbar to the TV via HDMI ARC, get your Wi-Fi sorted, and run through the on-screen setup for each device. Sign into your streaming apps, set your TV's picture mode to "Movie" or "Cinema" for the most accurate image (skip the over-bright "Vivid" mode), and you're done.
Realistic expectation: this won't match a high-end home theater with surround speakers and a giant OLED – but it will look and sound genuinely great, handle 4K HDR smoothly, and cost a fraction of the price. For most living rooms, it's the sweet spot of quality and value.
What to Avoid
A few common mistakes blow budgets and ruin setups. Don't overspend on the streaming device while ignoring Wi-Fi – a $100 box on a weak connection still buffers, while a $50 stick on solid Wi-Fi runs perfectly. Don't skip the soundbar to save money; TV speakers are the biggest weak point, and skipping audio means missing the most noticeable upgrade.
Avoid expensive "premium" HDMI cables, which are marketing – a standard High-Speed HDMI carries the same signal for a fraction of the price. Don't buy a 4K device for a 1080p TV, since you're paying for output you can't see. And steer clear of cheap no-name streaming devices and soundbars from unknown brands, which often have laggy software, poor support, or short lifespans that cost you more in the long run.
FAQ
Can I really get a good streaming setup for under $300? Yes, if you already own a TV. Splitting the budget across a quality streaming device, a soundbar, and solid Wi-Fi gets you sharp 4K, great sound, and smooth performance for most living rooms.
What's the most important thing to spend on? A reliable streaming device and stable Wi-Fi come first, because they control speed and prevent buffering. After that, a soundbar delivers the biggest noticeable improvement to your experience.
Do I need 4K if I'm on a budget? Only if your TV supports it. A 4K device on a 4K TV looks great, but on a 1080p TV you should buy the cheaper 1080p device and put the savings elsewhere.
Why does my streaming keep buffering? Almost always Wi-Fi, not your device. Move your router to a central spot, use a wired connection or extender if needed, and aim for around 25 Mbps or more to your streaming device for 4K.
Is a soundbar really worth it over TV speakers? Absolutely – it's often the single most noticeable upgrade. Even a budget soundbar dramatically improves dialogue clarity and bass compared to thin built-in TV speakers.
The Bottom Line
Building a great streaming setup for under $300 isn't about buying the most expensive gear – it's about spending in the right order: a solid streaming device, rock-stable Wi-Fi, and a quality soundbar, with a little left for the finishing touches. Skip the overpriced cables and no-name bargains, fix your Wi-Fi before you blame your device, and don't sacrifice sound to save a few dollars. Do that, and you'll have a setup that looks sharp, sounds rich, and runs smoothly – for a fraction of what most people think it costs.
📚 Sources
FCC – Broadband Speed Guide (Recommended Speeds for Streaming): https://www.fcc.gov/consumers/guides/broadband-speed-guide
CNET – Best Streaming Devices Buying Guide: https://www.cnet.com/tech/home-entertainment/best-streaming-device/
RTINGS – Soundbar Reviews and Buying Guide: https://www.rtings.com/soundbar/reviews/best/soundbars
Consumer Reports – How to Improve Your Wi-Fi: https://www.consumerreports.org/electronics-computers/wireless-internet/how-to-boost-your-wifi-signal-a1158742108/