
What You'll Actually Need
Before jumping into setup, it helps to know what the core components are and which ones matter most. You don't need to spend a lot to get a good result, but cutting corners in the wrong place will hurt the experience.
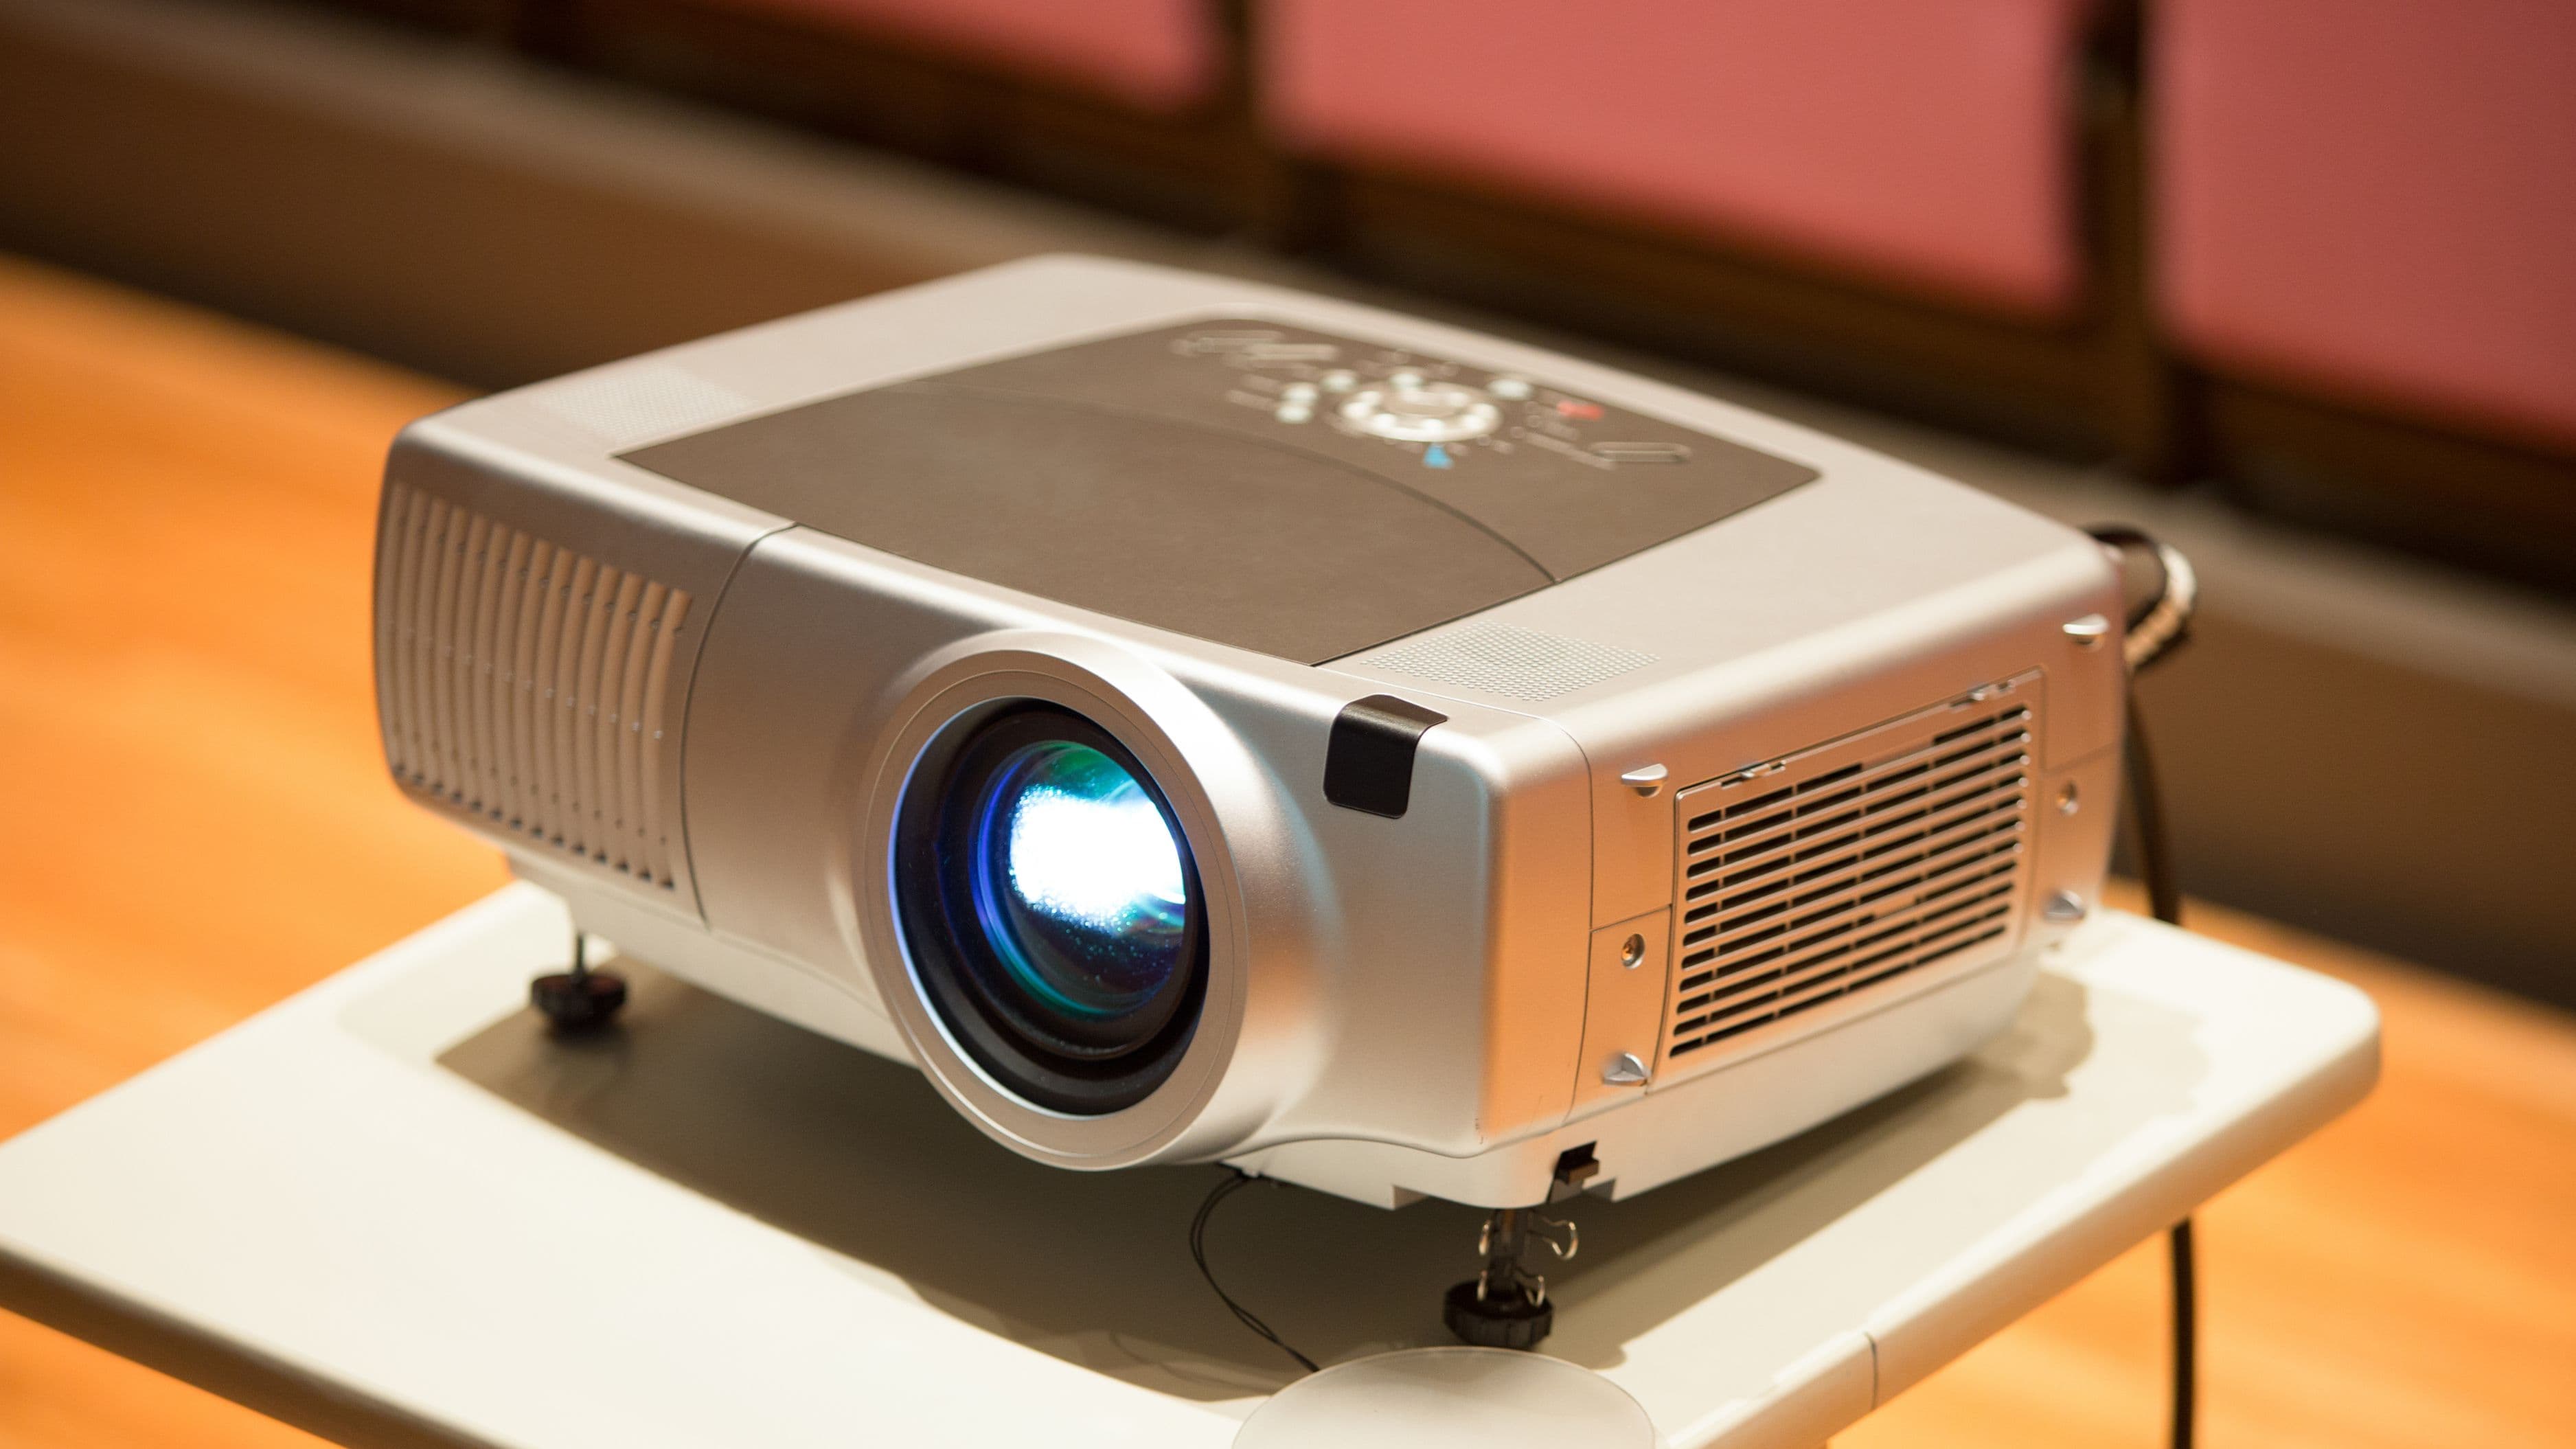
A portable projector. This is the heart of the setup. For outdoor use, you want at least 500 ANSI lumens – ideally 1,000 or more if you're starting before full dark. The Anker Nebula Capsule series, the XGIMI Halo+, and the Dangbei Mars Pro are all well-reviewed options at different price points. If you already have a projector but haven't used it outdoors, check its lumen rating – under 300 lumens in a dimly lit backyard produces a washed-out image that's hard to watch.
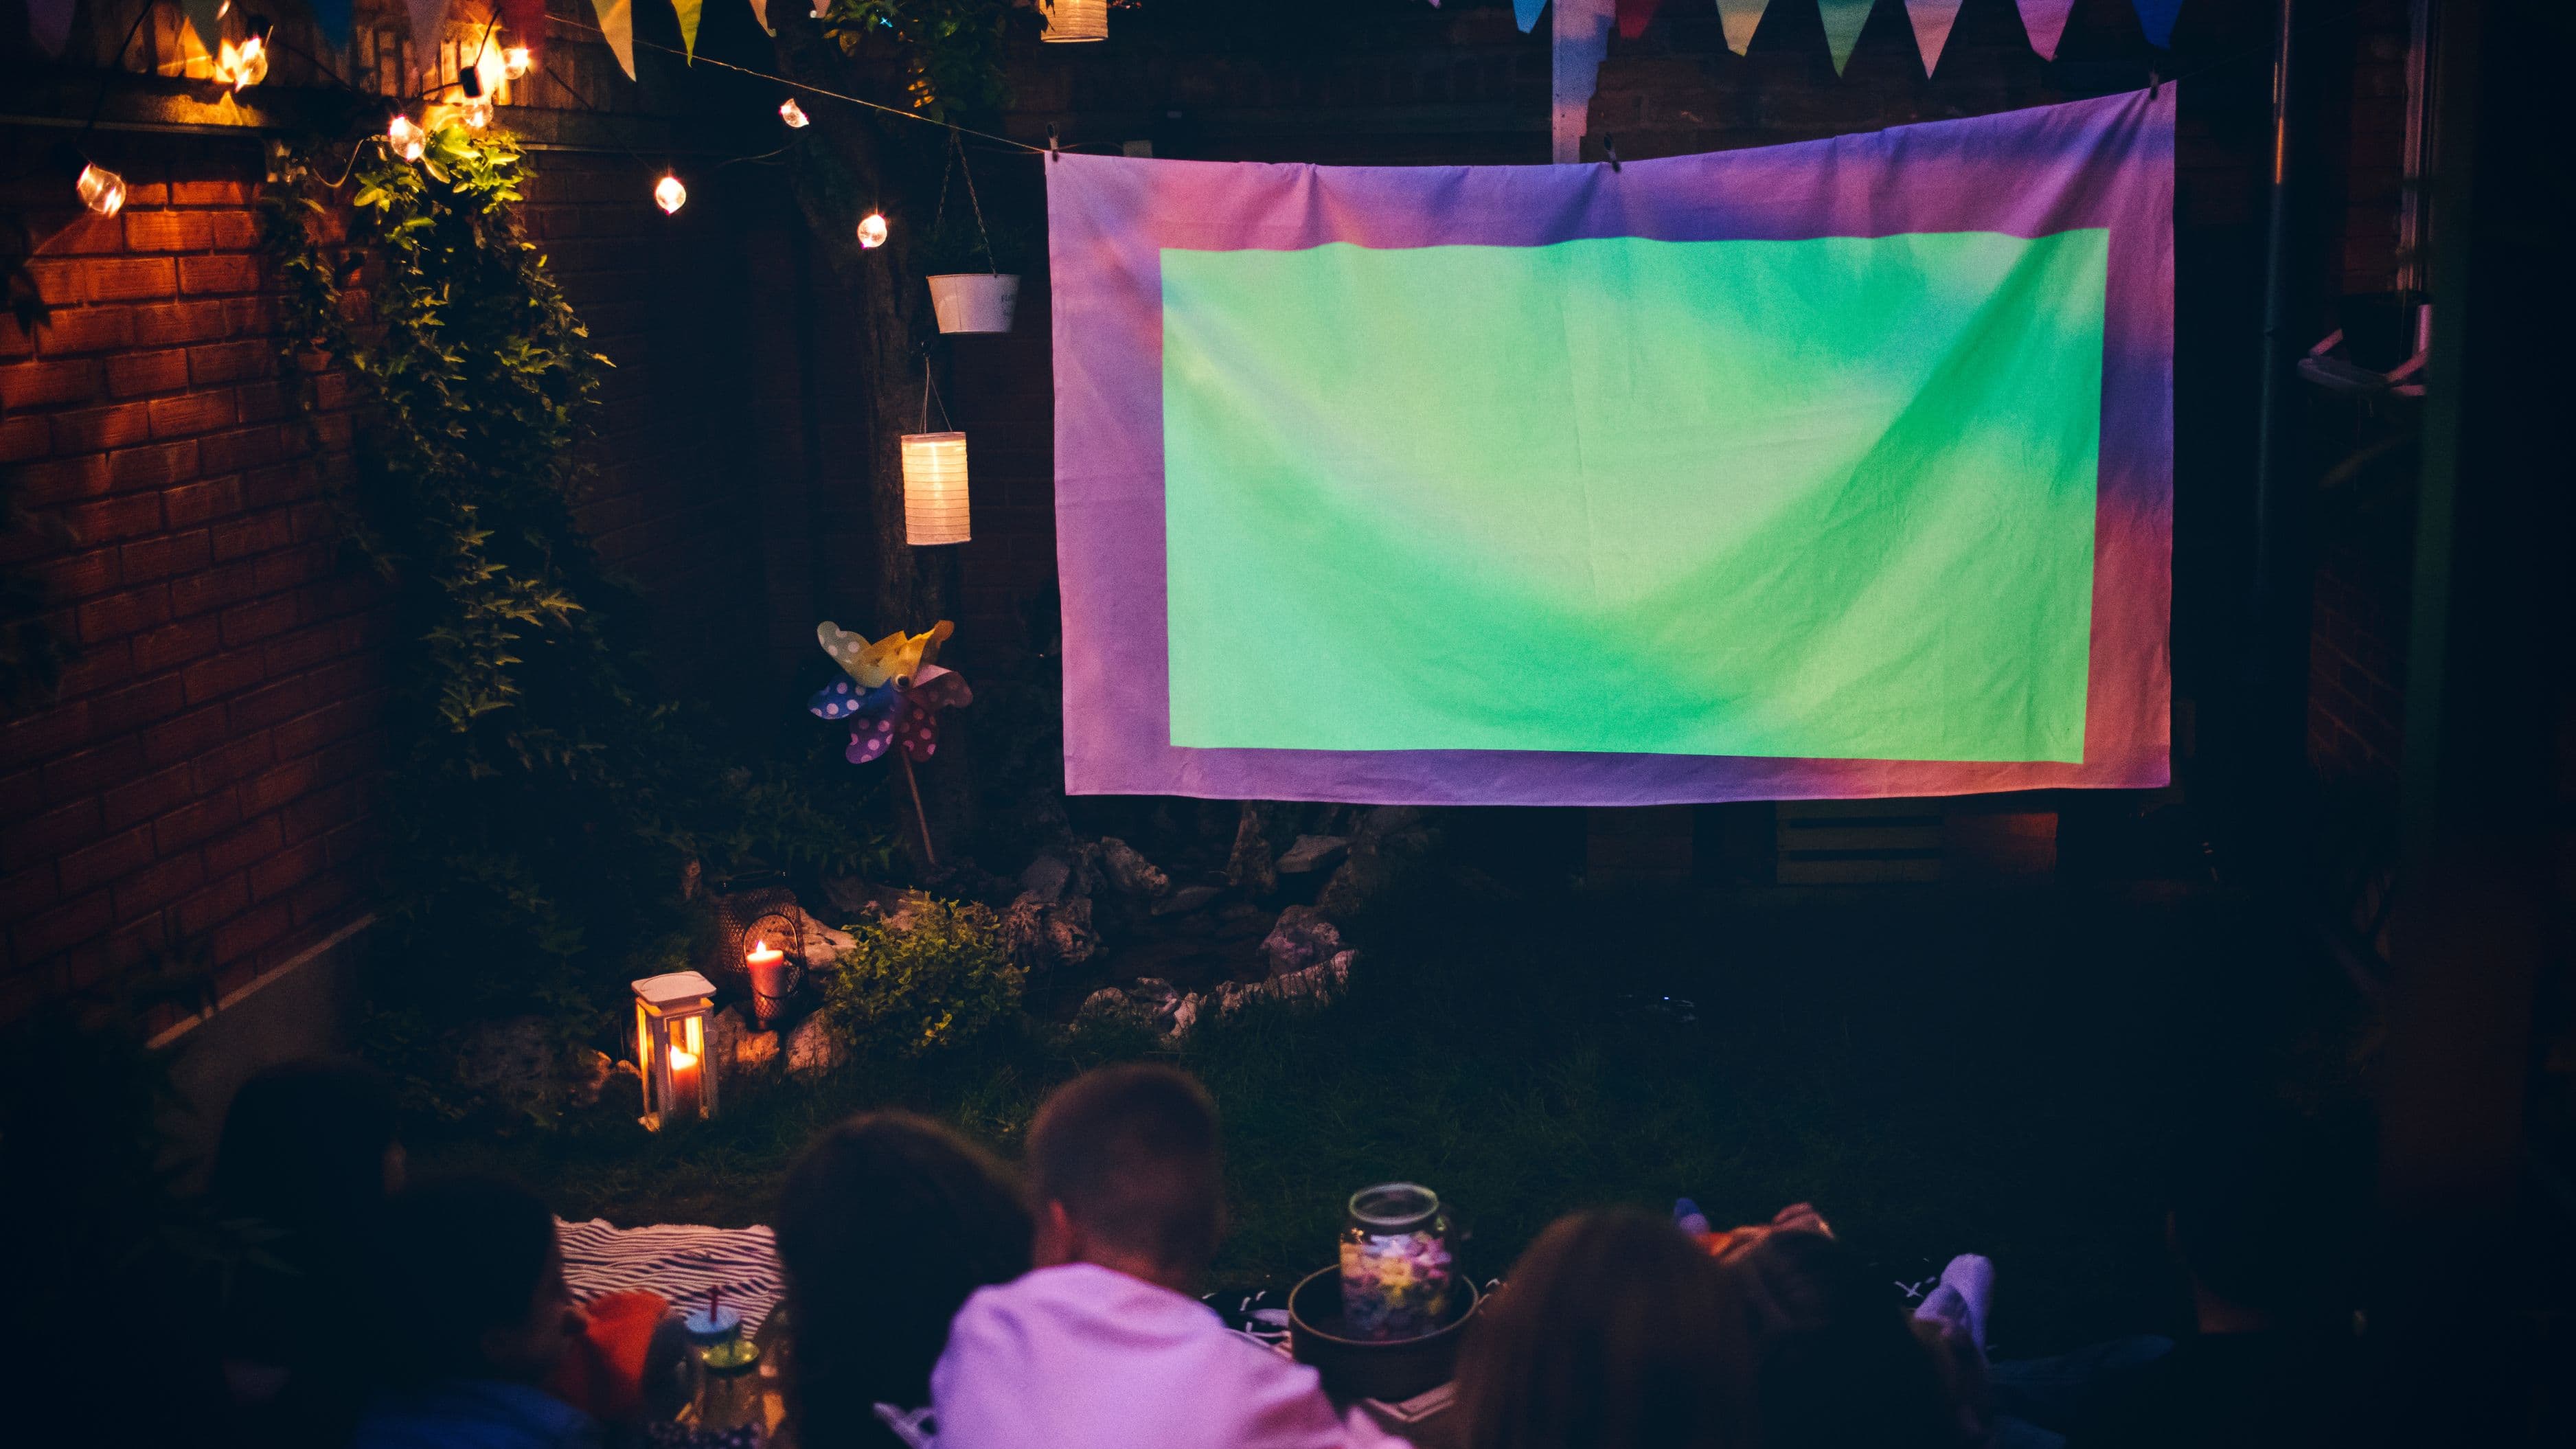
A screen or flat surface. A purpose-built portable projector screen gives you the best image quality and the easiest setup. Screens in the 100–120 inch range on a tripod stand cost $40–$120 and fold down to carry in a bag. A flat white or light grey wall, a bedsheet pulled taut between two points, or a piece of white foam board for smaller setups all work as alternatives. The flatter and whiter the surface, the better the image.
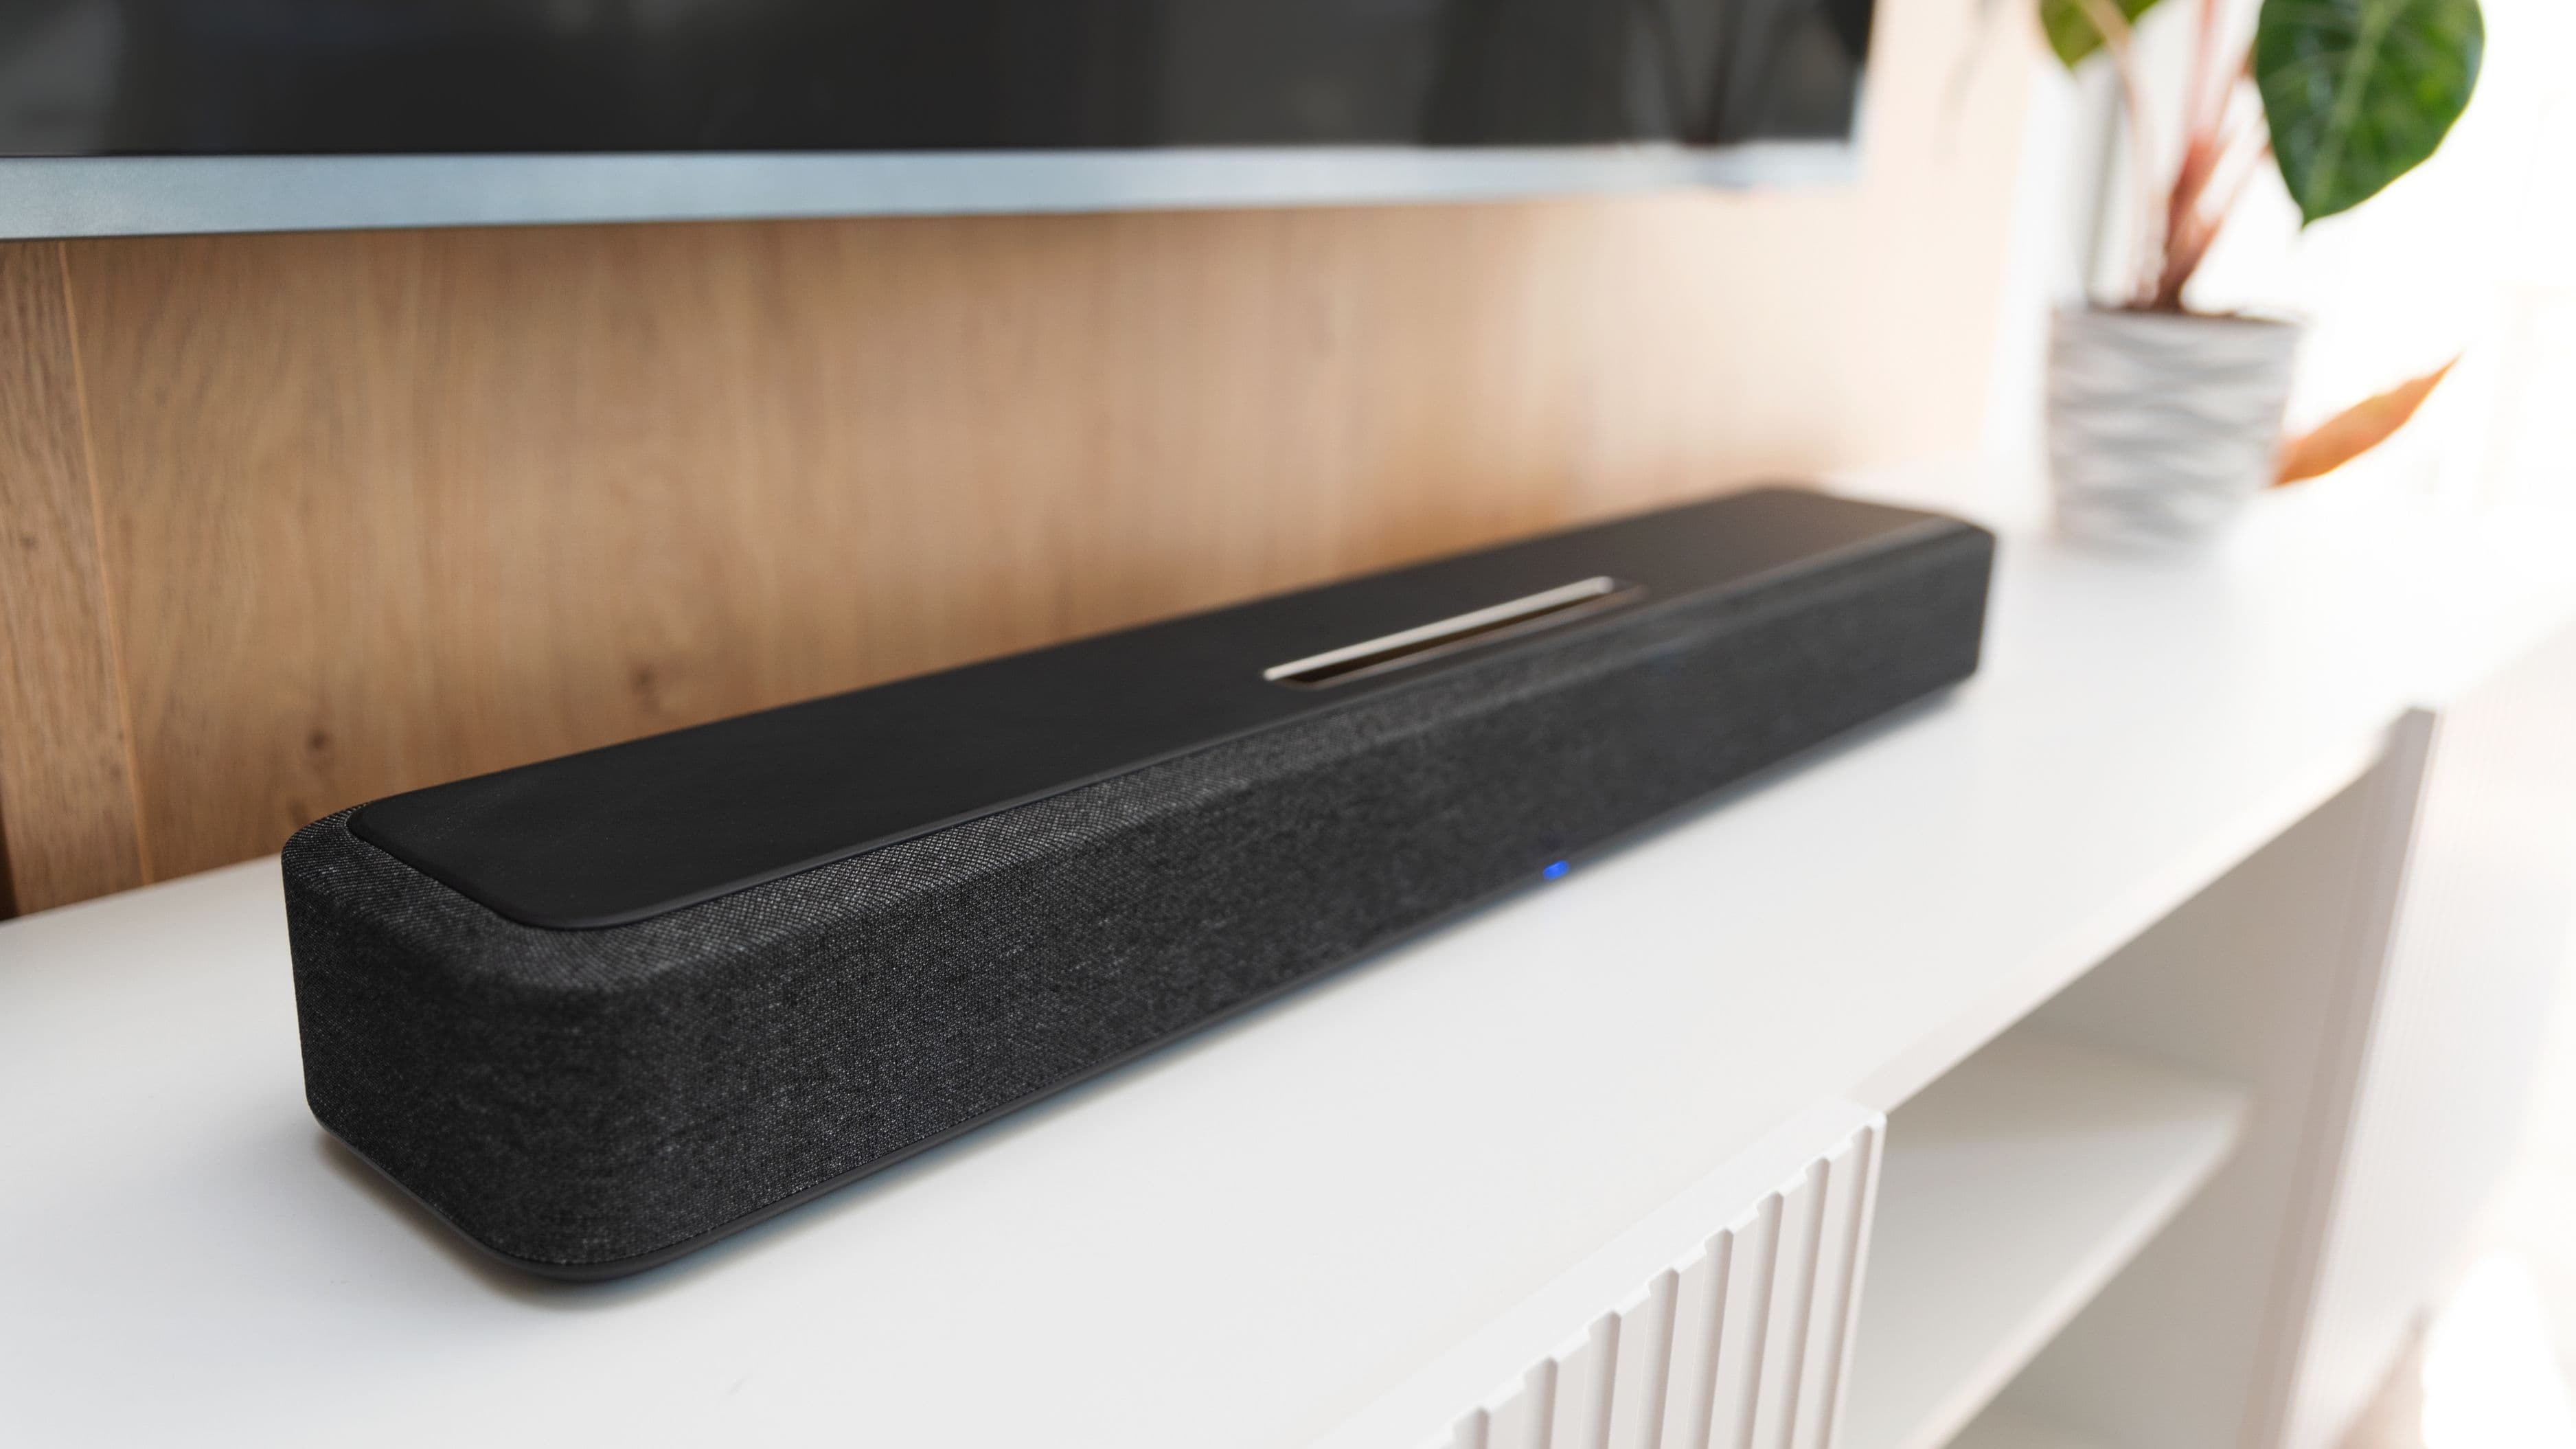
A speaker. Most portable projectors have built-in speakers that range from adequate to genuinely bad. For a group of more than a few people, a Bluetooth speaker that pairs with the projector (or with whatever device you're streaming from) makes the audio match the visual experience. The JBL Charge series and the Anker Soundcore Motion+ are popular choices that balance audio quality, volume, and portability.
A power source. Many portable projectors have internal batteries that run 2–4 hours – enough for most films. If yours needs to be plugged in, you'll need an extension cord long enough to reach your setup area, or a portable power station (like a Jackery or Anker Power Station) that can power the projector and speaker without a wall outlet.
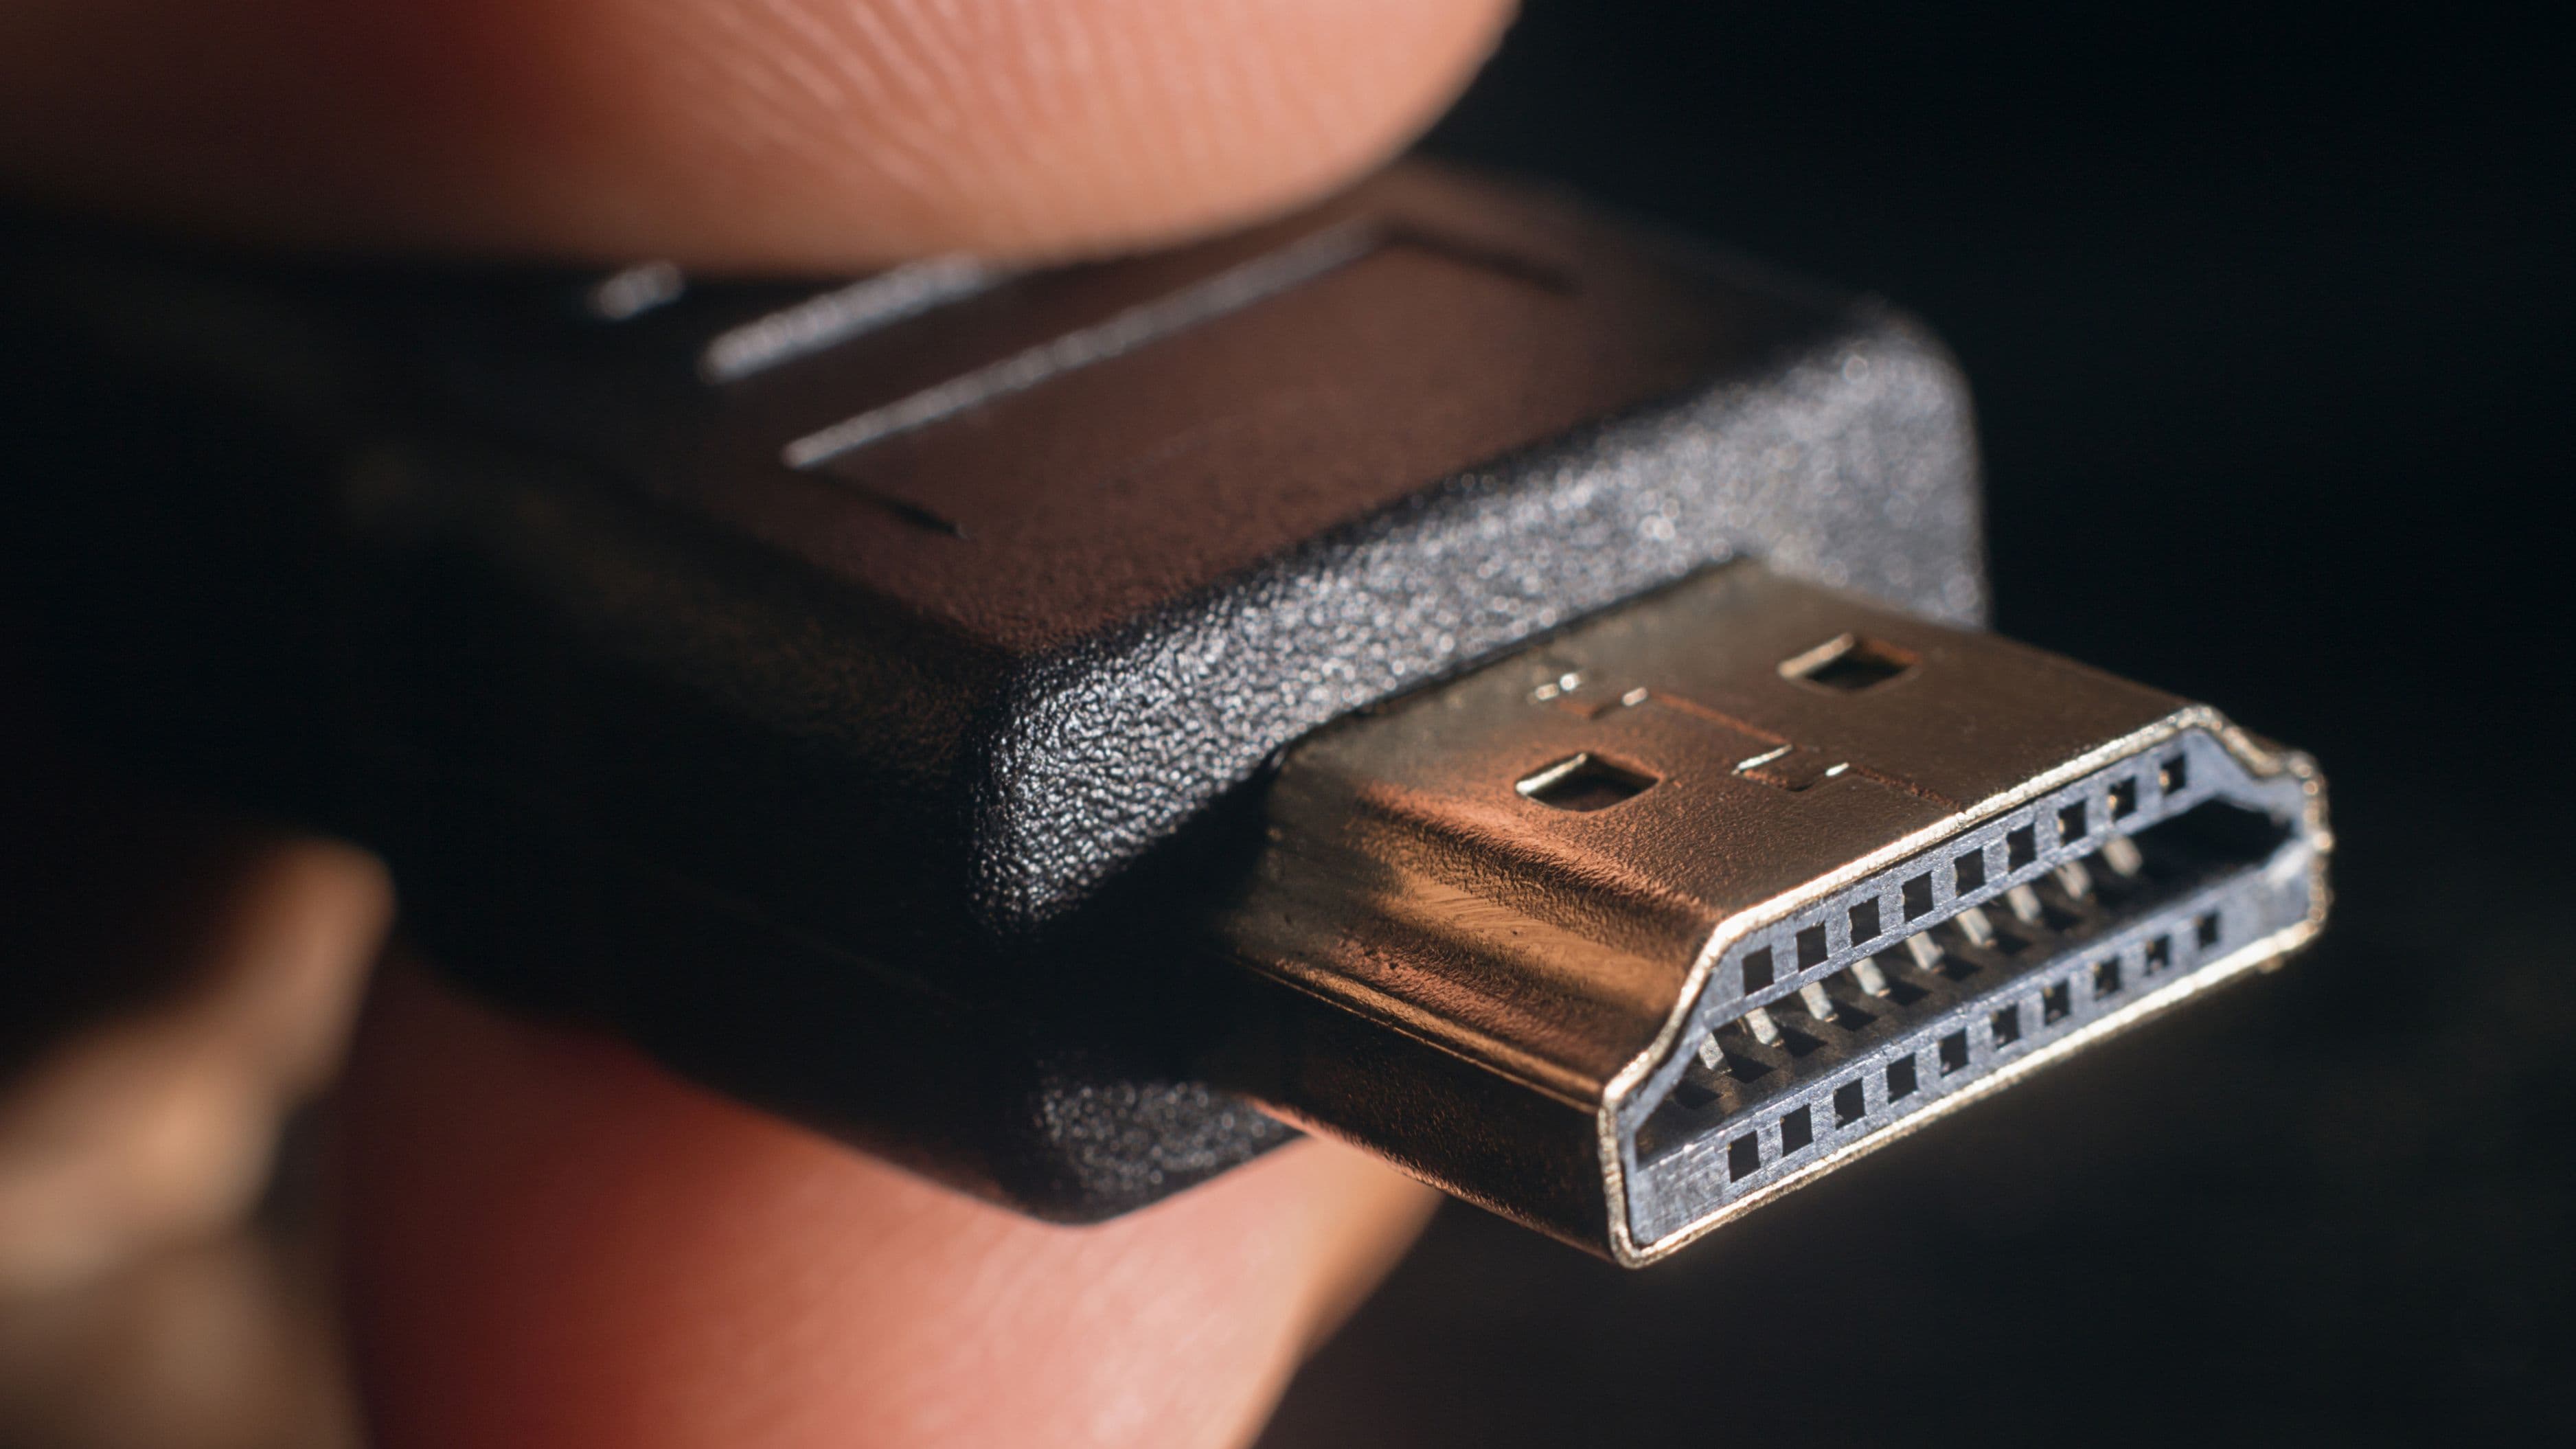
A streaming device. Some projectors have Android TV or Fire TV built in and can connect directly to your WiFi. Others need an HDMI input from an external device. A Chromecast, Roku Stick, or Amazon Fire Stick plugged into the projector's HDMI port gives you full streaming access to Netflix, Disney+, Prime Video, and anything else you're subscribed to.
Step-by-Step Setup
Step 1 – Choose Your Location and Check for Light
The biggest enemy of an outdoor projection is ambient light. Even a strong projector struggles to produce a vivid image when it's competing with streetlights, garden lights, or a bright neighbor's porch light. Before setting up anything, look at your outdoor space in the evening and identify the darkest area. A fence line or hedge on one side can block a significant light source. Position your screen so the projector is facing away from any direct light sources.
Timing matters too. Starting your film at or after full dark – rather than trying to begin while it's still dusk – makes a substantial difference in image quality without changing anything about your equipment.
Step 2 – Set Up the Screen
If you're using a tripod screen, extend it and lock the height so the bottom of the screen is roughly 12–24 inches off the ground. This keeps the image at a comfortable viewing height for people sitting in chairs or on a blanket. Make sure the screen is taut – wrinkles and folds create visible distortion in the projected image. If you're using a sheet, weight or clip the bottom corners to prevent wind from moving it during the film.
Position the screen before placing the projector, since the screen position determines where the projector needs to go, not the other way around.
Step 3 – Position the Projector
Place the projector directly in front of the screen, centered horizontally. The distance between the projector and screen determines the image size – most projectors include a throw ratio specification that tells you exactly how far back you need to be for a given image size. As a rough guide, most standard projectors need to be 8–12 feet away for a 100-inch image. Short-throw projectors can sit much closer, which is useful in smaller spaces.
Use the projector's zoom function (if it has one) to fill the screen from edge to edge. A stable surface matters here – even small vibrations cause a visible wobble in the projected image. A folding table, a dedicated projector stand, or a solid flat surface works well. Avoid placing the projector directly on the ground unless it has a bottom-facing lens, as the angle will distort the image.
Step 4 – Connect Your Streaming Device
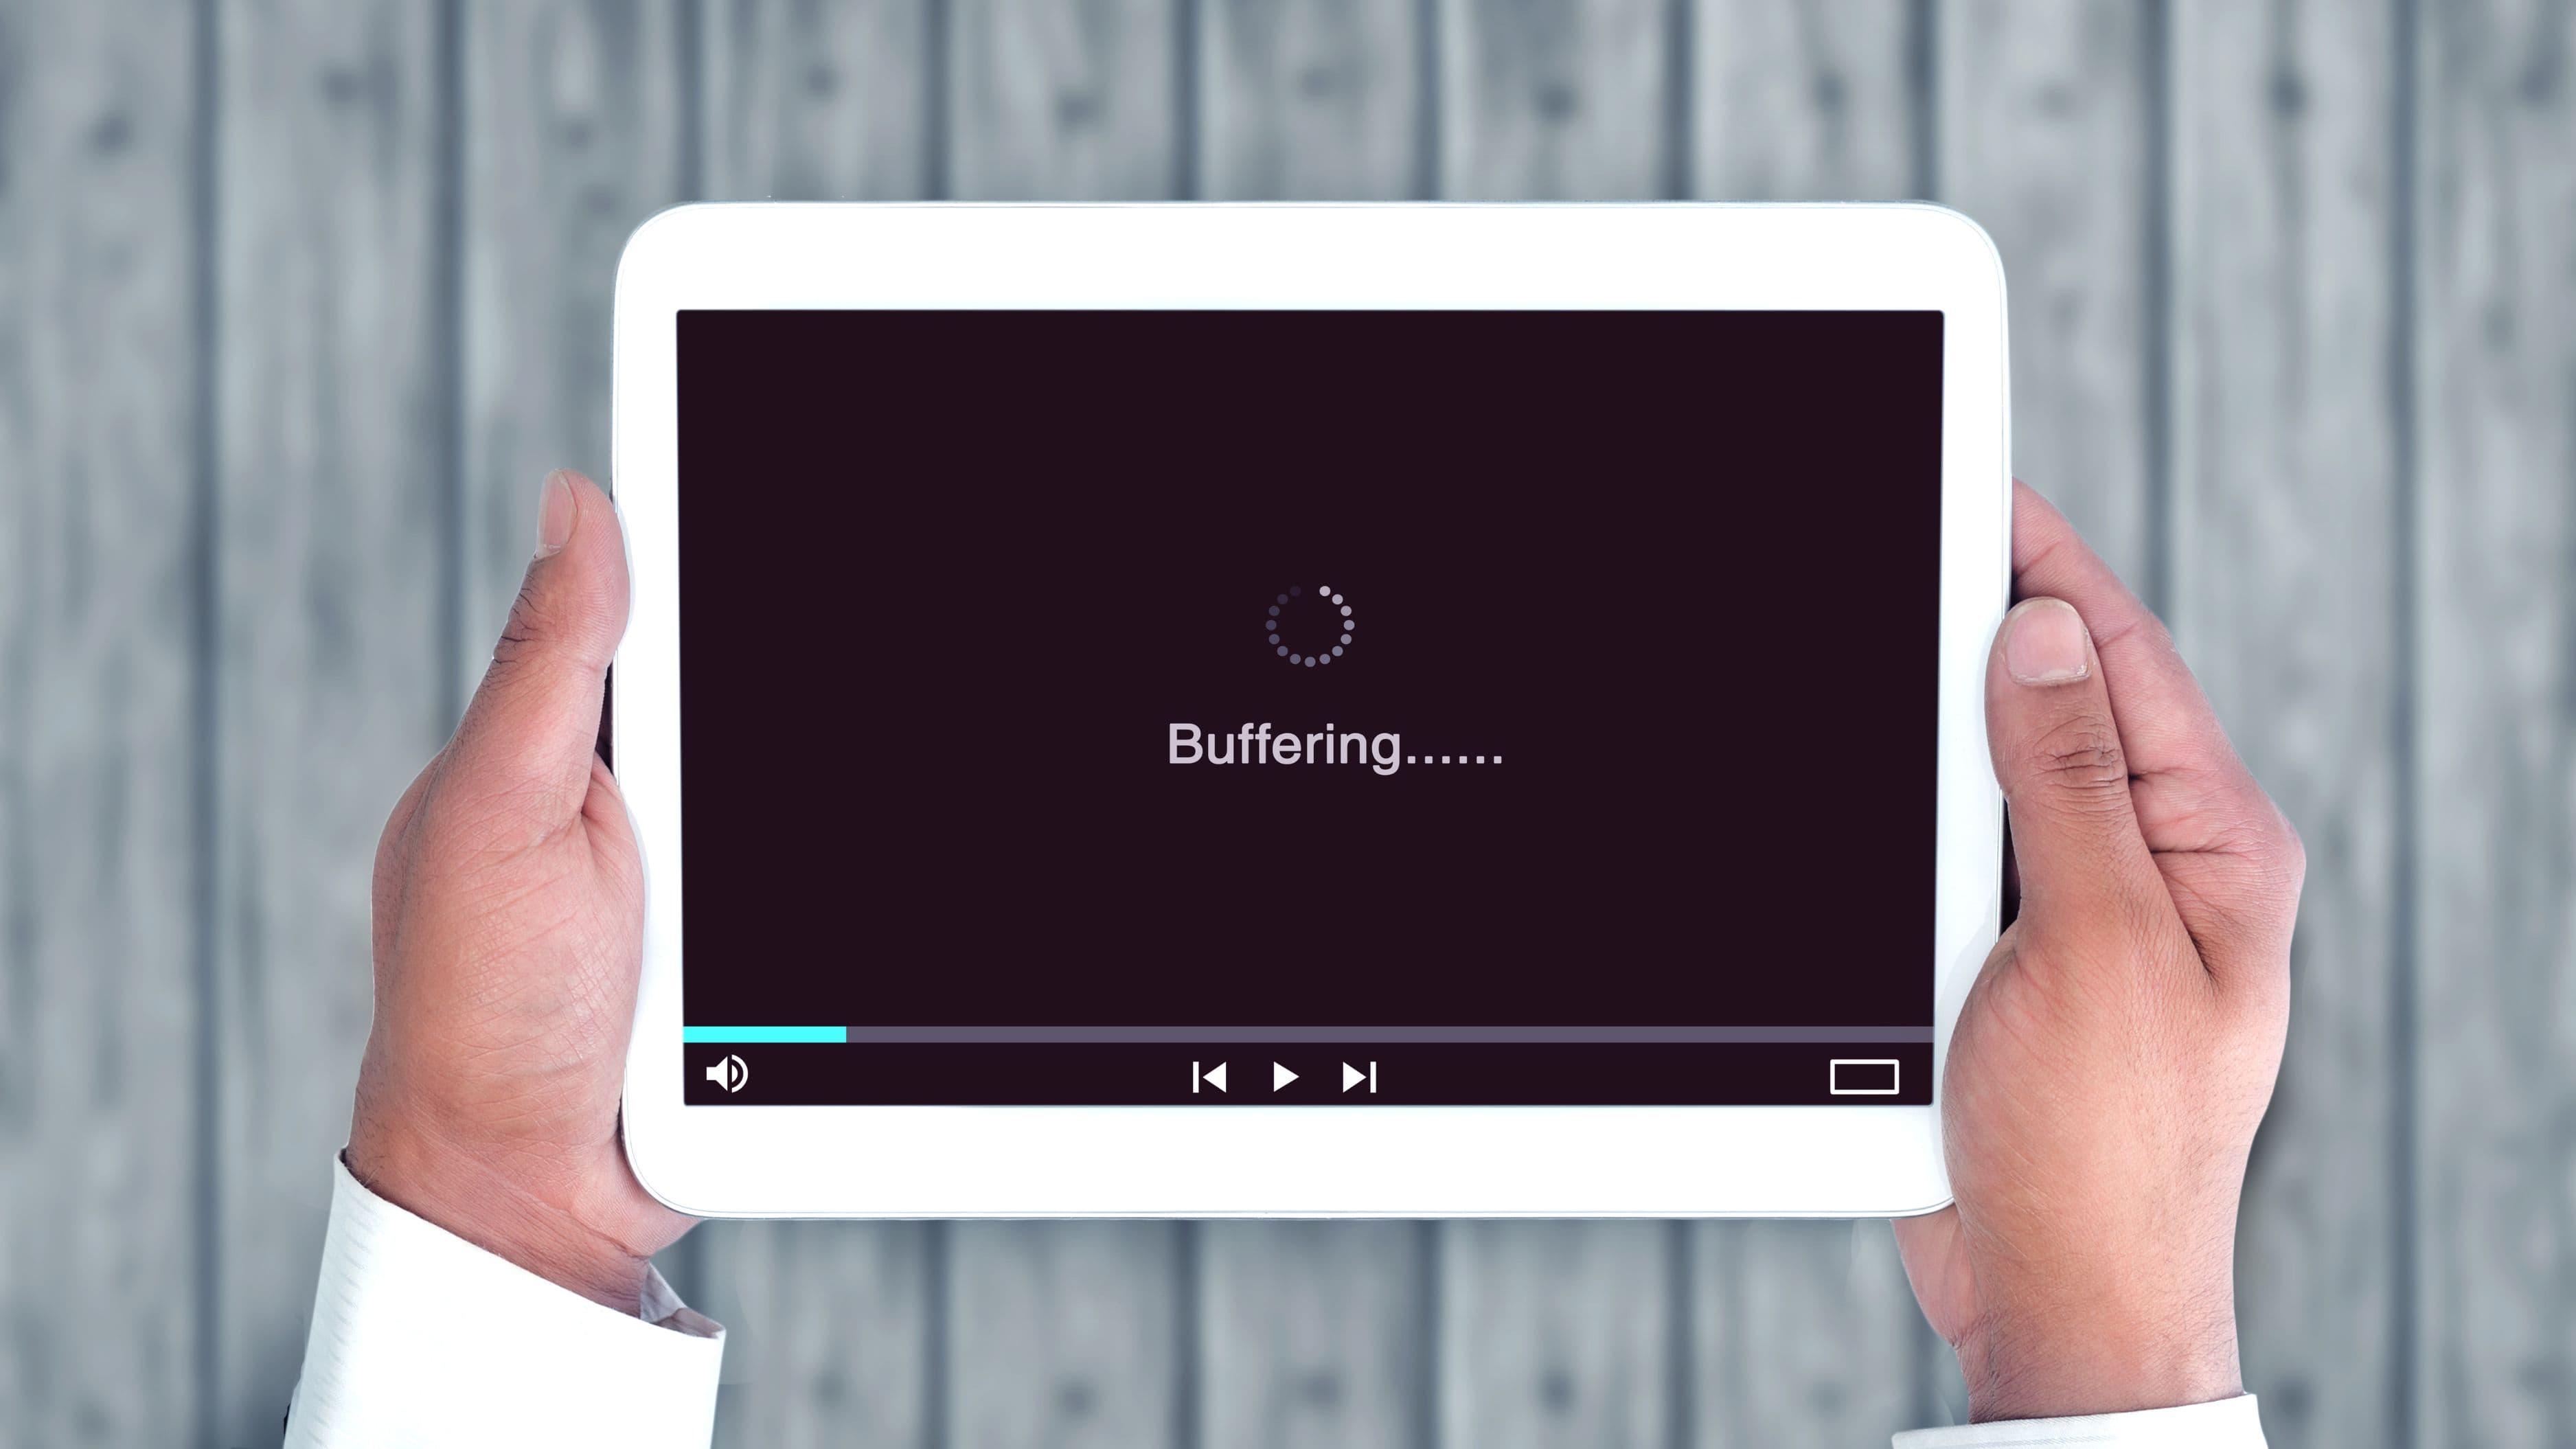
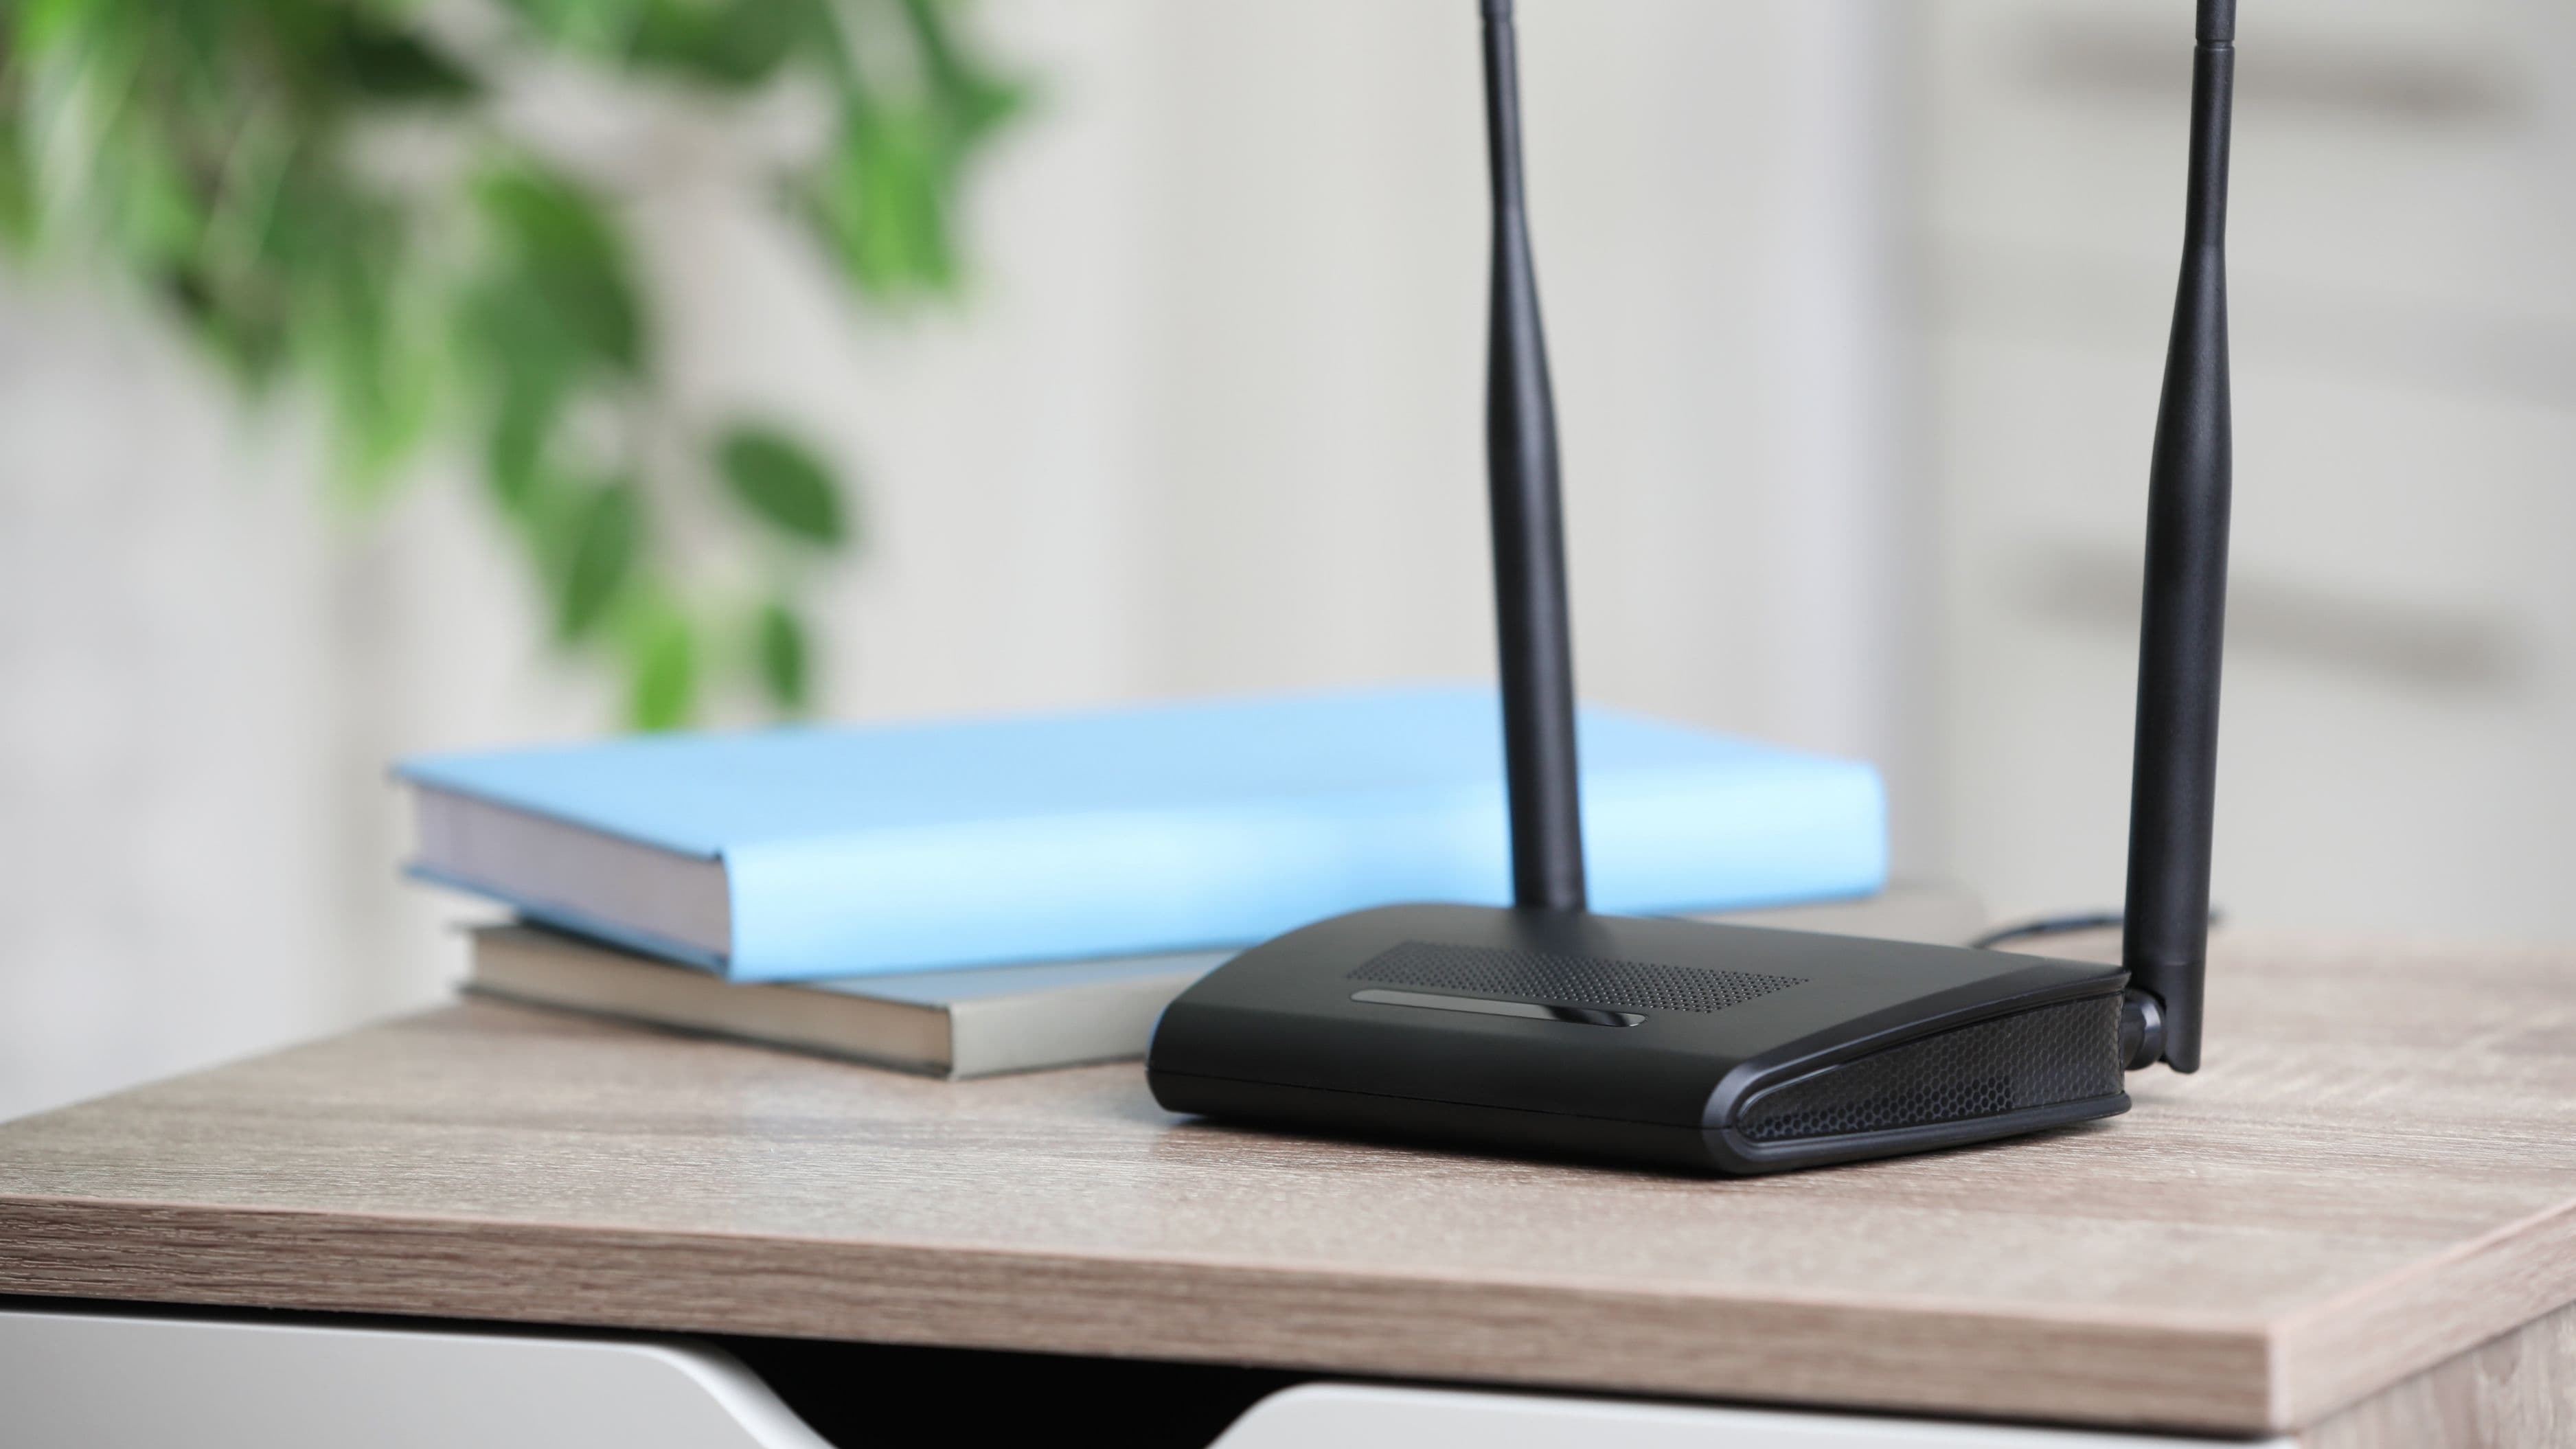
If your projector has built-in smart TV functionality, connect it to your home WiFi through the settings menu. Keep in mind that WiFi signal strength in a backyard can be weaker than inside the house – if buffering is an issue, a WiFi extender pointed toward your outdoor setup or a mobile hotspot as a backup can solve it.
If you're using an external streaming stick, plug it into the projector's HDMI port. Most streaming sticks draw power through a USB port, which many projectors have available. Once connected, select the correct HDMI input on the projector and go through the streaming device's setup process as you normally would indoors.
Step 5 – Set Up Audio
Pair your Bluetooth speaker with the projector or with your streaming device, depending on which has the audio output. Place the speaker near the screen rather than near the audience – audio that comes from the same general direction as the image feels more natural and cinematic than sound coming from behind the viewers. Keep the speaker off the ground slightly if you can, as sound travels better when it's not absorbed by grass or a patio surface.
Test the audio and adjust the volume before the film starts. Outdoor sound dissipates faster than indoor sound, so you'll likely need the speaker louder than you would inside.
Step 6 – Focus and Keystone Correction
Once everything is connected and the image is on screen, use the projector's manual or digital focus adjustment to sharpen the image until text looks crisp at the edges. If the image looks trapezoidal – wider at the top than the bottom, or skewed to one side – use the keystone correction setting in the projector menu to square it up. Keystone correction compensates for the projector not being perfectly perpendicular to the screen.
Get the image looking right before the film starts, not during it. Your audience will appreciate not having you fuss with the projector while the movie is playing.
Step 7 – Set Up Seating and Extras
Arrange seating before your guests arrive if possible. Folding chairs, camp chairs, and blankets on the ground all work. Create a clear sightline for everyone from their seat – no one should be looking around a post or a tree to see the screen. If you're watching with a group, a simple string of outdoor lights or solar stake lights along the edges of the viewing area (not facing the screen) adds atmosphere and makes it easy to move around safely without turning on a bright light during the film.
Bug spray, blankets for cooler evenings, and a small cooler for drinks close to the seating area are the details that separate a good outdoor movie night from a great one.
Tips for Better Results
Start with full dark. Waiting until 30–45 minutes after sunset for complete darkness makes the image significantly more vivid, even on the same projector. If you're impatient, use the time to set up and test while it's still light, then start the film once it's properly dark.
Download content in advance. Streaming outdoors over WiFi introduces the risk of buffering. Many streaming services – Netflix, Disney+, Prime Video, Apple TV+ – allow you to download content for offline viewing. Downloading the film beforehand eliminates buffering entirely and means you're not dependent on a strong WiFi signal in the yard.
Keep the projector cool. Projectors generate heat during operation. Don't place them in an enclosed space or cover the ventilation vents. On very hot nights, give the projector a few minutes to cool down if you're doing a double feature.
Test everything before guests arrive. Run through the full setup at least once before your first event, ideally the night before. Finding out the projector needs an update, the streaming stick needs to be reconfigured, or the speaker won't pair is much less stressful when you have time to fix it.
Common Mistakes to Avoid
Starting too early while it's still light is the most common reason a first outdoor movie night disappoints. A projector that looks great at 10pm looks washed out at 8:30pm in summer. Plan your film start time around darkness, not around convenience.
Underestimating sound is the second most common issue. Built-in projector speakers are fine for quiet indoor use but get lost outdoors. If you hear "I can't quite make out what they're saying," the speaker is the fix, not the volume knob.
Placing the projector on an unstable surface causes the image to shift every time someone walks past or the table is bumped. A dedicated projector stand or a heavy, stable surface keeps the image locked in place.
Not testing the WiFi range before the event means you find out during the film that the signal doesn't reach the backyard well enough to stream reliably. Either test it in advance or have the content downloaded.
FAQ
Do I need a special outdoor projector or will any projector work? Most projectors work outdoors as long as the lumen output is sufficient for the ambient light level. You don't need a projector marketed specifically as "outdoor" – you need one with enough brightness (ideally 1,000+ ANSI lumens) and a battery or access to power. Water resistance is a bonus if you're in a climate where evening dew or unexpected rain is a factor.
How big a screen do I need for 10–15 people? A 100–120 inch screen is comfortable for a group of 10–20 people arranged in a semi-circle or rows. Larger groups work better with a 150-inch screen, which requires a higher-lumen projector and more throw distance to maintain image quality.
Can I stream Netflix on a portable projector? Yes, with the right setup. If your projector has built-in Android TV or a Fire TV interface, Netflix is available directly. If not, plug in a Fire Stick, Chromecast with Google TV, or Roku Stick via HDMI and stream normally. Note that some apps have HDCP copy protection that can block certain content on certain projectors – if you hit this issue, using a Fire Stick or Roku Stick rather than a laptop HDMI connection usually resolves it.
What's the best time of year for outdoor movie nights? Late spring through early fall in most climates – warm enough to be comfortable outside but dark enough by a reasonable hour. Mid-summer means waiting later for full dark, but the tradeoff of warm evenings is usually worth it.
How do I handle sound for a large group? For a group of 20+ people, a single Bluetooth speaker may not be enough to fill the space. Two speakers placed on either side of the screen and linked together (many modern Bluetooth speakers support stereo pairing) produce better sound coverage. Alternatively, a powered PA speaker or a Sonos Move in outdoor mode provides more volume headroom than a typical portable Bluetooth speaker.
Once you've done it once, outdoor movie nights have a way of becoming a regular thing. The setup gets faster each time, you learn what your space needs, and there's something genuinely special about watching a film outside with good company that no living room can quite replicate. Start simple, get the basics right, and build from there.
📚 Sources
Rtings.com – Projector reviews and lumen output testing: https://www.rtings.com/projector
Wirecutter/NYT – Best portable projectors: https://www.nytimes.com/wirecutter/reviews/best-portable-projector/
Netflix Help Center – Download movies and shows to watch offline: https://help.netflix.com/en/node/62587
Anker Nebula – Portable projector product overview: https://www.seenebula.com/collections/portable-projector