
What You Actually Need
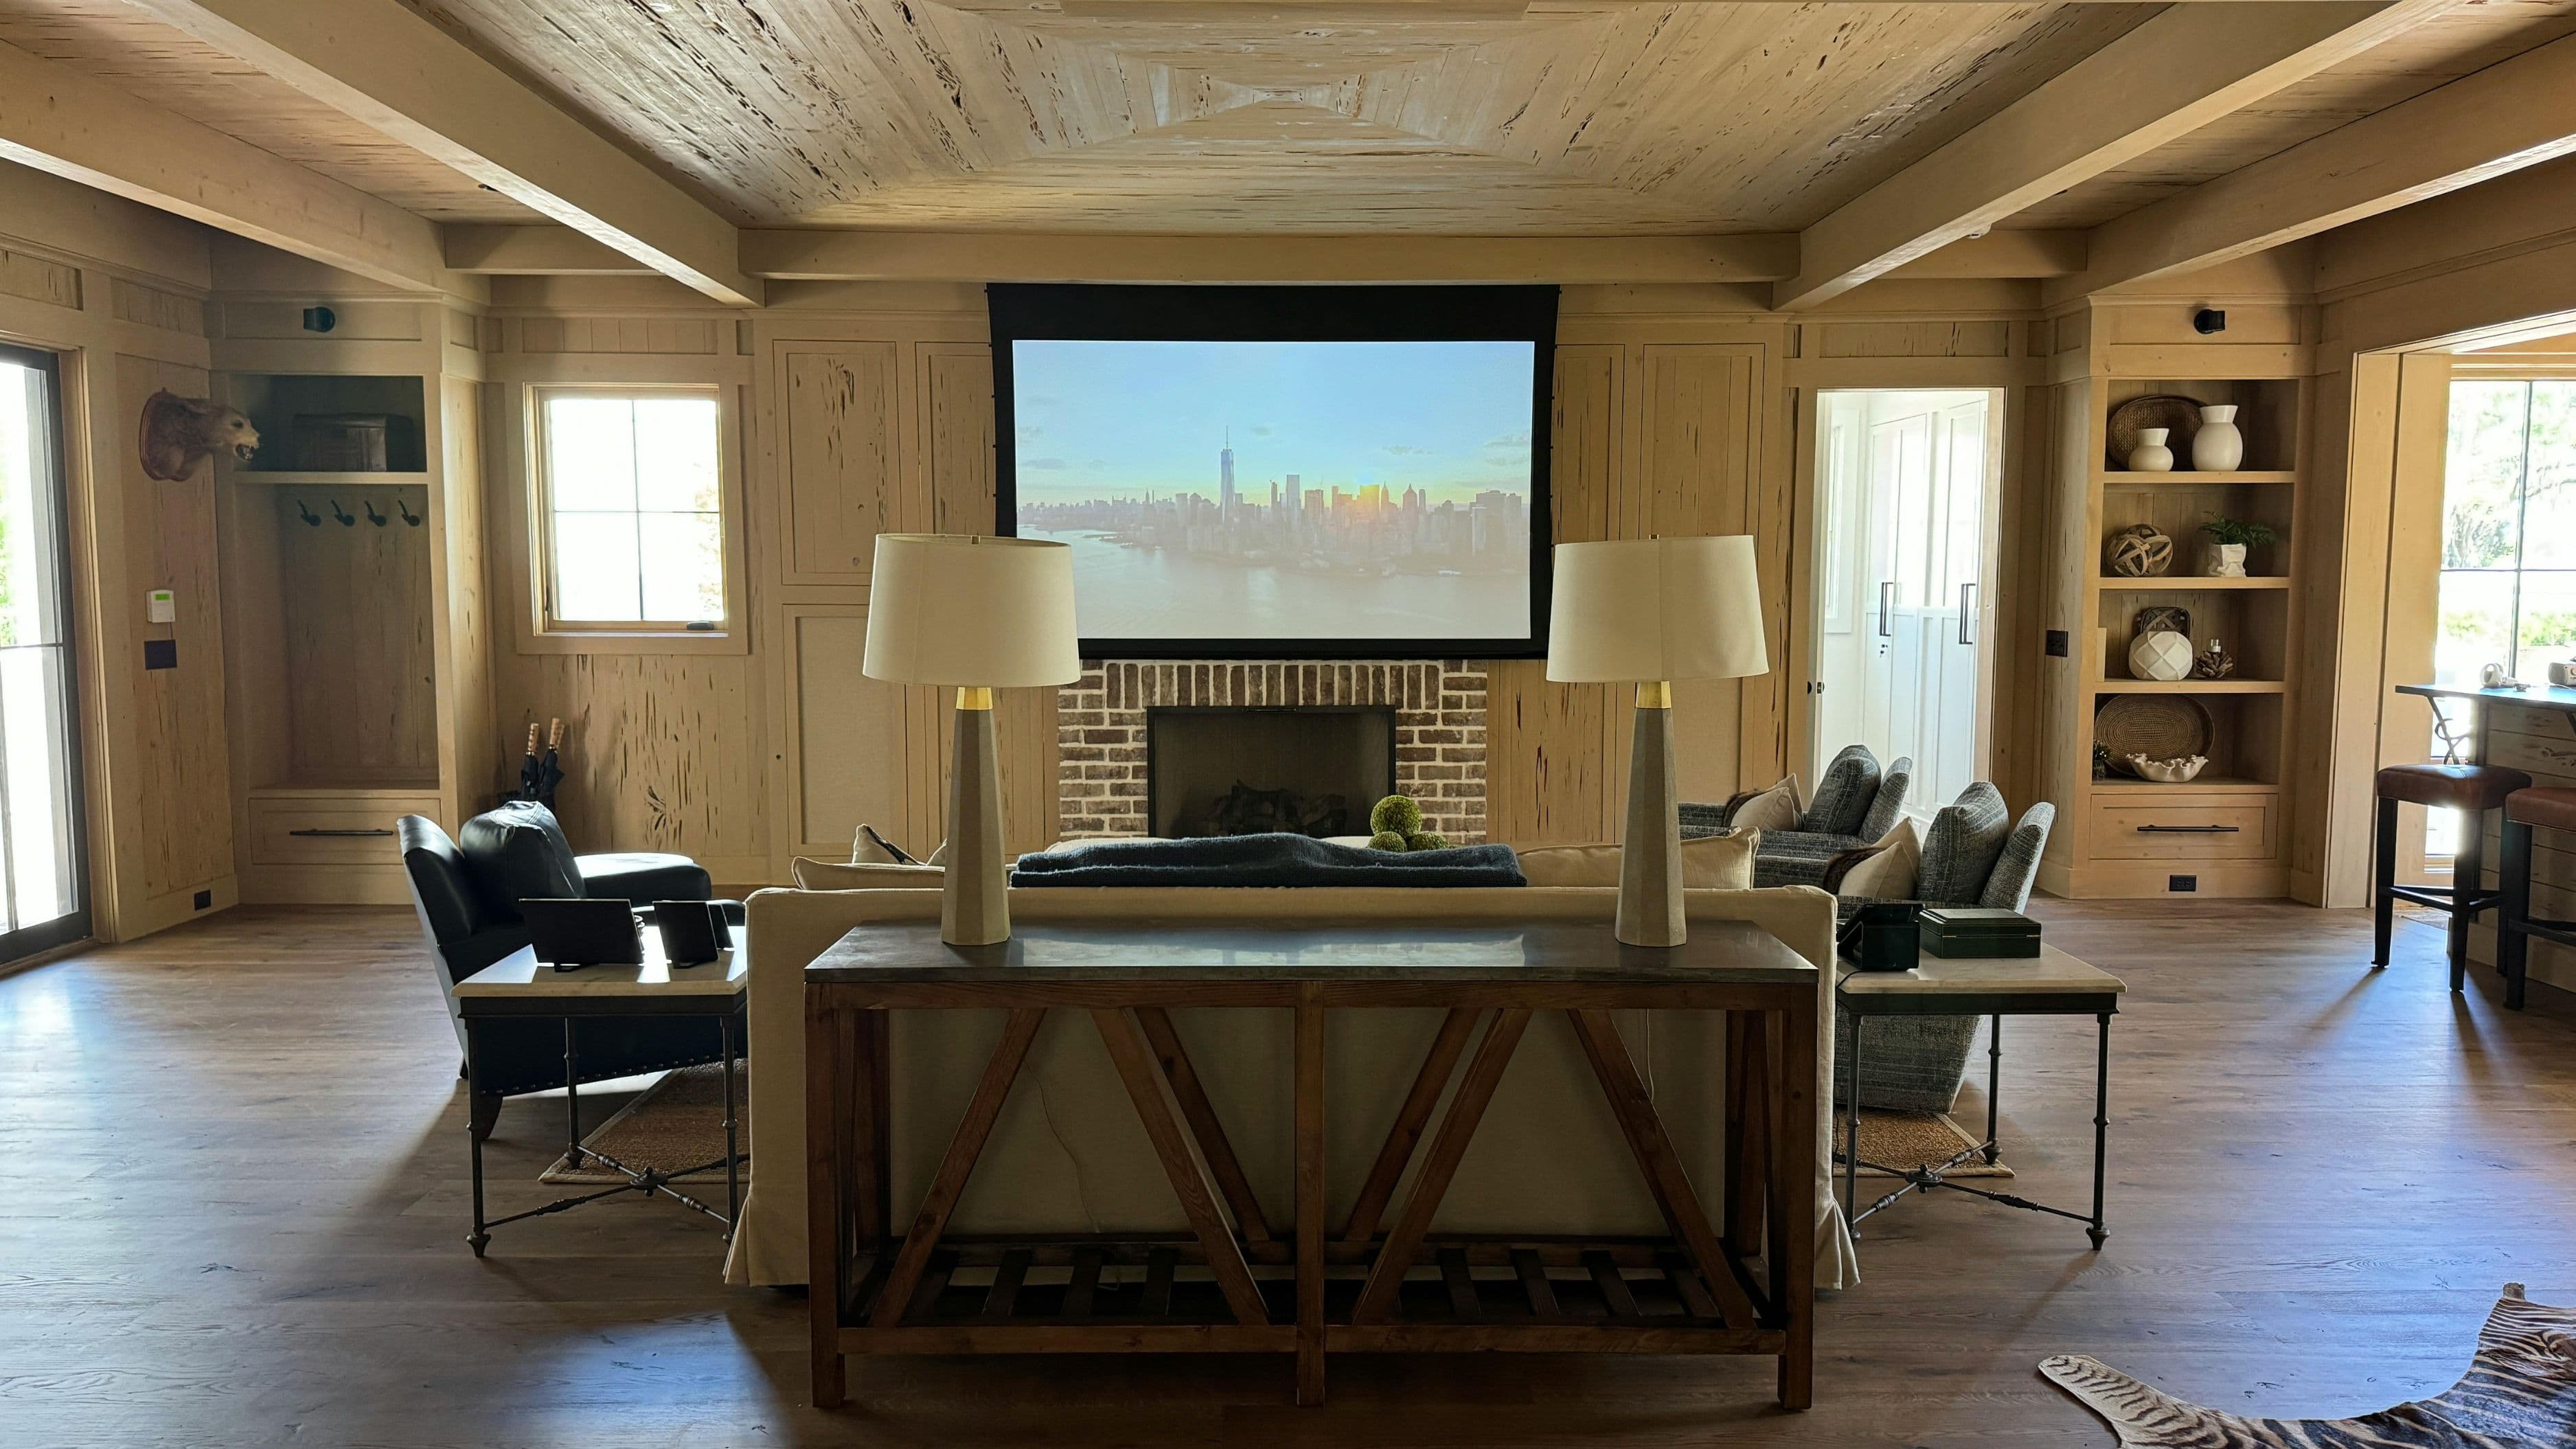
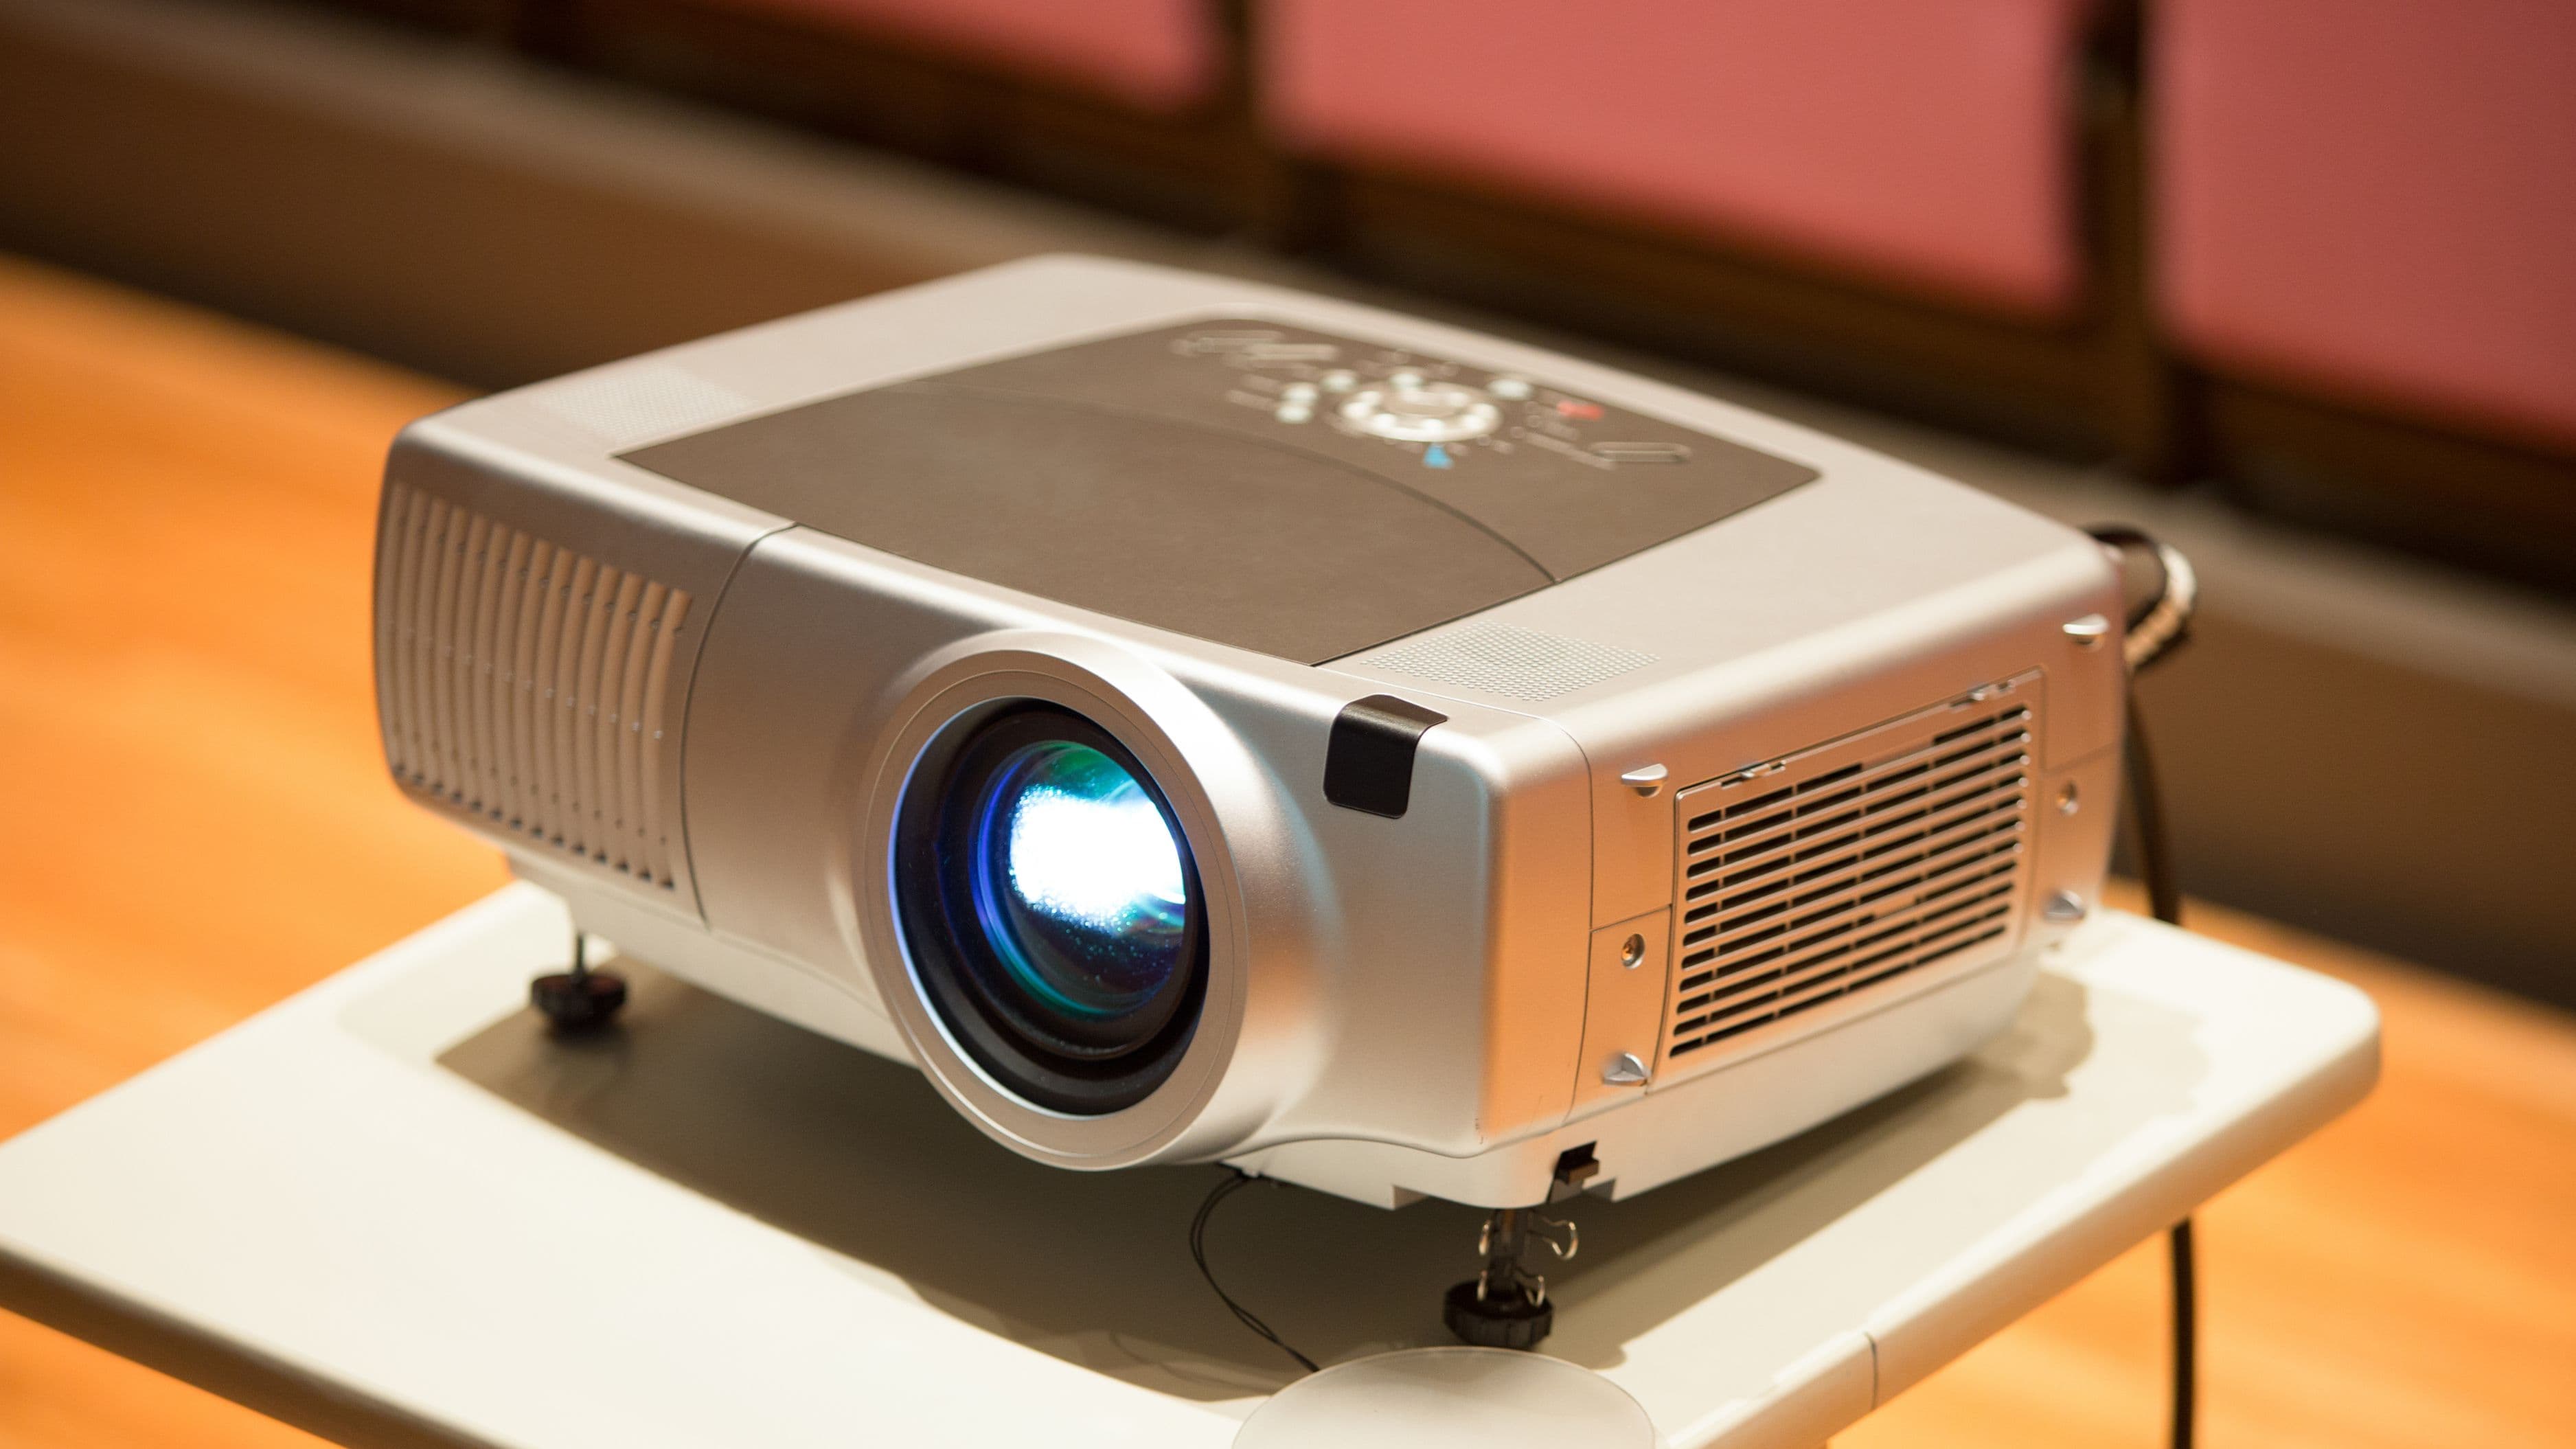
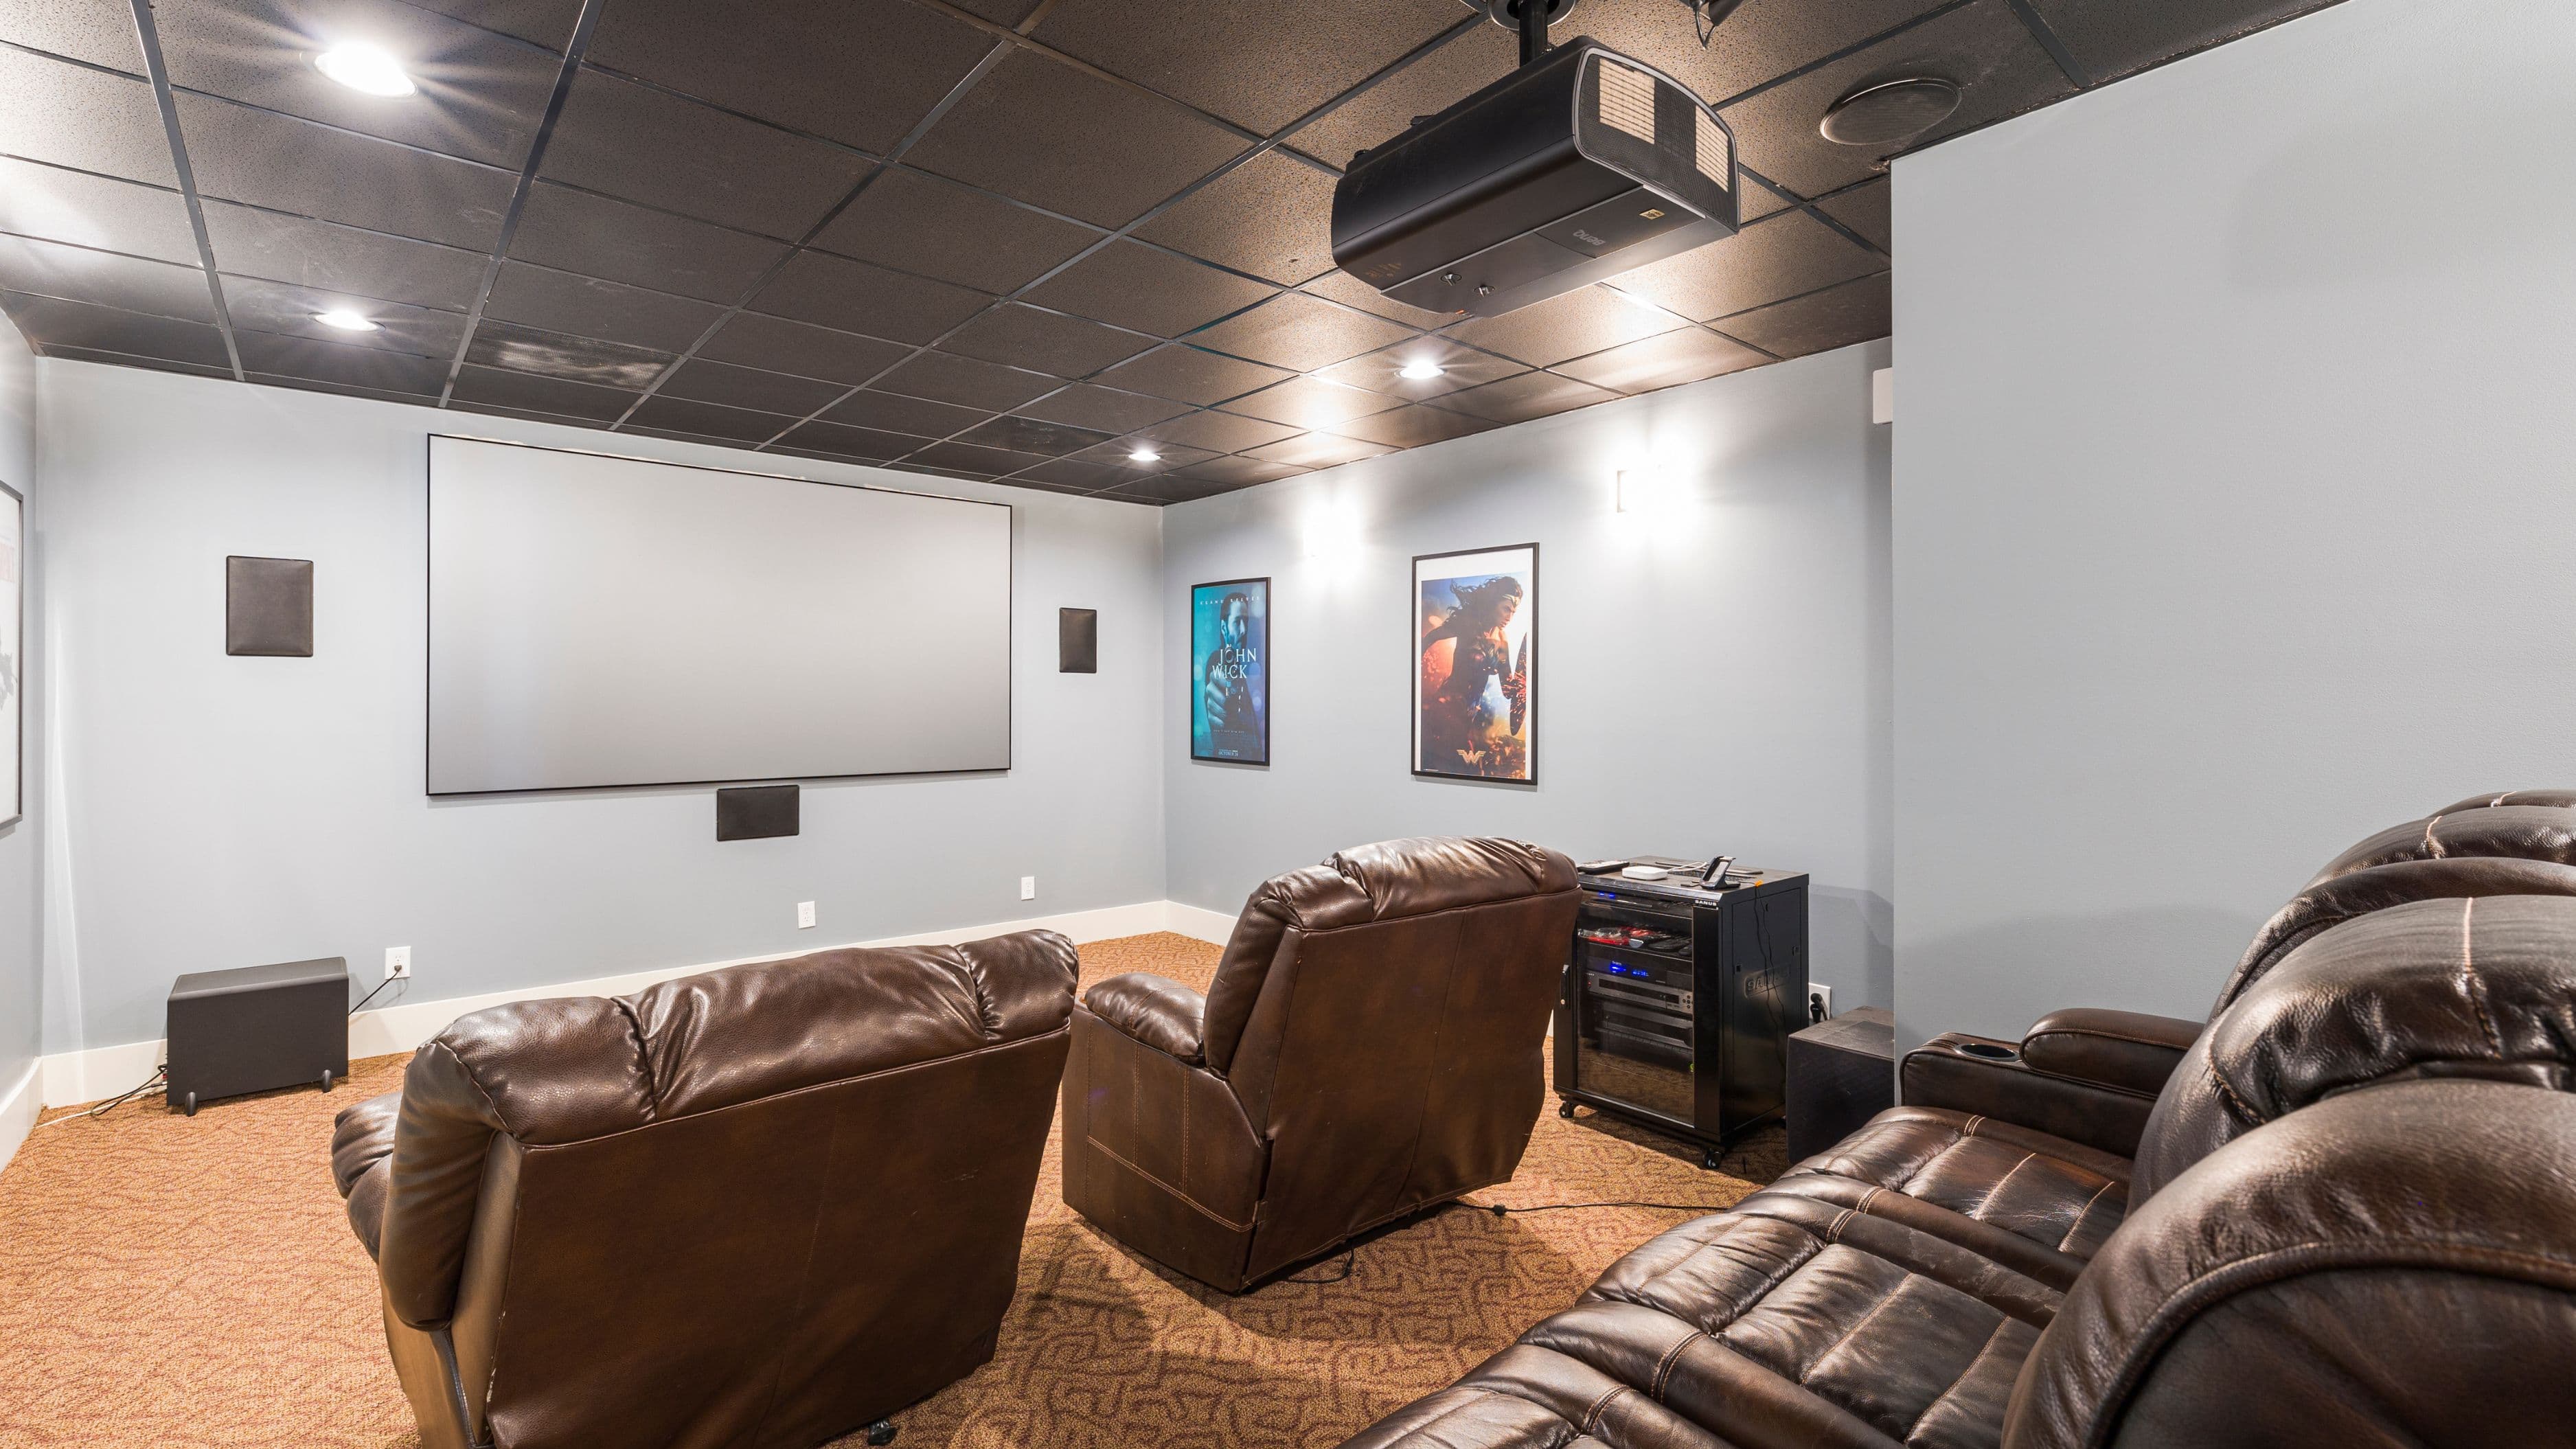
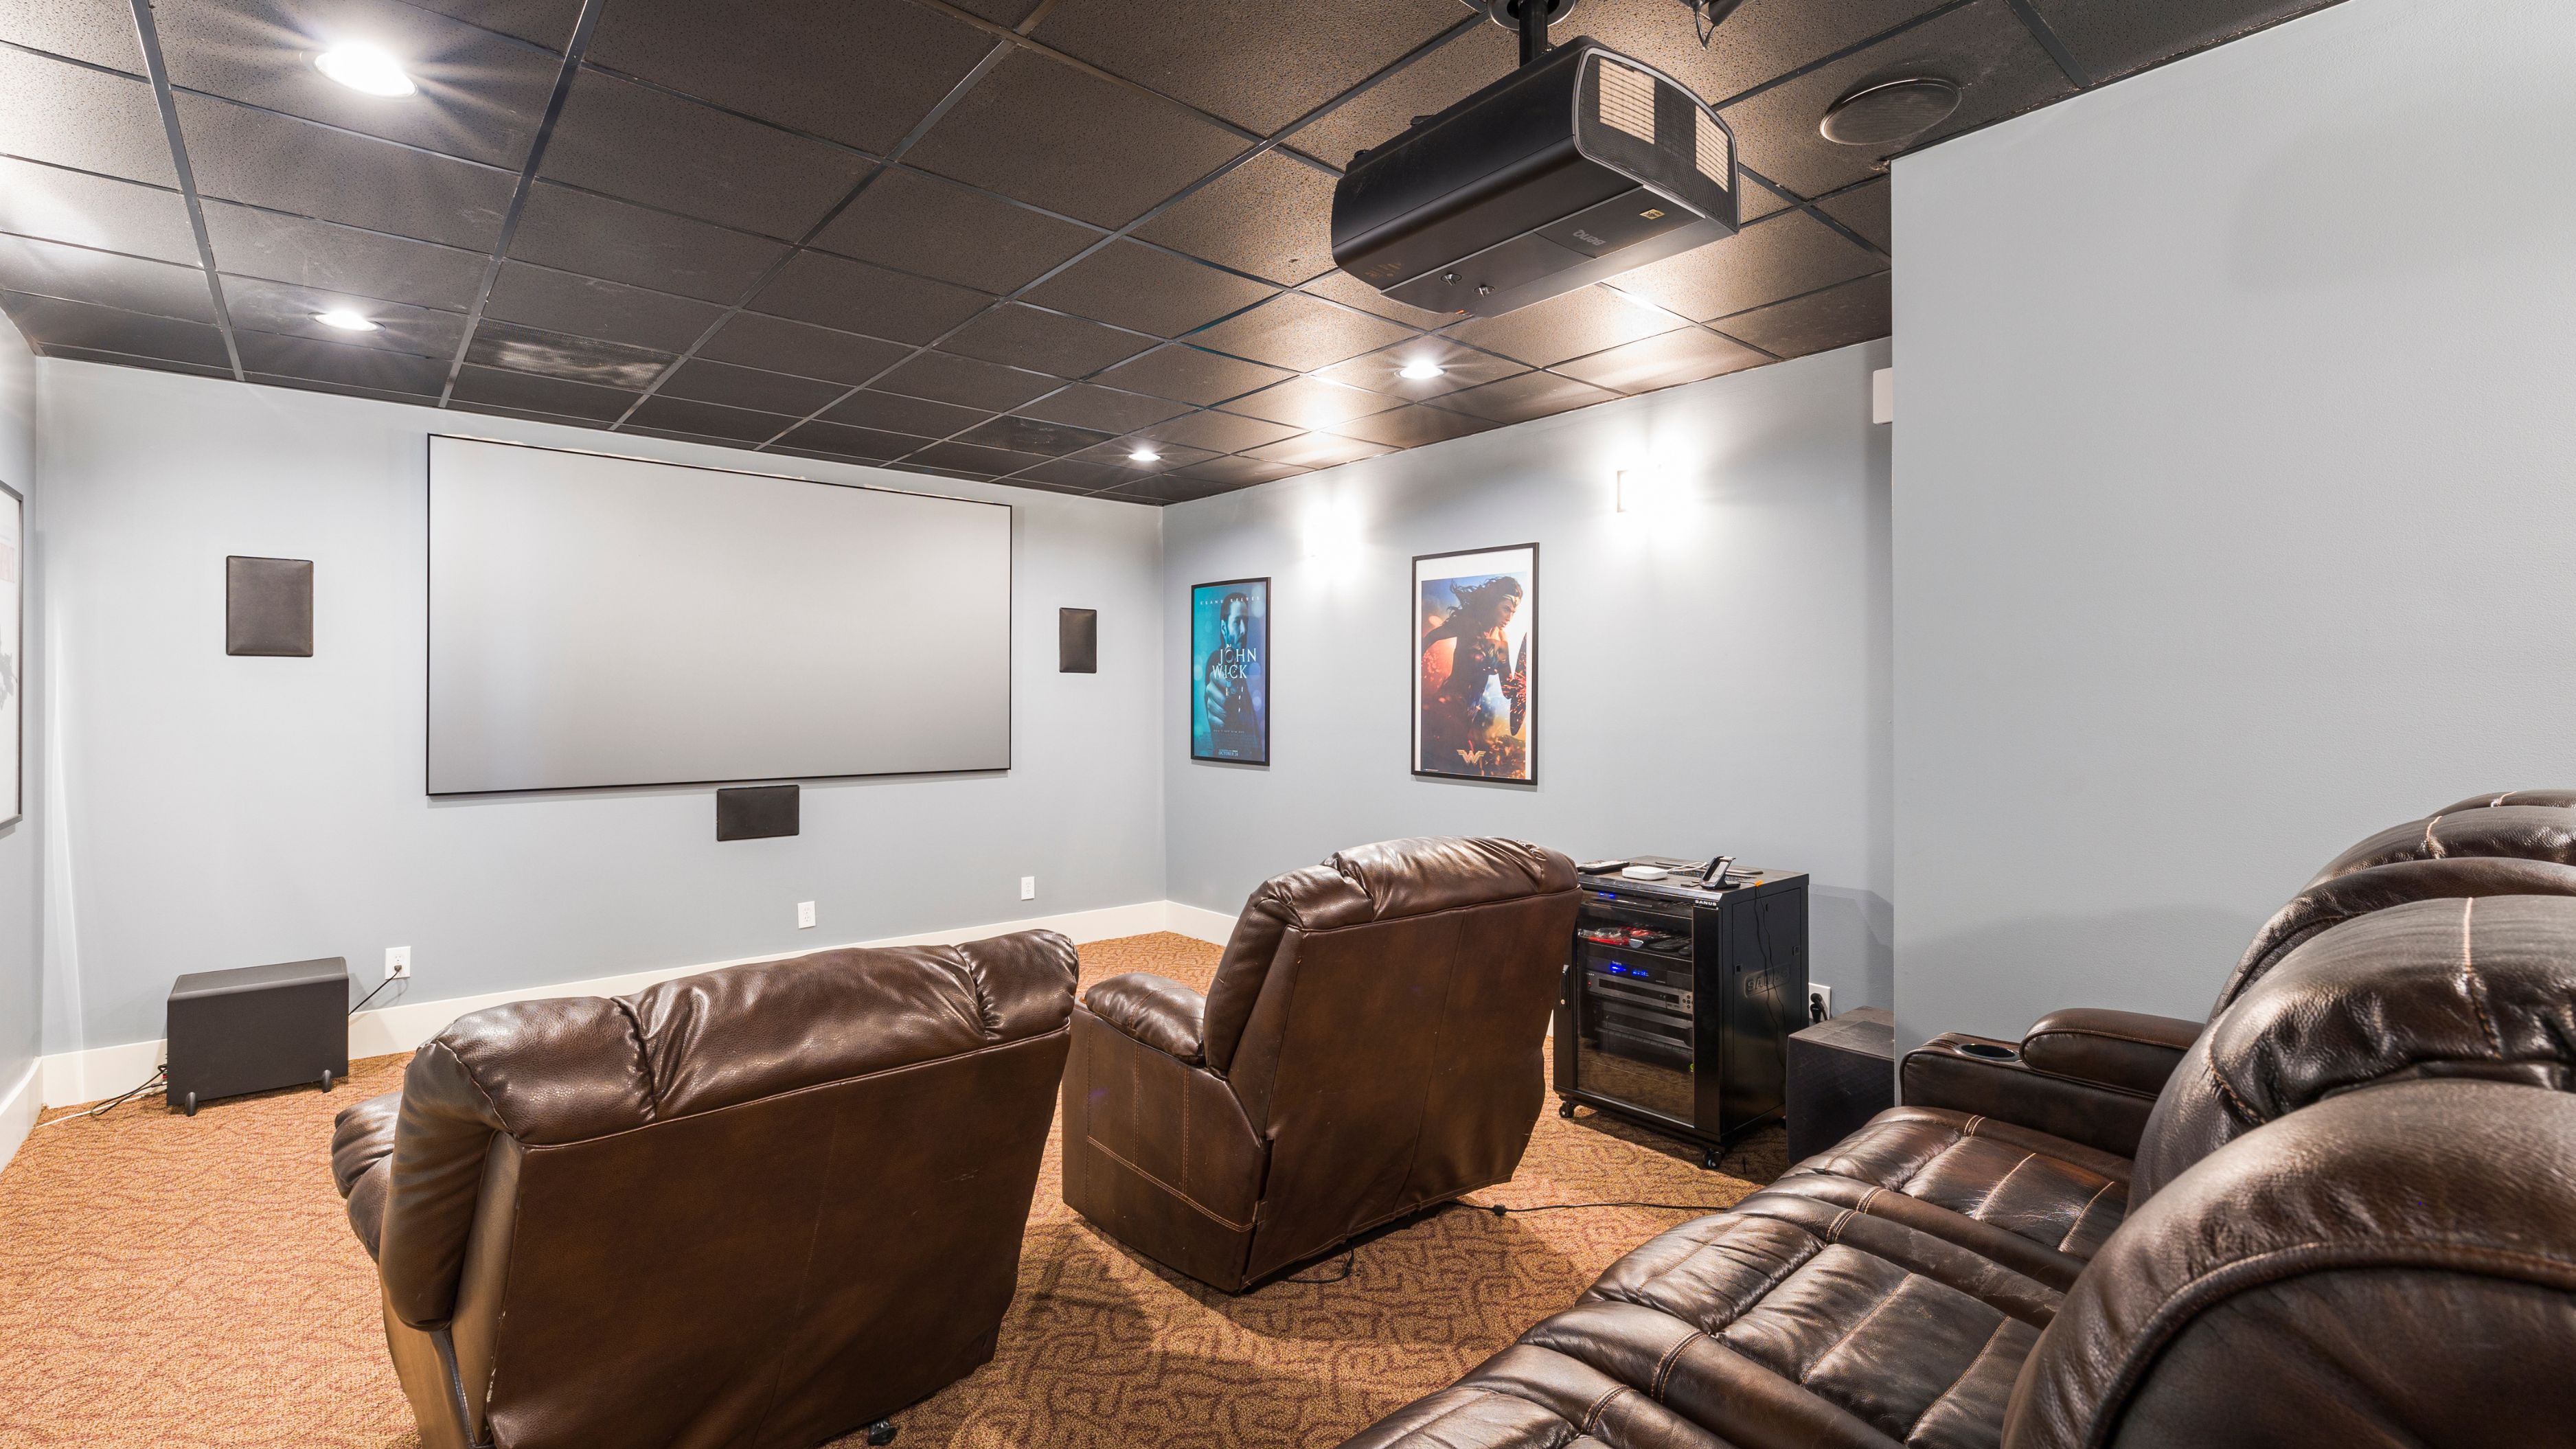
A basic but solid streaming home theater setup includes a TV or projector, a streaming device (built into many modern TVs, or a separate device like a Roku, Apple TV, or Fire TV Stick), an AV receiver or soundbar for audio, and a set of speakers if you're going beyond a soundbar. You don't need every piece to start, and building up gradually is a completely reasonable approach if budget is a concern.
The most common mistake at this stage is buying components that don't match well in terms of connection types or capability, like a 4K TV paired with an older receiver that can't pass through a 4K signal properly, so it's worth checking compatibility before purchasing rather than after.
Step 1: Plan Your Room Layout First
Before buying anything, spend a few minutes thinking through where your seating will actually be relative to the TV or projector screen. A general guideline for TVs is sitting at a distance of roughly 1.5 to 2.5 times the screen's diagonal size for a comfortable, immersive viewing experience without needing to turn your head to see the edges of the screen.
For speaker placement, think about whether your seating area allows for rear or side speakers if you're planning a full surround setup, since running wires or placing wireless rear speakers requires accessible power outlets and reasonable sightlines back to the main seating area.
Time: 15–20 minutes of planning
Cost: Free
Step 2: Mount or Position Your TV
If you're wall-mounting your TV, use a stud finder to locate wall studs and select a mount rated for your TV's weight and size, since mounting into drywall alone without hitting a stud creates a genuine safety hazard. Most TV wall mounts come with clear instructions and only require a drill, a level, and basic hand tools.
If you'd rather avoid wall mounting, a media console or TV stand at the appropriate height (generally with the center of the screen at or near seated eye level) works just as well and avoids any wall modification.
Difficulty: Moderate for wall mounting, easy for a stand
Time: 30–60 minutes
Cost: $30–150 for a mount, depending on size and tilt features
Step 3: Connect Your Streaming Device
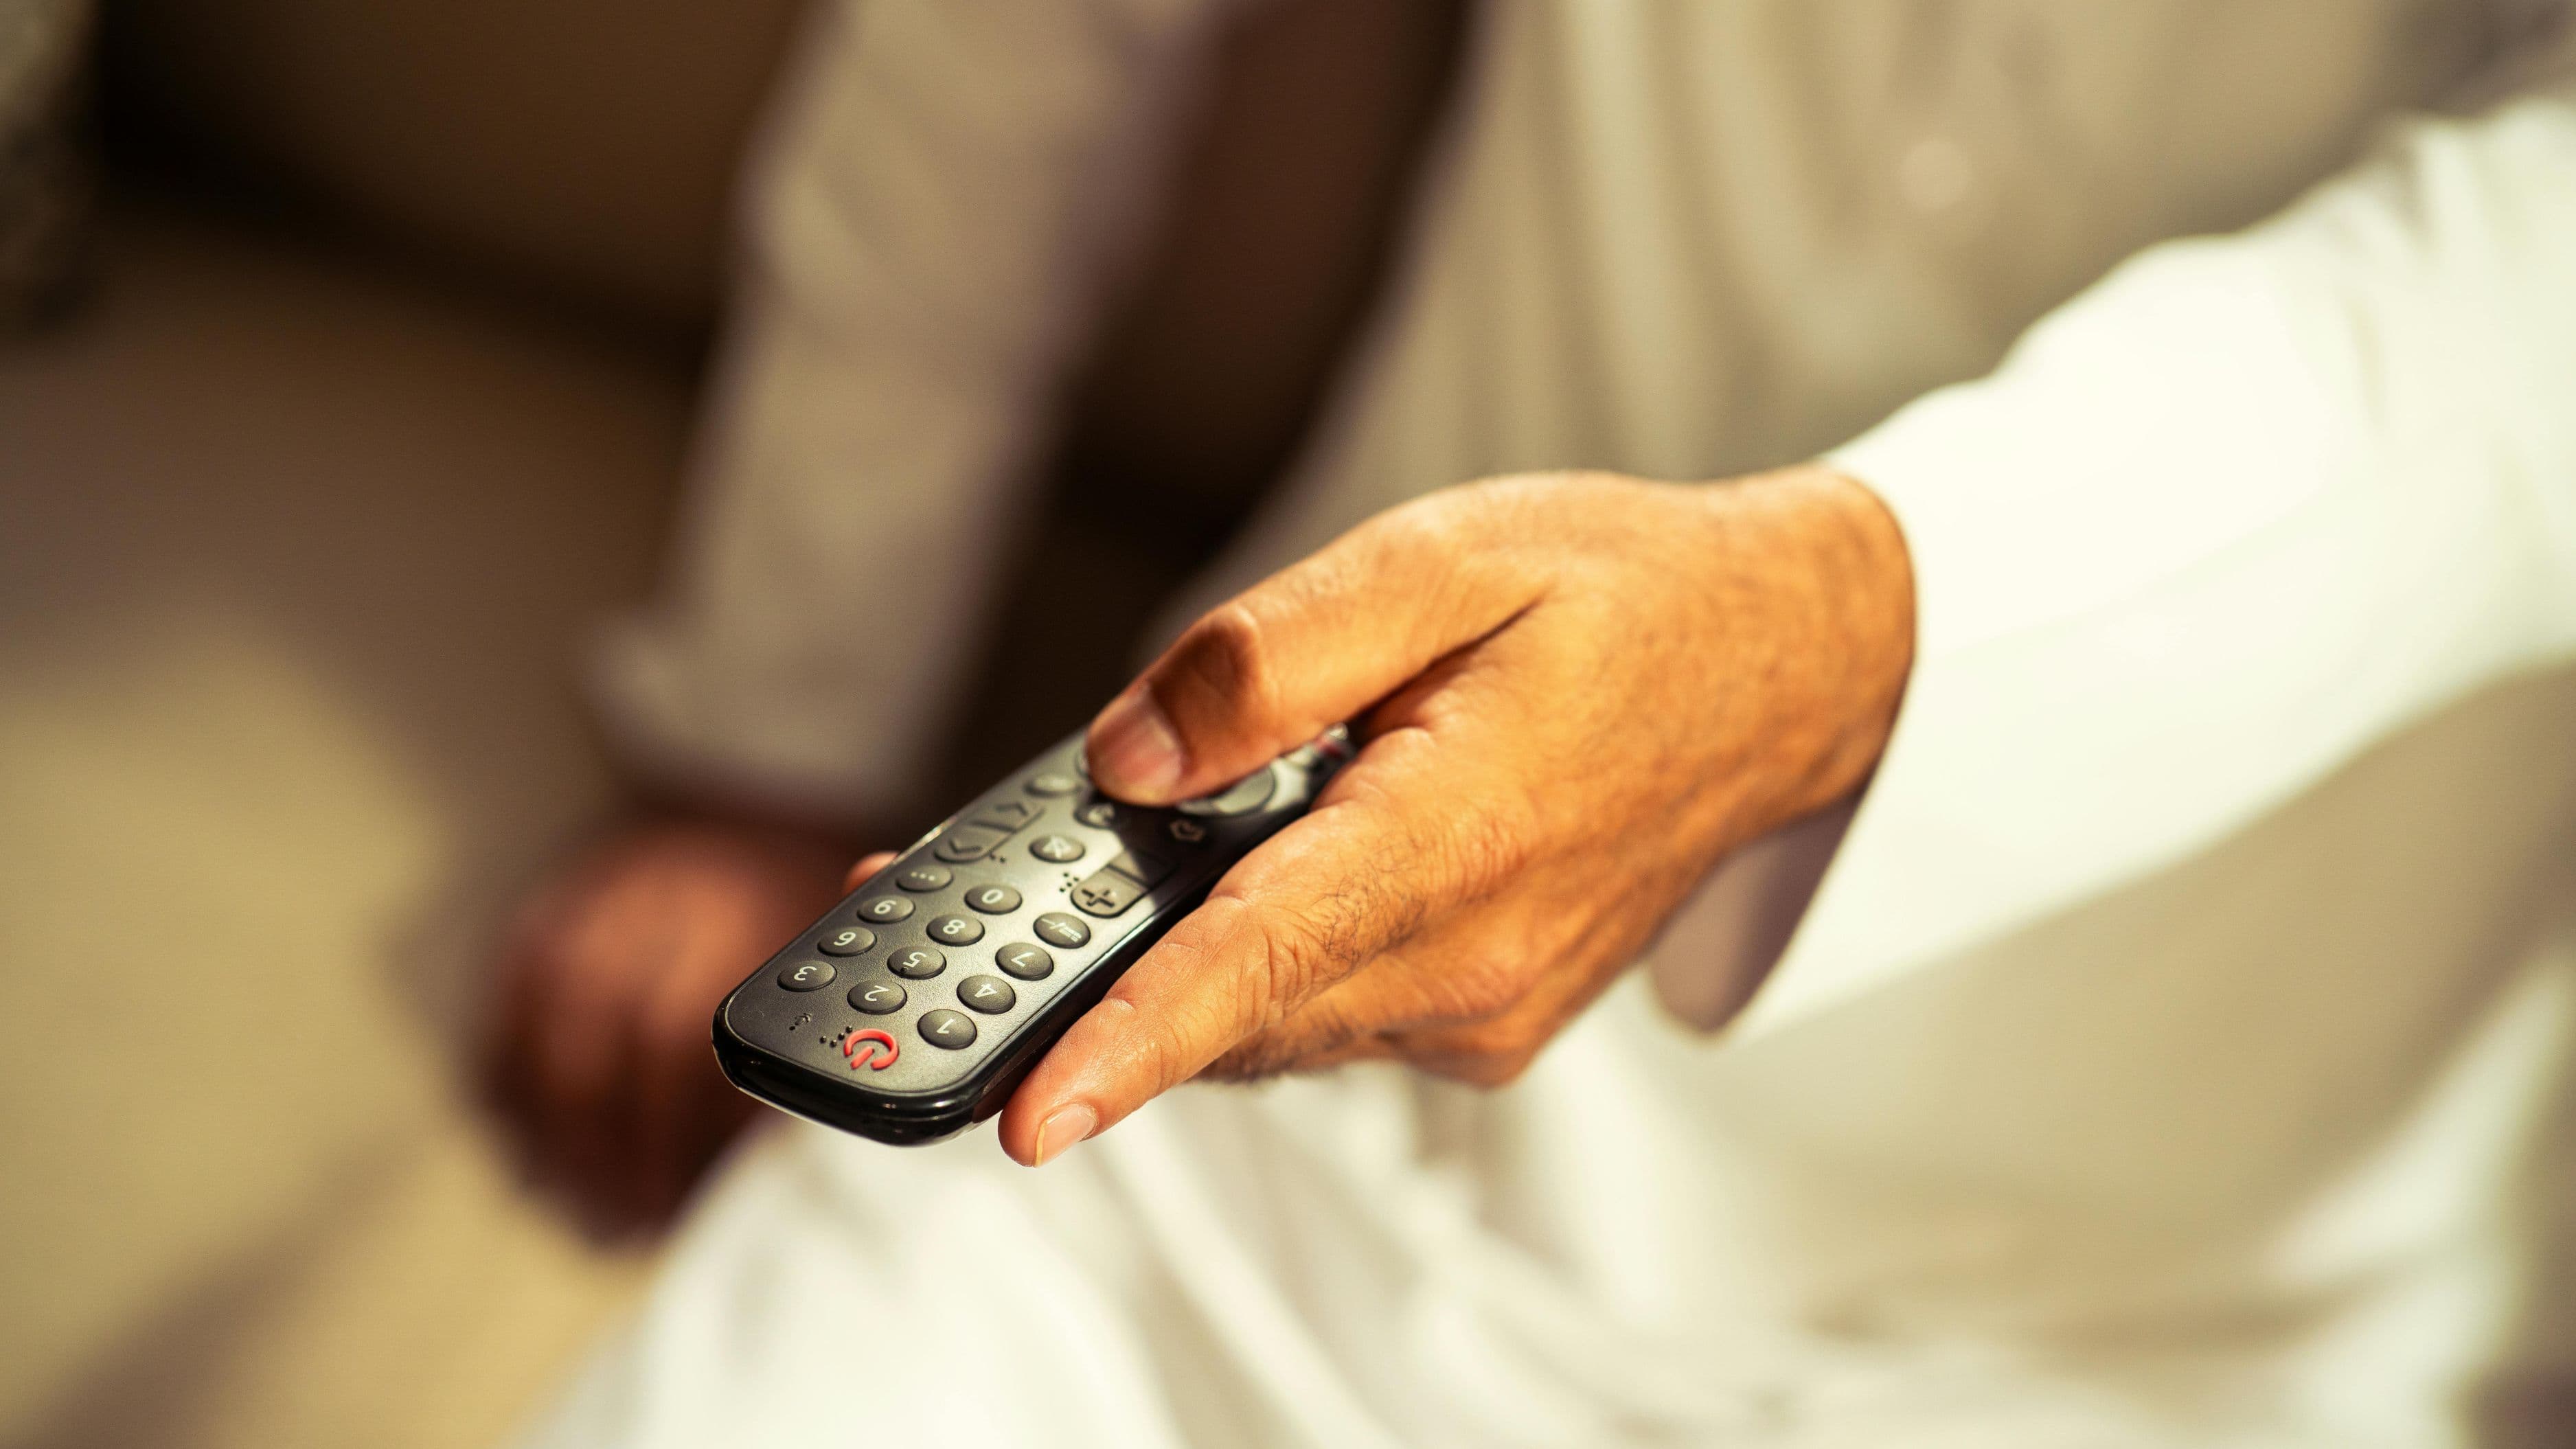
If your TV doesn't already have built-in streaming apps you're happy with, connect a separate streaming device via HDMI. Most modern streaming devices set up through a simple on-screen guide that walks you through connecting to Wi-Fi and signing into your preferred streaming services, typically taking less than 15 minutes from unboxing to first stream.
For the best possible picture quality, connect your streaming device directly to an HDMI port on your TV labeled for the highest bandwidth support (often labeled HDMI 2.1 or marked with an eARC designation), since older or lower-bandwidth HDMI ports can limit resolution or refresh rate on newer devices and TVs.
Difficulty: Easy
Time: 15–20 minutes
Cost: $30–60 for a mid-range streaming device, if not already built into your TV
Step 4: Set Up Your Audio System
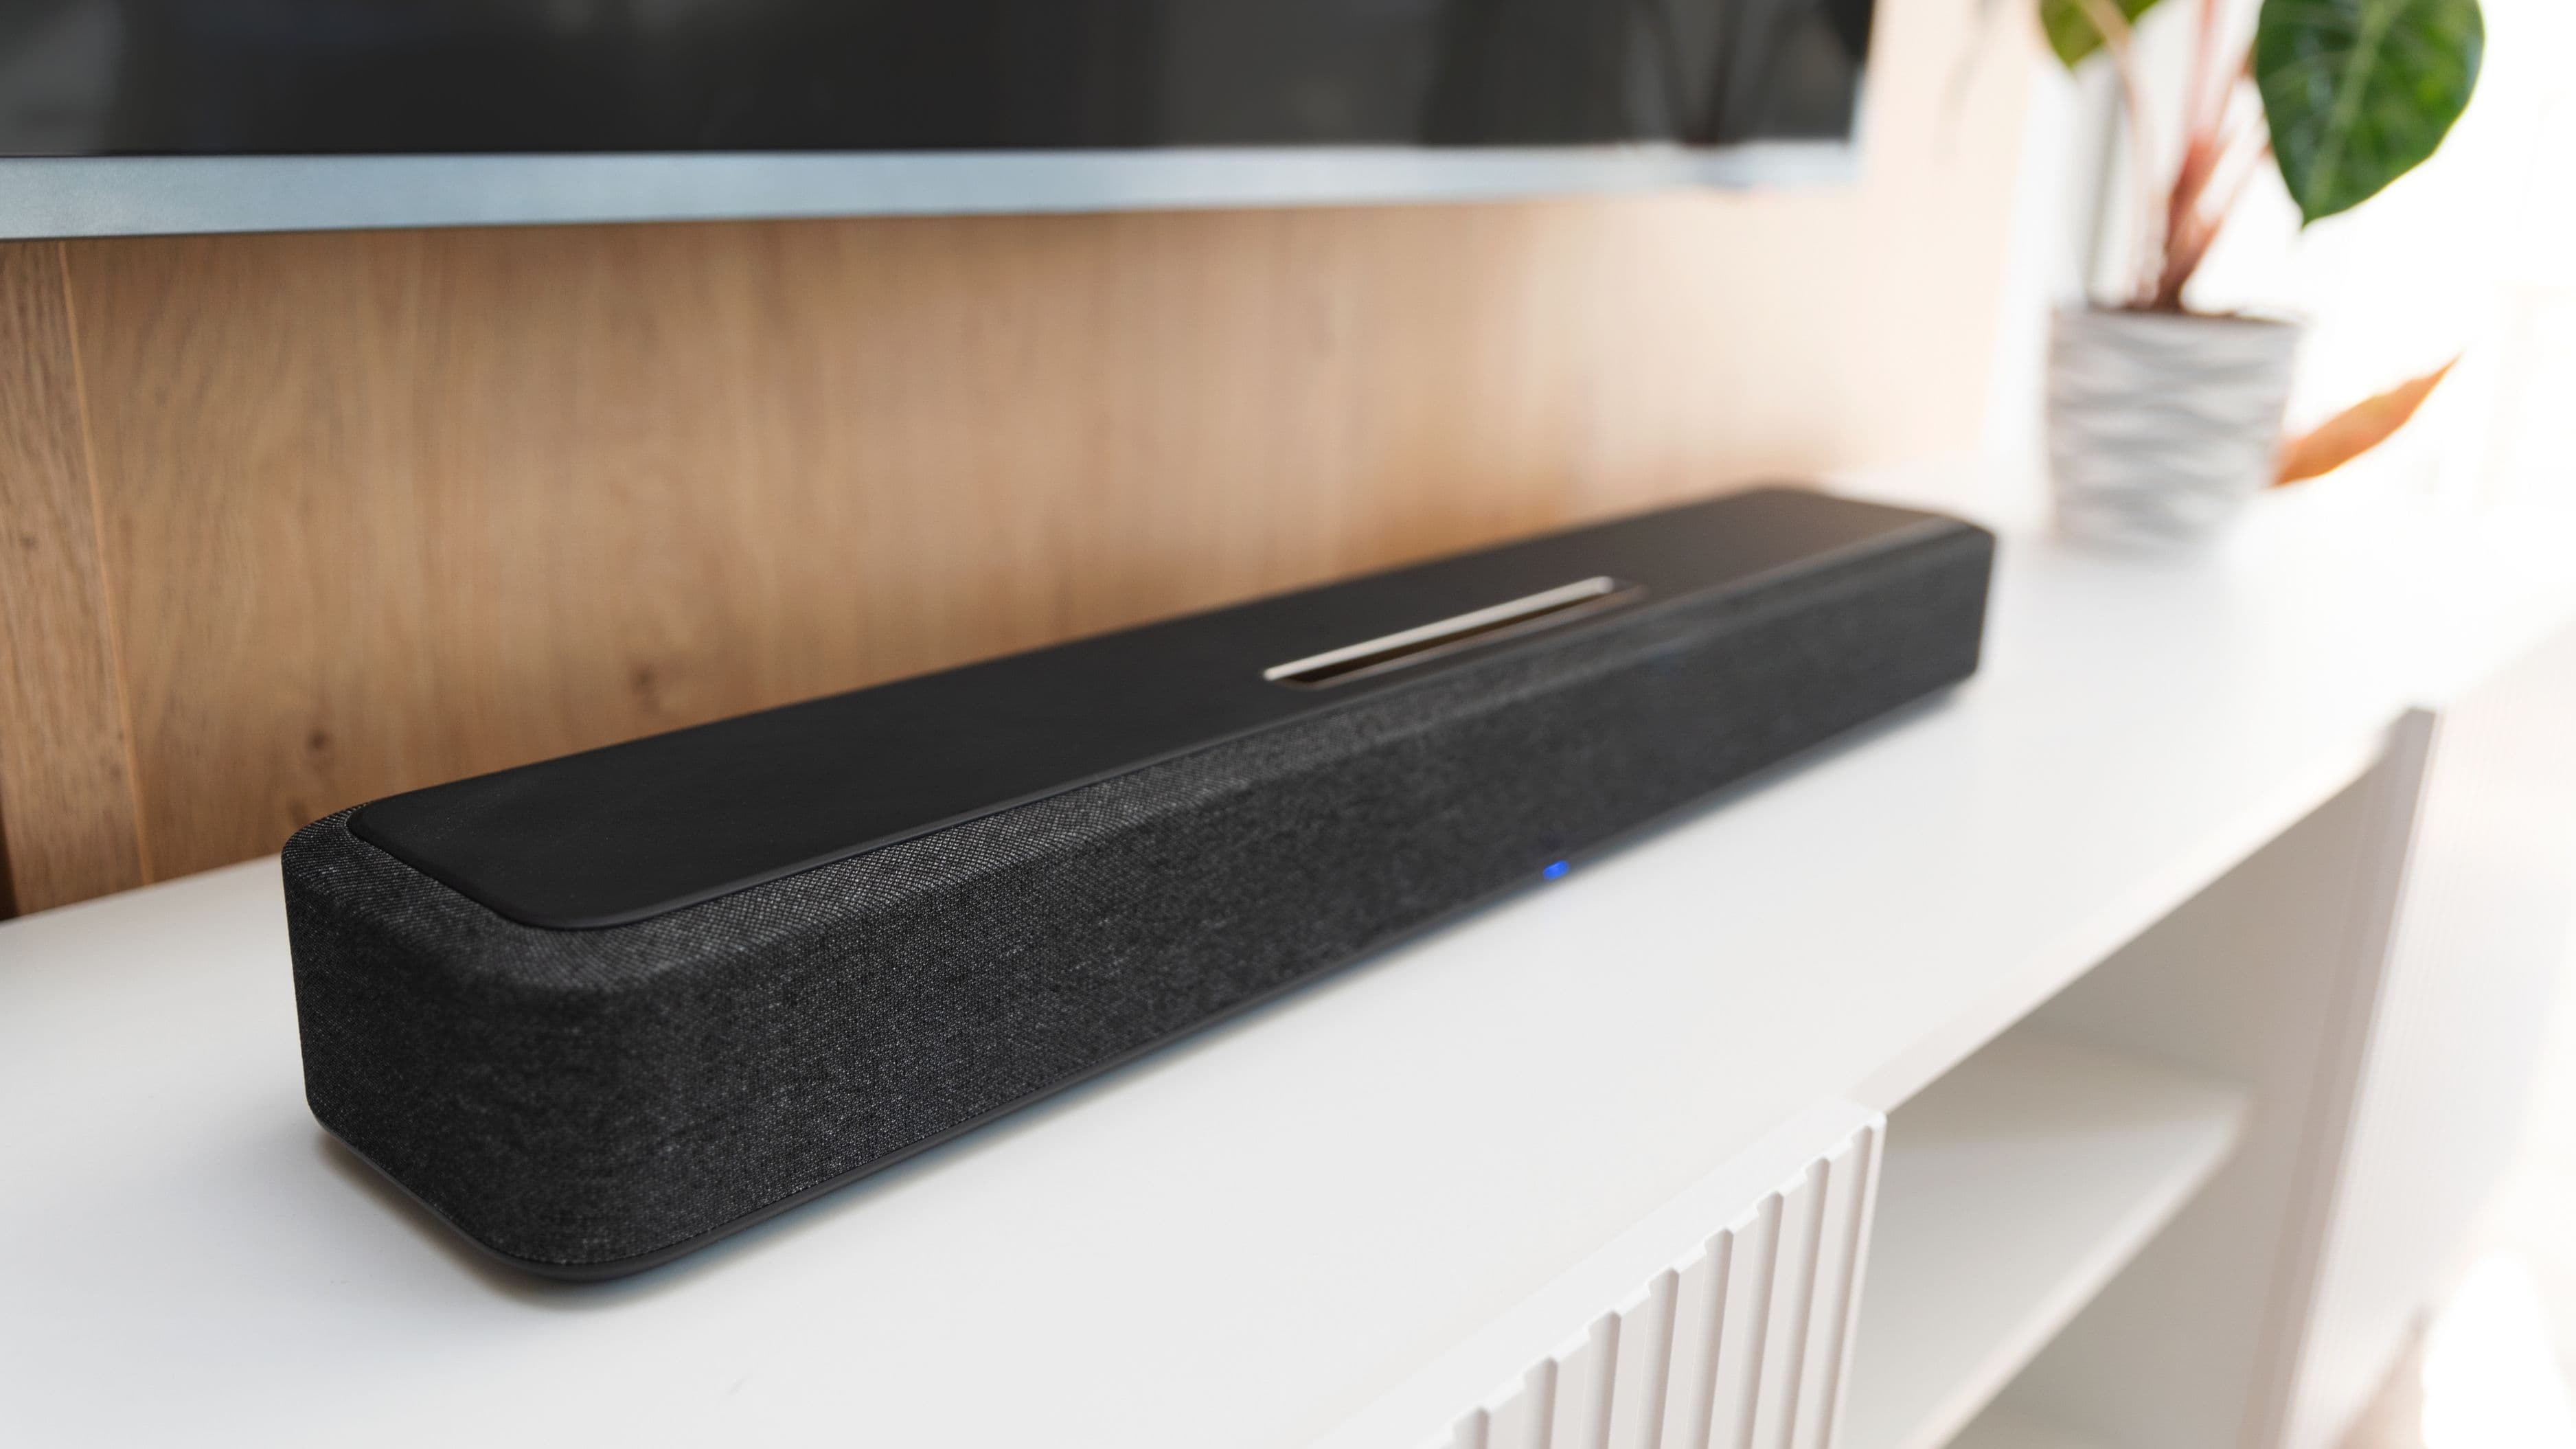
For a simple upgrade from TV speakers, a soundbar connects via a single HDMI cable (using the ARC or eARC port on your TV) and typically sets up in under 15 minutes, including pairing any included wireless subwoofer.
For a full AV receiver and speaker setup, connect your streaming device and any other sources directly into the receiver rather than the TV, then connect the receiver to the TV via HDMI ARC/eARC. Run speaker wire to your front, center, and any surround speakers, making sure to match positive and negative terminals correctly on both the receiver and each speaker to avoid a poor audio phase later.
Difficulty: Easy (soundbar) to moderate (full receiver and speaker setup)
Time: 20 minutes (soundbar) to 1–2 hours (full surround setup)
Cost: $150-400 for a good soundbar, $400-800+ for a receiver and speaker package
Step 5: Run the Automatic Speaker Calibration
Most AV receivers include a built-in microphone and automatic calibration feature that measures your room's acoustics and adjusts speaker levels, distances, and equalization accordingly. Running this calibration, typically a 5-10 minute guided process where the receiver plays test tones through each speaker, makes a meaningful difference in overall sound quality and is a step that's easy to skip but shouldn't be.
Position the calibration microphone at approximately ear height in your primary seating position for the most accurate results.
Difficulty: Easy
Time: 10–15 minutes
Cost: Included with most receivers
Step 6: Optimize Your Wi-Fi for Streaming
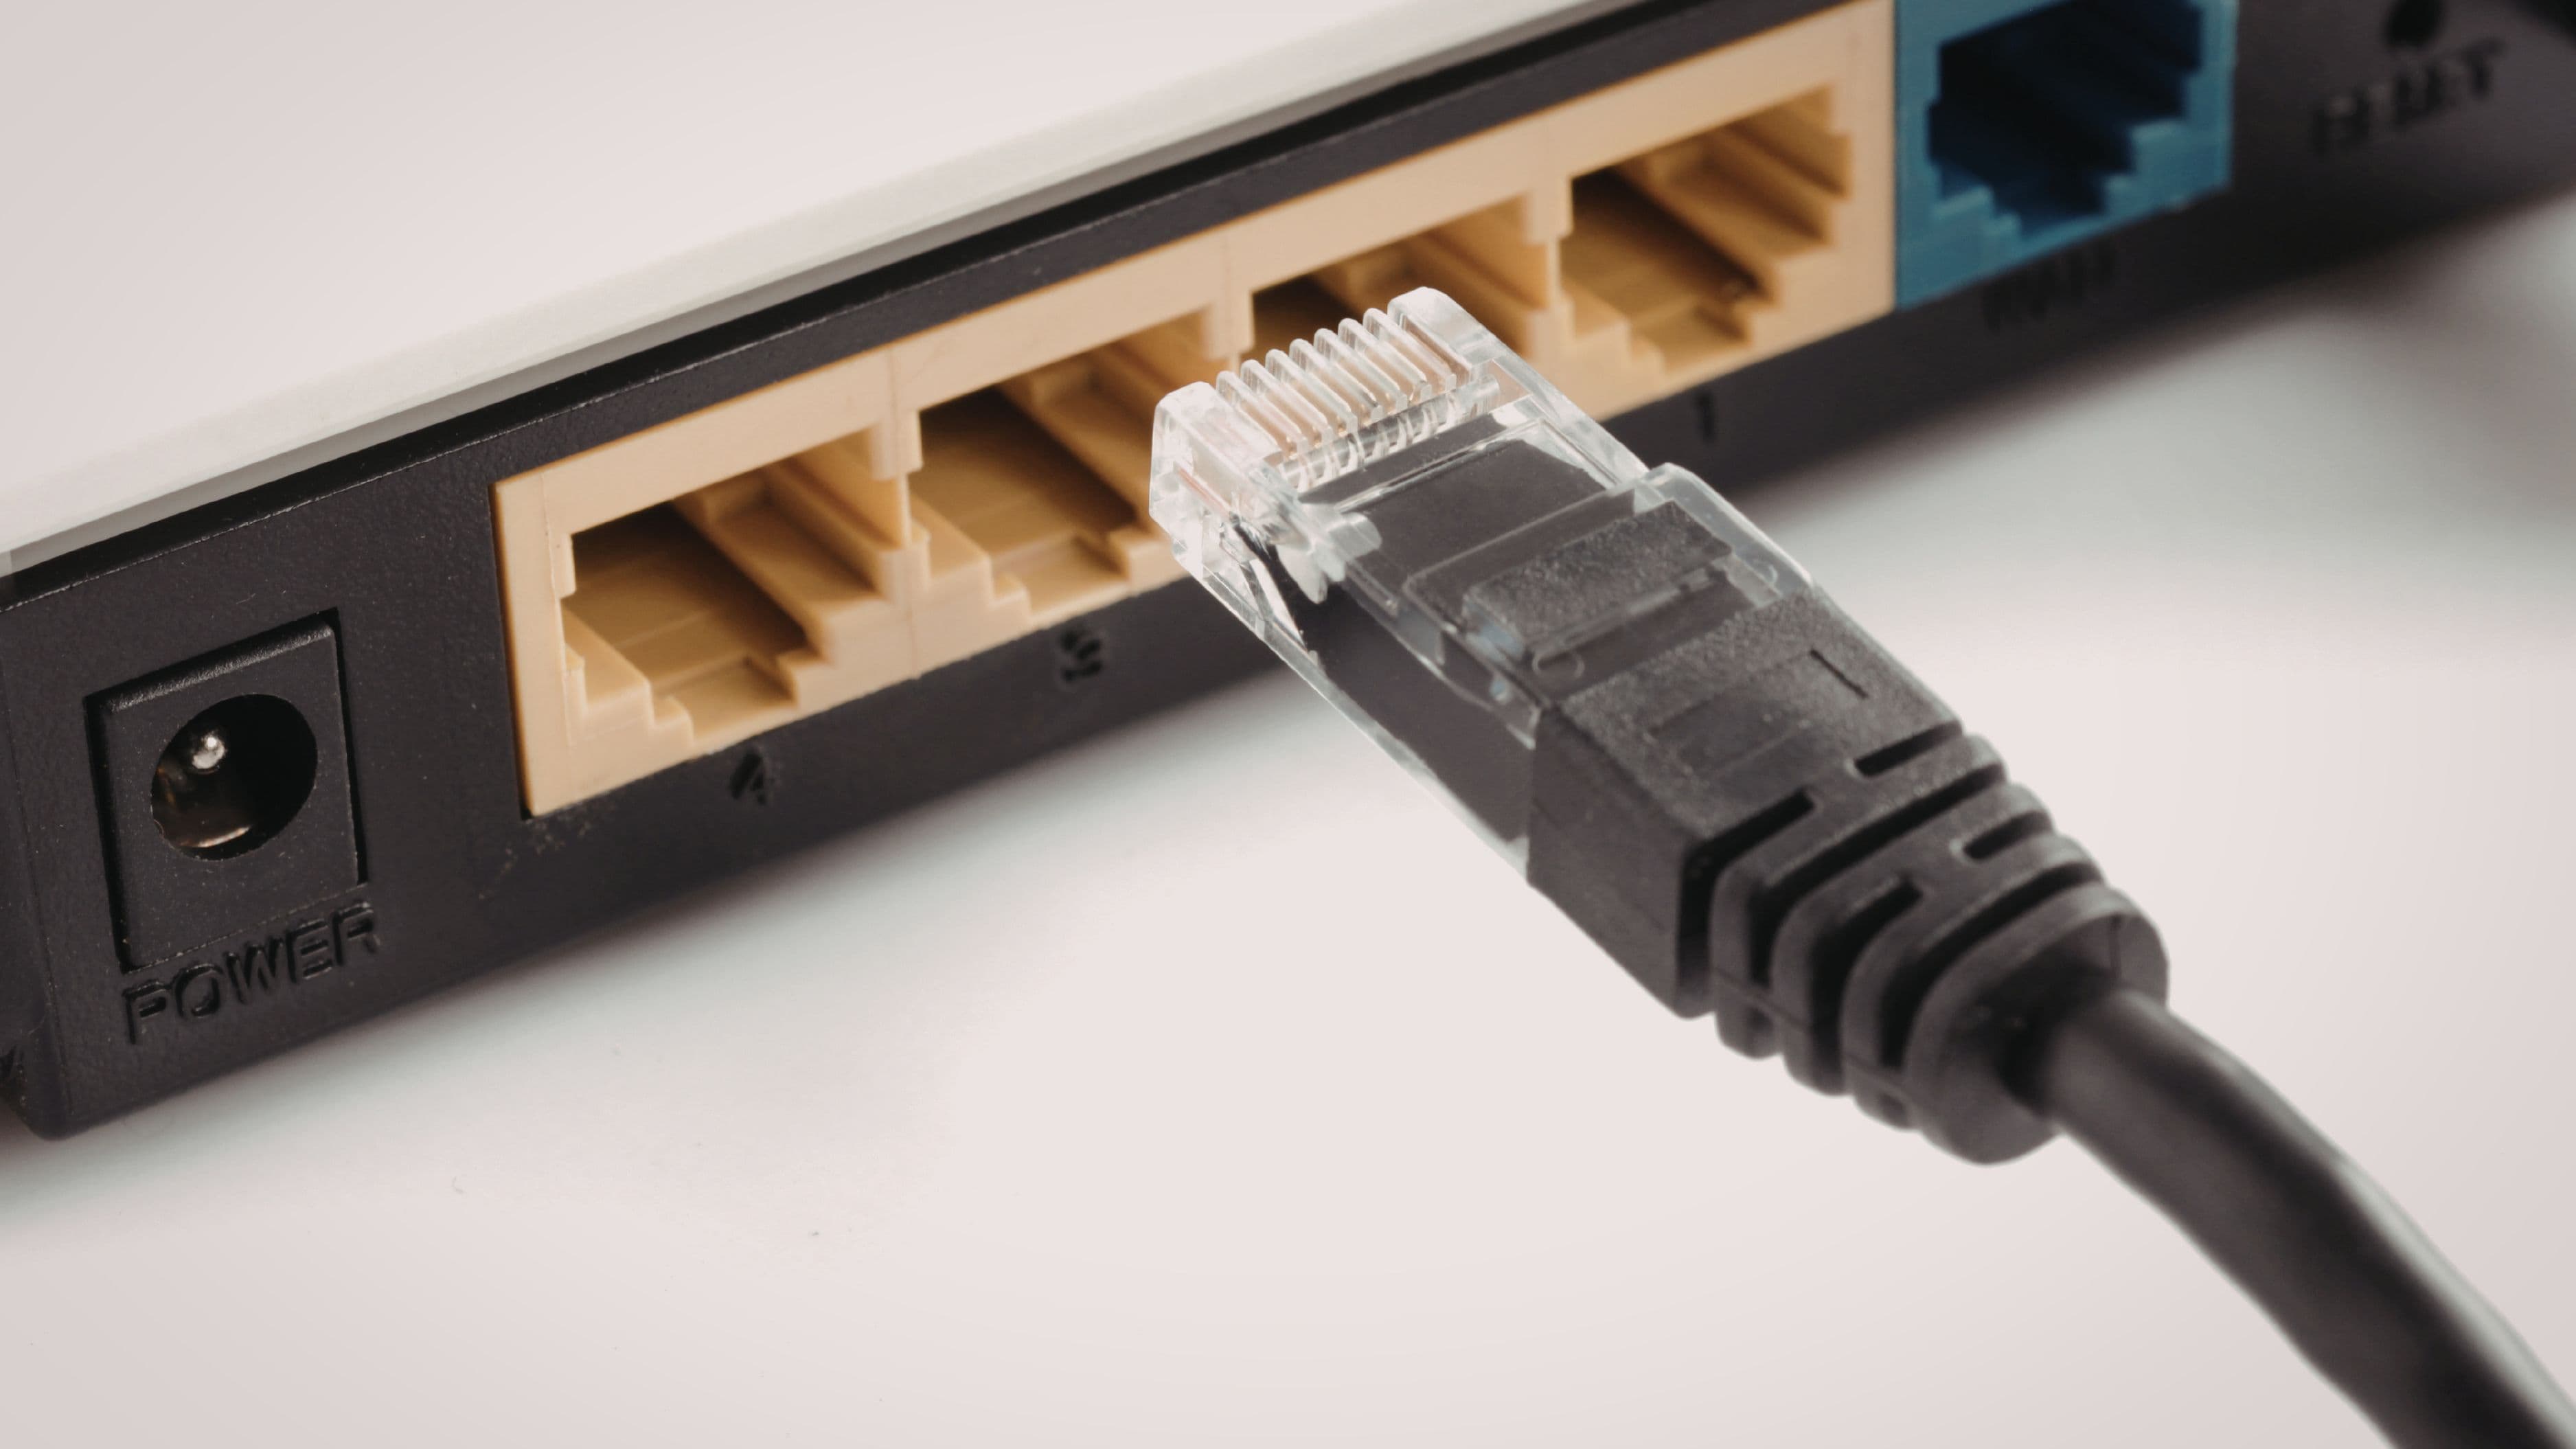
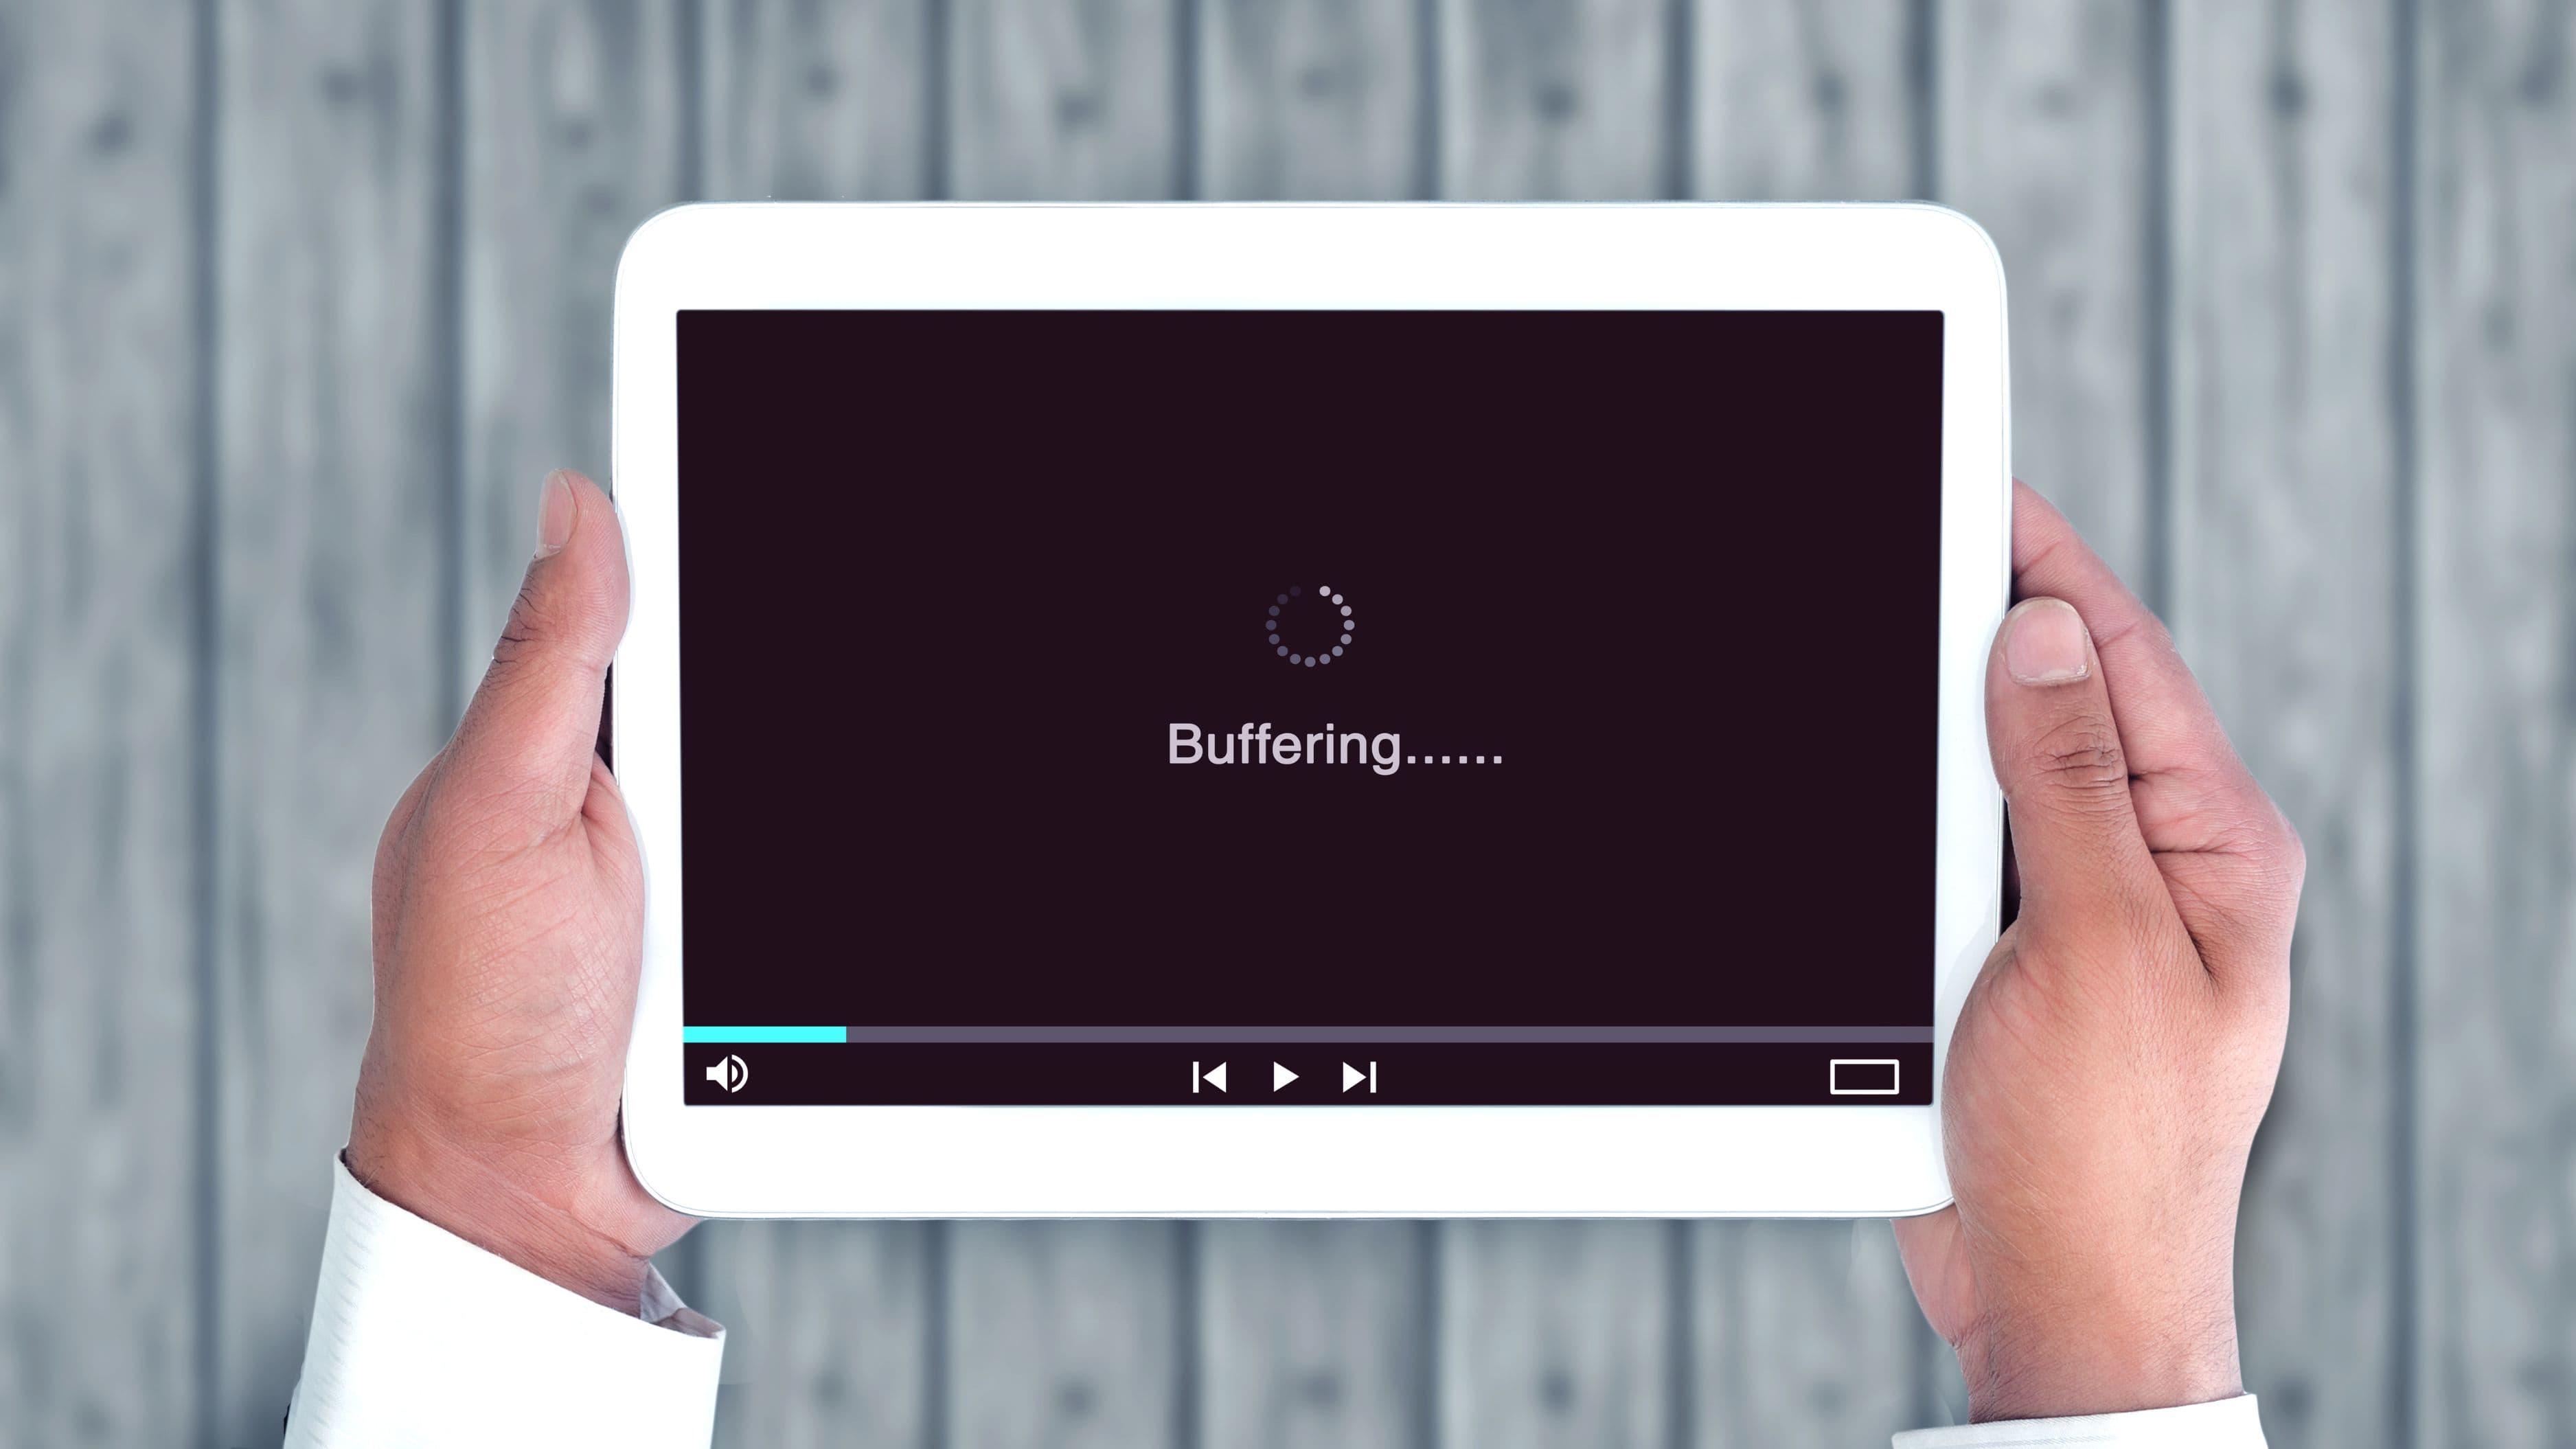
A home theater setup is only as good as the internet connection feeding it, and streaming 4K content reliably typically requires a stable connection of at least 25 Mbps, with more headroom needed if multiple devices are streaming simultaneously in your home. If your streaming device is far from your router, consider a wired ethernet connection for the most reliable performance, or a mesh Wi-Fi system if wiring isn't practical.
Difficulty: Easy to moderate, depending on your home's layout
Time: 15–30 minutes to test and adjust
Cost: $0 if your existing network is sufficient, $100-300 for a mesh system if needed
Common Mistakes to Avoid
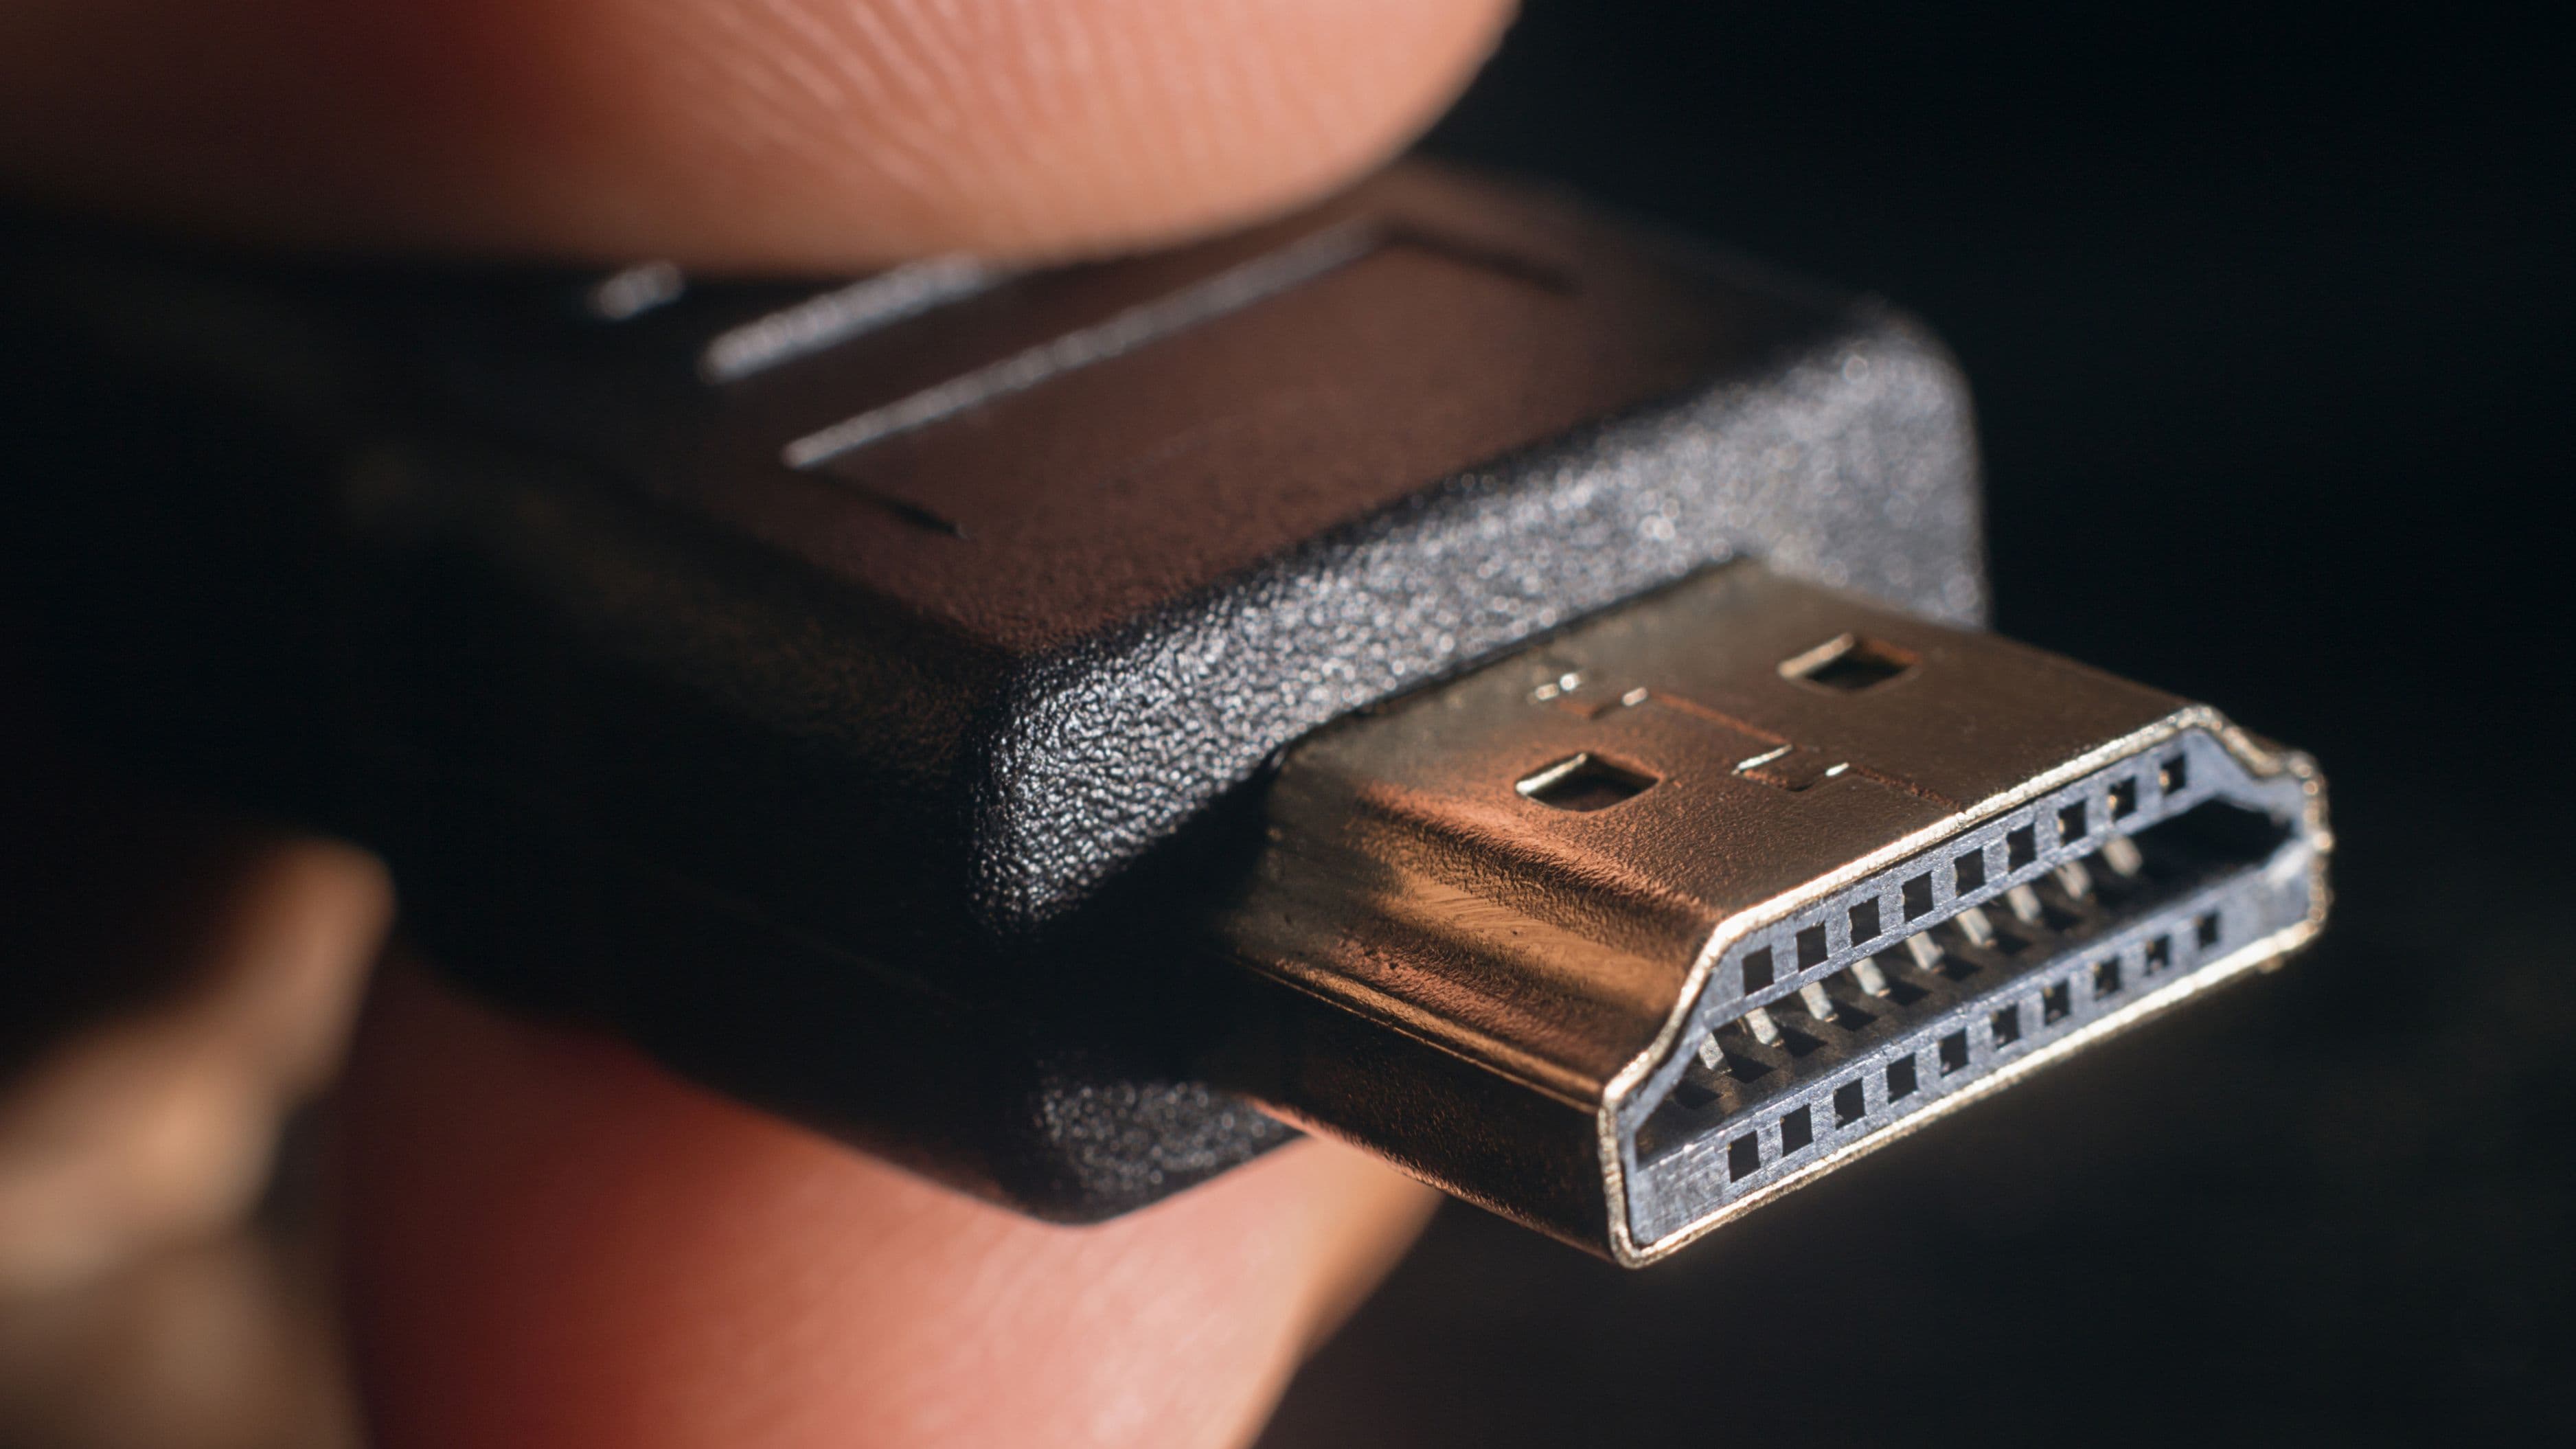
A frequent mistake is under-investing in cables, particularly HDMI cables, especially for longer runs or higher resolution and refresh rate needs, which can cause intermittent picture issues that are frustrating to troubleshoot. Buying a certified high-speed or ultra-high-speed HDMI cable appropriate for your specific resolution and refresh rate needs avoids this problem for a relatively small cost difference.
Another common issue is skipping the speaker calibration step or manually setting speaker distances incorrectly, which can create an unbalanced sound stage even with high-quality speakers. It's also worth avoiding placing a subwoofer directly in a room corner without any testing, since corner placement can sometimes create excessive bass buildup at certain frequencies, and a bit of experimentation with placement often improves sound quality meaningfully.
What to Avoid
Skip running speaker wire through walls without checking for existing electrical wiring or plumbing first, since this creates a real safety hazard. If in-wall wiring is something you want for a cleaner look, in-wall rated speaker wire and fish tape designed for this purpose make the job more manageable, though running wire through finished walls is one of the more advanced steps in this process and can reasonably be left to a professional if you're not comfortable with it.
When to Consider Professional Help
If your setup involves significant in-wall wiring, a dedicated home theater room build-out, or a projector requiring precise ceiling mounting and calibration, bringing in a professional for those specific elements while handling the rest yourself is a reasonable middle ground. Most standard living room streaming setups, though, are well within reach of a motivated DIYer with a free afternoon.
FAQ
Do I need an AV receiver if I already have a soundbar? No. A quality soundbar is a legitimate standalone option for many people and skips the added complexity and cost of a full receiver and speaker setup, while still providing a significant upgrade over built-in TV speakers.
How much should I budget for a basic DIY home theater setup? A solid entry-level setup with a soundbar and a good streaming device can be assembled for $300-500, while a more complete surround sound setup with a receiver typically runs $800-1,500 depending on speaker quality.
Is 4K streaming worth the extra setup complexity? For most people with a 4K-capable TV, yes, since the picture quality improvement is noticeable, and modern streaming devices and services have made 4K content widely accessible without significant additional setup complexity beyond ensuring adequate internet speed.
📚 Sources
Federal Communications Commission – Broadband Speed Guide – https://www.fcc.gov/consumers/guides/broadband-speed-guide
Consumer Technology Association – Home Theater Setup Resources – https://www.cta.tech/