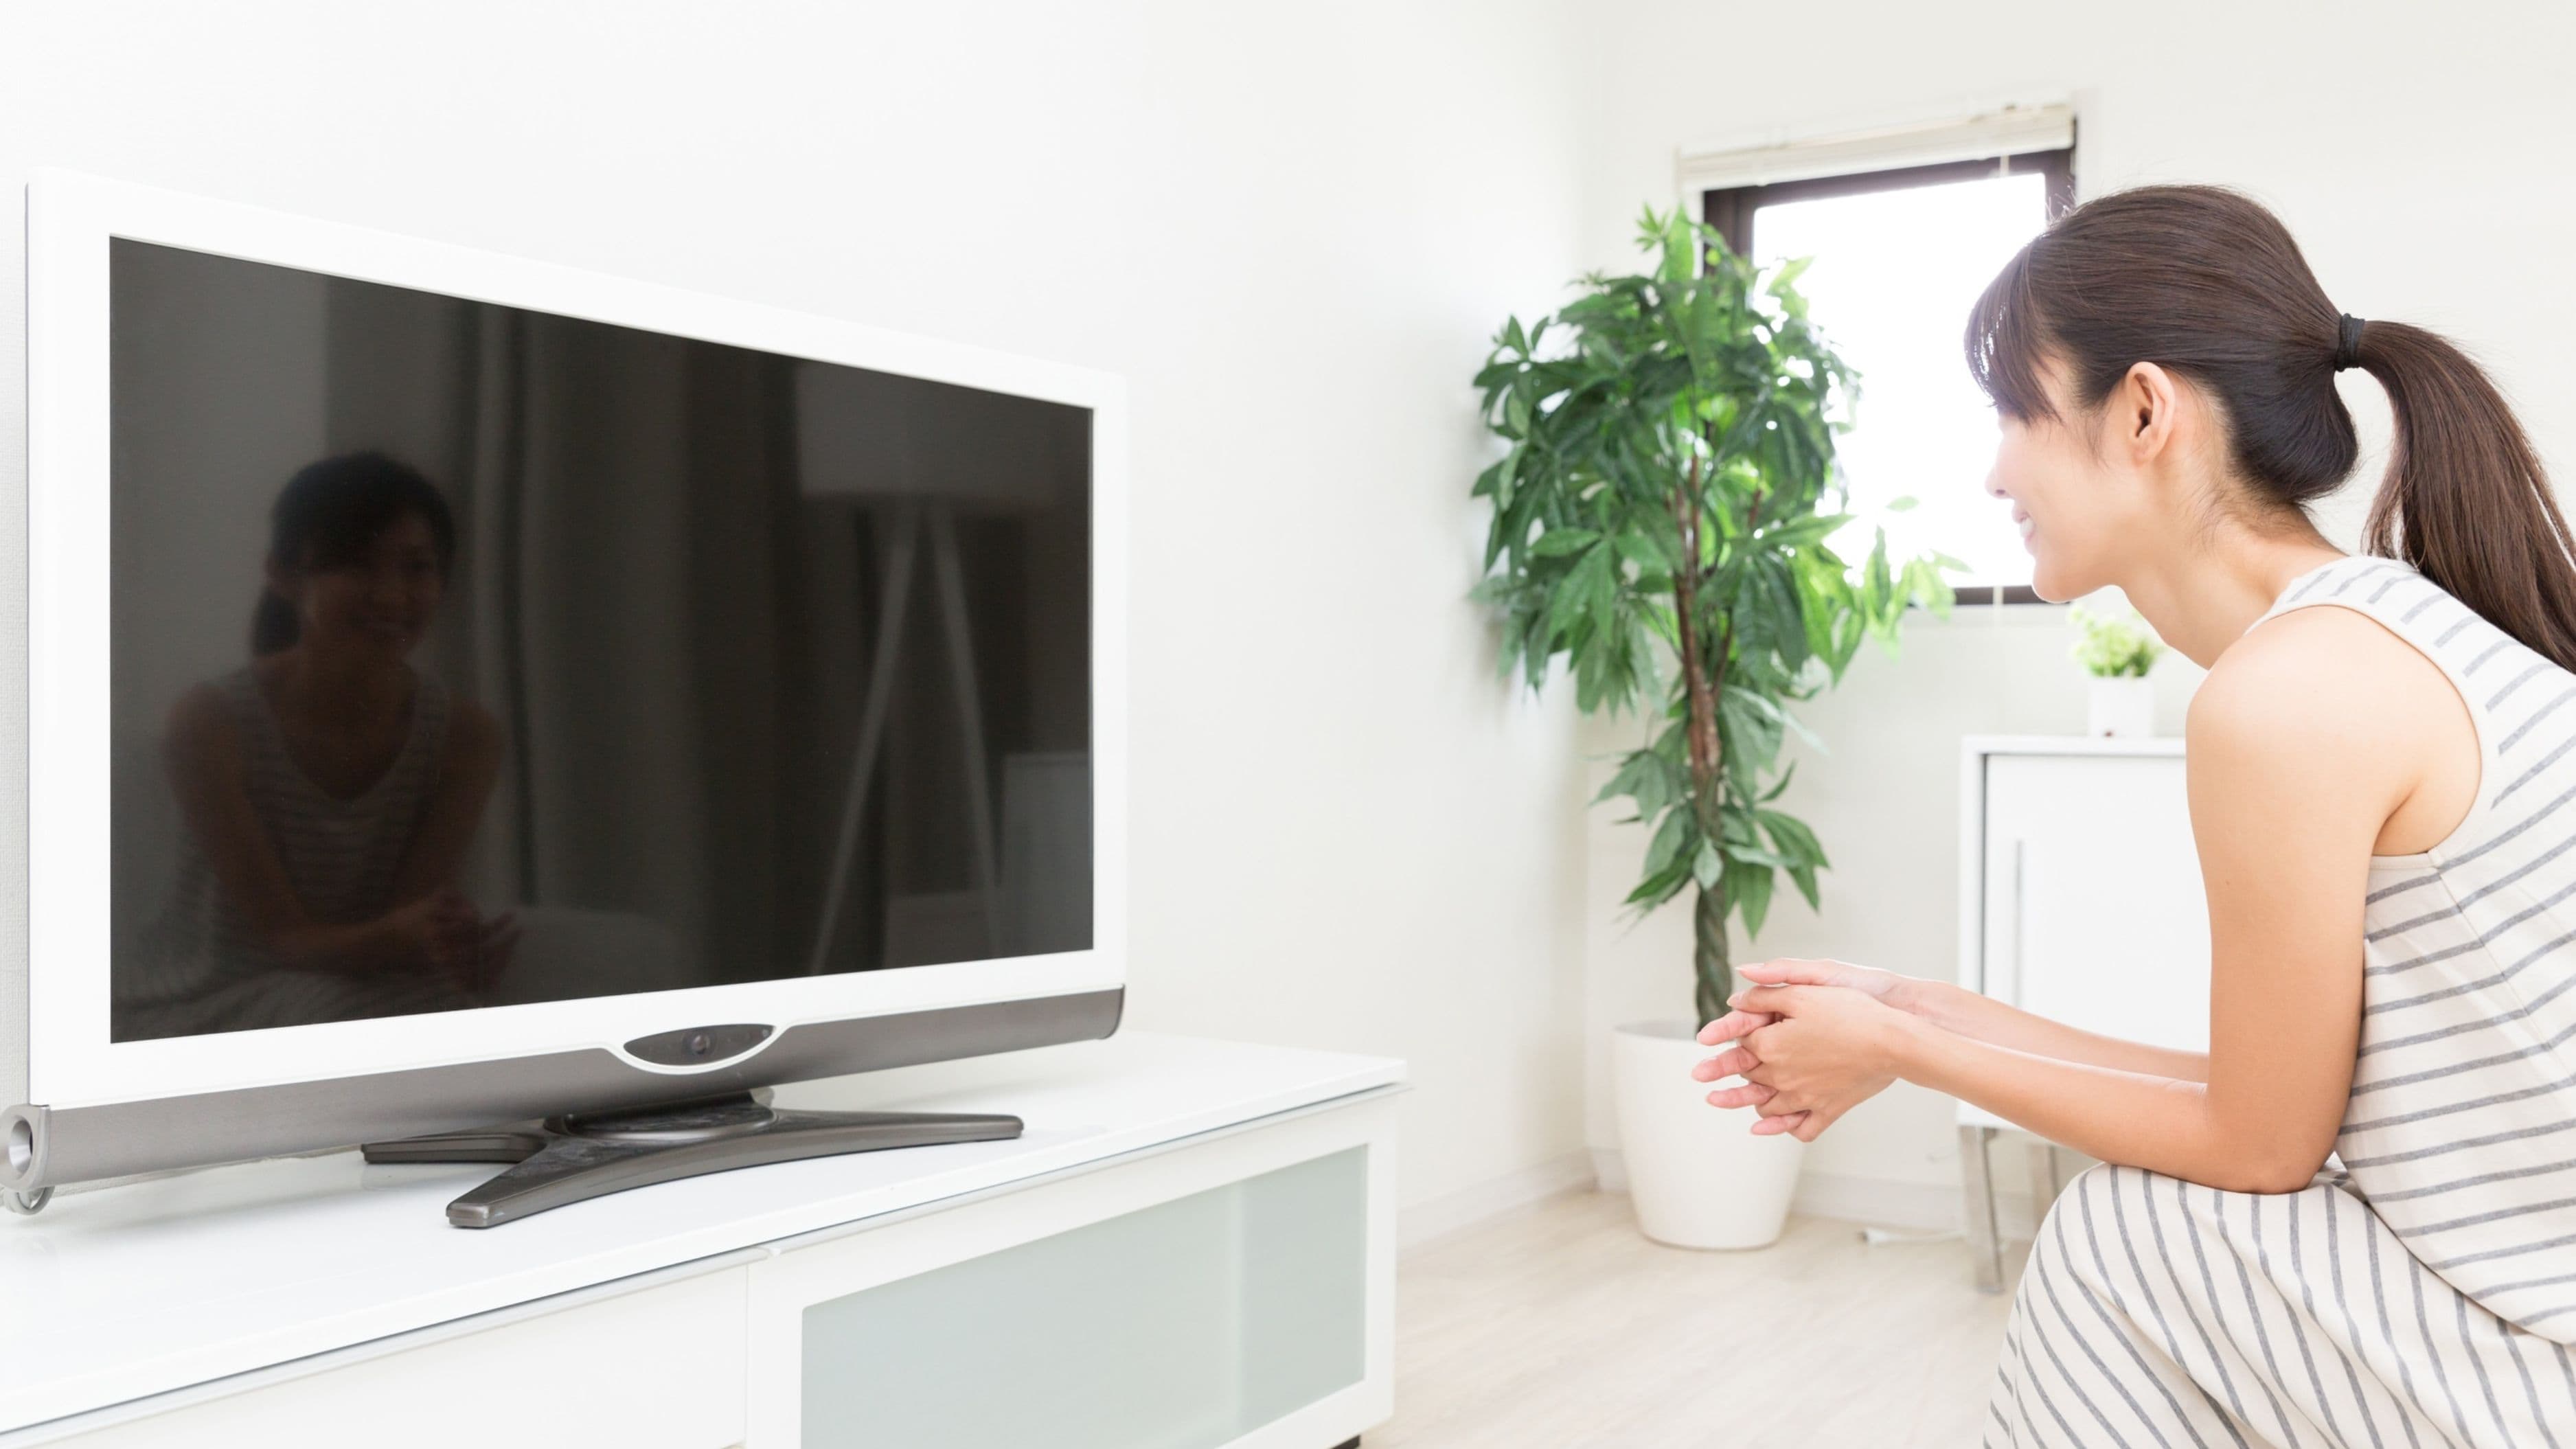

This guide walks you through exactly how to do it, which devices work with which TVs, and what to do if your TV is missing the port you need.
What You Need Before You Start
Before picking a streaming device, you need to know what inputs your TV has. Flip it around or check the side panel and look for the following:
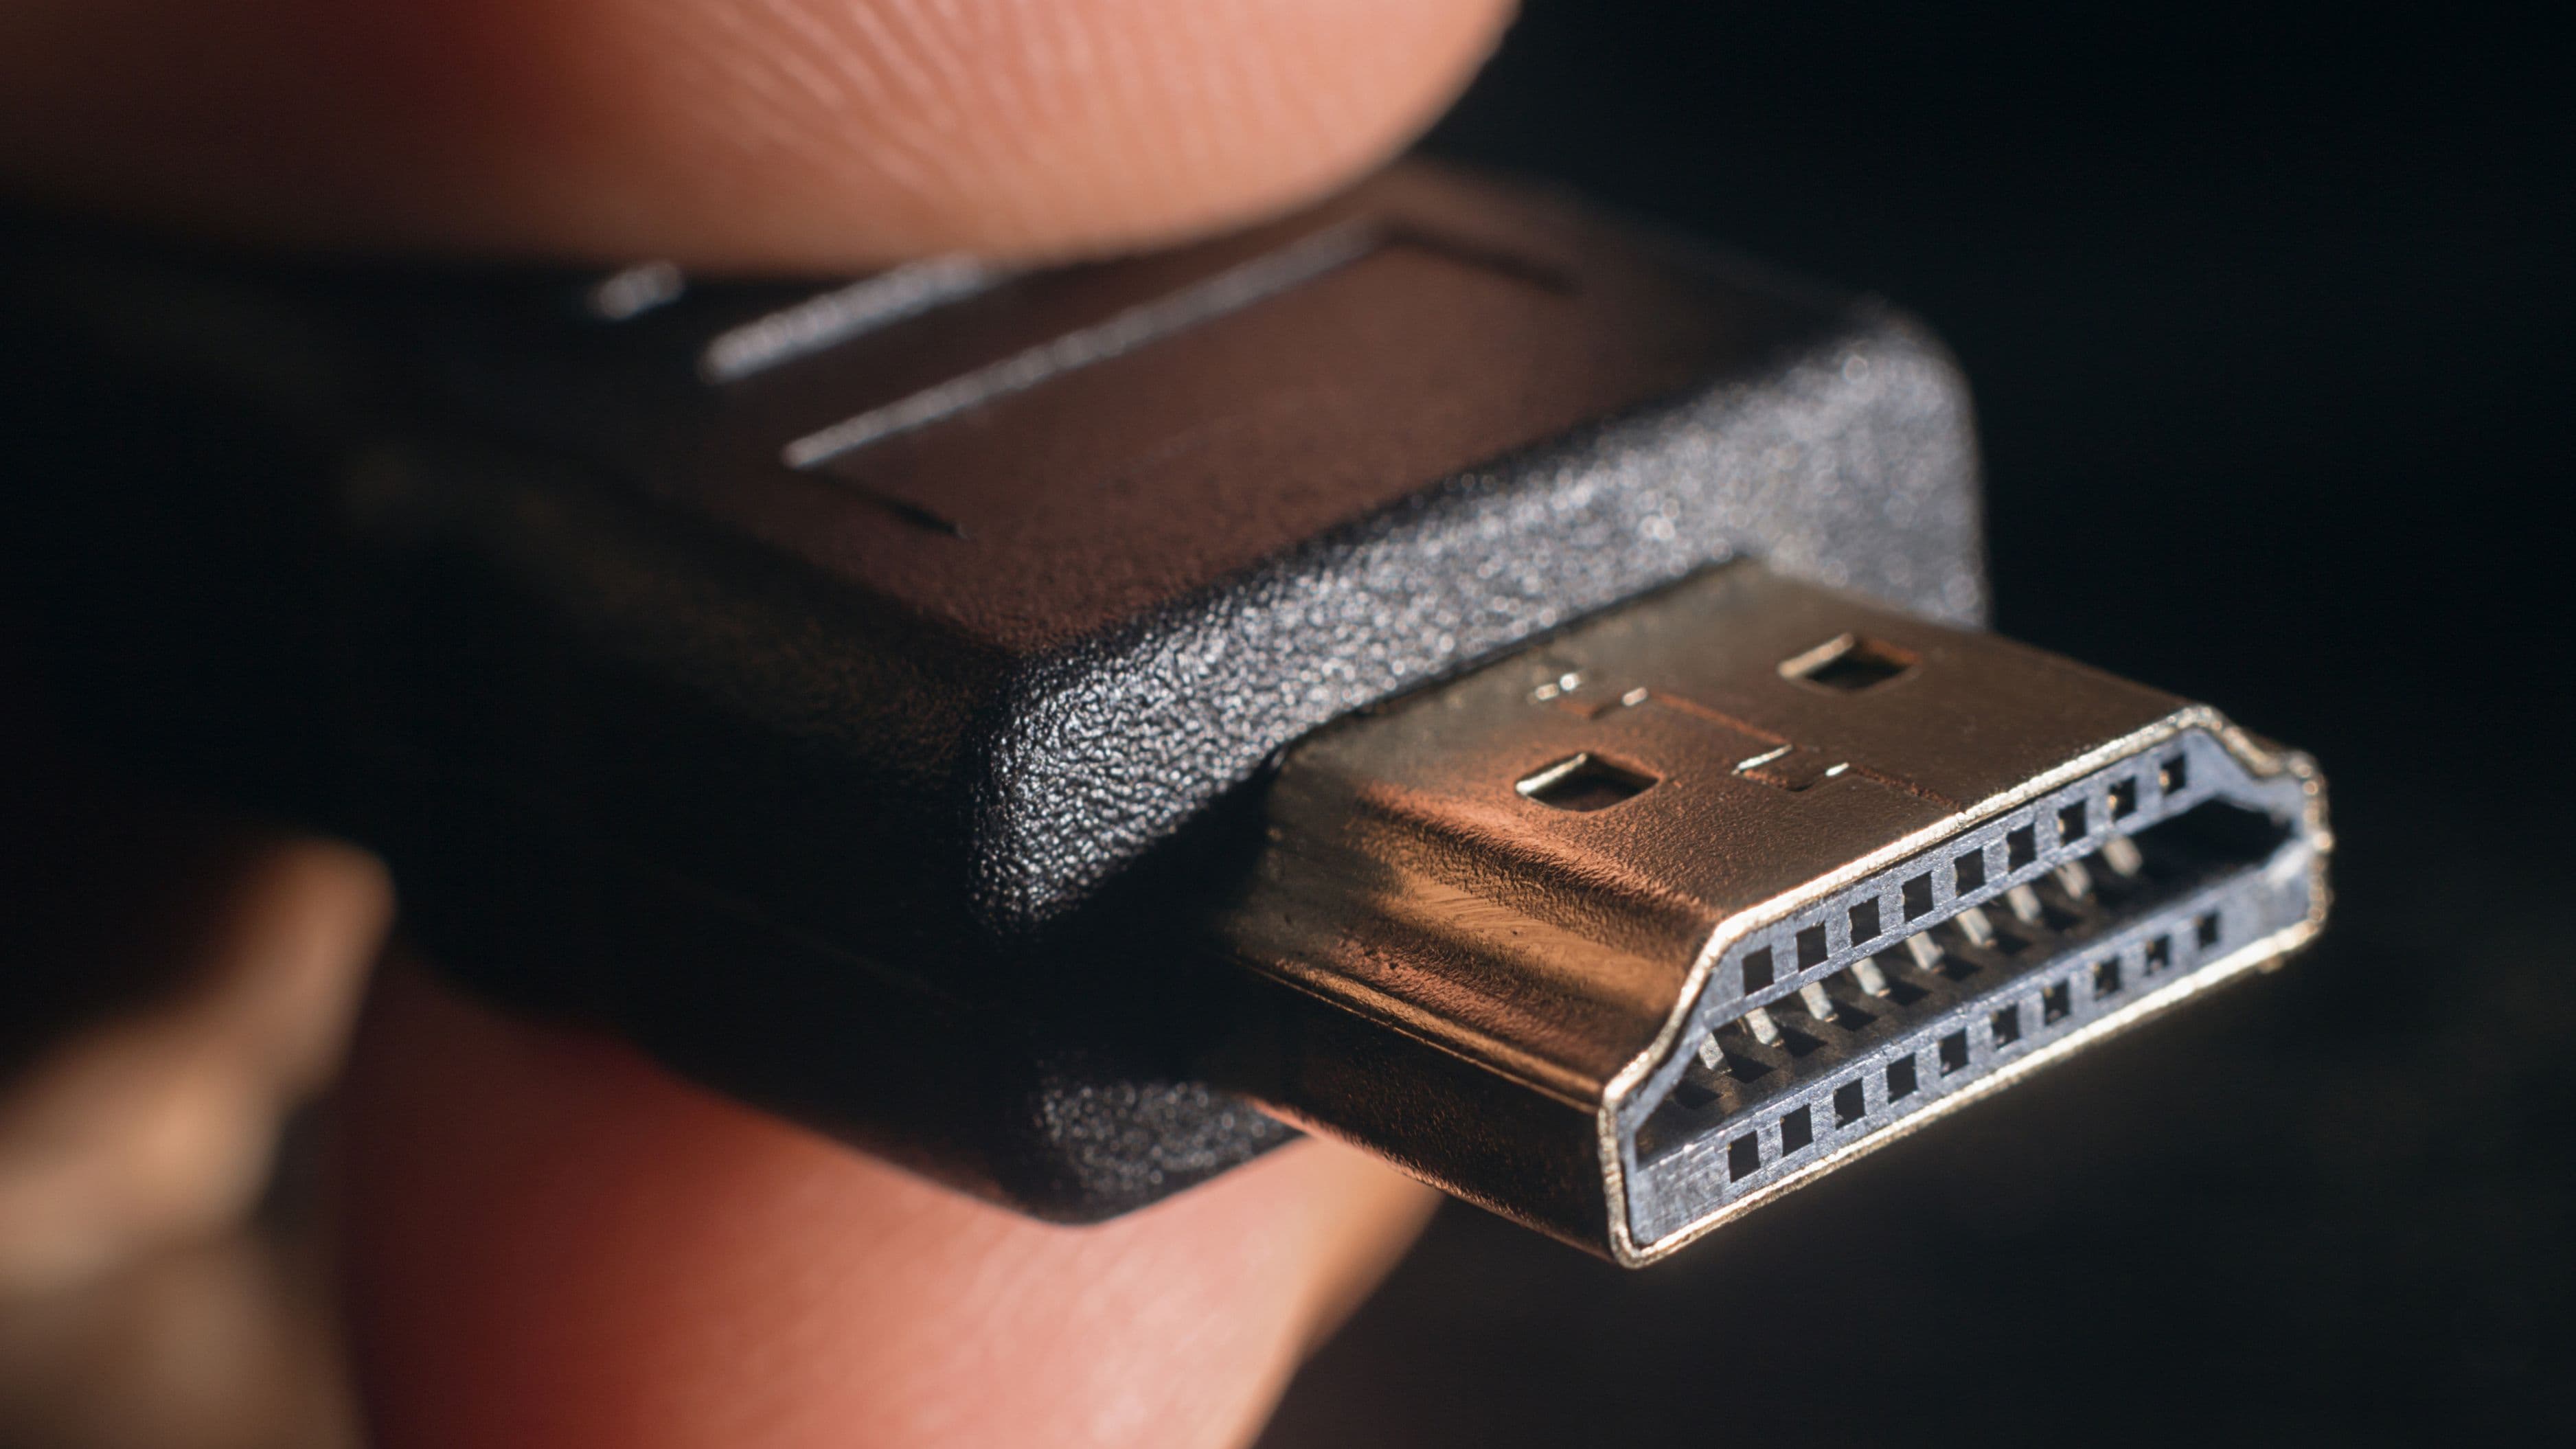
An HDMI port is the best-case scenario. Every major streaming device – Roku, Fire TV Stick, Apple TV, Chromecast with Google TV, and others – uses HDMI. If your TV has at least one HDMI port, you're in great shape and the setup is straightforward.
A composite input (the red, white, and yellow RCA jacks) means your TV predates HDMI – these started appearing around 2003. Connecting a modern streaming device to composite inputs requires an HDMI-to-RCA converter, which we'll cover below.
A coaxial (RF) input only – a single screw-on antenna port – is the oldest configuration and requires additional adapters, though it's still doable.
Most TVs made after 2005 have at least one HDMI port, so if your TV is from that era, you're likely in the simplest setup category.
The Streaming Devices Worth Considering
Not all streaming sticks are equal, and the right one depends on what services you use and what your TV can handle. Here's a practical look at the main options.
Roku Streaming Stick 4K is one of the most beginner-friendly options available. Setup takes about five minutes, the remote is intuitive, and the Roku platform supports virtually every major streaming service including Netflix, Hulu, Disney+, HBO Max, Peacock, Amazon Prime Video, and hundreds of free channels. Roku's interface is neutral – it doesn't favor any particular service – which makes it easier to navigate than some competitors. It plugs directly into an HDMI port and powers via USB, which many TVs supply through a USB port on the back.
Amazon Fire TV Stick 4K Max is a strong choice if you're already in the Amazon ecosystem – Prime Video is front and center, Alexa voice control works well, and the device is fast. The interface does push Amazon content heavily, which some people find annoying and others don't notice. It works identically to the Roku in terms of setup: HDMI in, USB power, done.
Google Chromecast with Google TV is worth considering if you use Android or have a Google account you're already invested in. It combines the casting functionality of original Chromecast (beam content from your phone or laptop) with a proper remote and home screen – something older Chromecasts lacked. It's slightly more setup-heavy than Roku or Fire TV but very capable once running.
Apple TV 4K is the premium option and the right choice if you're deep in the Apple ecosystem – iPhone, iPad, MacBook, iCloud. It's significantly more expensive than the others but the integration is genuinely seamless: AirPlay from any Apple device, Apple Arcade, and the tightest integration with Apple One subscriptions. For non-Apple households, the price premium isn't worth it.
Roku Express is worth mentioning as the budget baseline – around $30, no 4K support, but fully functional for 1080p content. If your TV is older and doesn't support 4K anyway, this is a sensible, no-frills choice.
Step-by-Step: Connecting to an HDMI TV
This covers the vast majority of setups. The process is nearly identical across all major streaming devices.
Step 1: Plug the streaming stick into your TV's HDMI port. Most streaming sticks insert directly into the port. If the stick is too bulky for the space between ports or against the wall, use the HDMI extender cable that most devices include in the box – it gives you a few extra inches of clearance.
Step 2: Power the device. Streaming sticks power via USB. Your TV may have a USB port on the back or side – if so, plug in there so the device powers on and off with the TV. If your TV doesn't have USB, use the included USB wall adapter and plug it into a nearby outlet.
Step 3: Switch your TV to the correct HDMI input. Use your TV remote and press the Input or Source button. Cycle through the inputs until you see the streaming device's setup screen. It usually appears as "HDMI 1," "HDMI 2," and so on – try each one if you're not sure which port you used.
Step 4: Follow the on-screen setup. Every major streaming device walks you through Wi-Fi connection, account login, and basic configuration. The whole process typically takes 5–10 minutes. Make sure you have your Wi-Fi password ready and, if required, your account credentials for the streaming service you want to use.
Step 5: Start streaming. That's genuinely it. Once setup is complete, your non-smart TV has full access to every app available on that device's platform.
What If Your TV Doesn't Have HDMI?
If your TV only has composite (RCA) inputs or a coaxial input, you'll need a converter to bridge the gap. It adds a step, but it works.
For composite inputs (red, white, yellow RCA jacks): You need an HDMI-to-RCA converter. These are widely available for $15–$30 on Amazon or at electronics stores. The streaming device plugs into the HDMI input on the converter box, and RCA cables run from the converter to your TV. The converter also needs its own power source – usually a USB cable to a wall adapter.
The picture quality through an HDMI-to-RCA converter is noticeably softer than native HDMI because composite video is a lower-resolution format – you're limited to around 480p regardless of what the streaming device outputs. For older TVs, this is still a significant upgrade over not having streaming at all, but it's worth knowing the limitation upfront.
For coaxial-only TVs: You need an HDMI-to-RF modulator – a box that converts the HDMI signal from your streaming device into a signal your TV can receive via the antenna input, typically on a specific channel (channel 3 or 4). These cost $30–$60 and are less common, but they work. Picture quality is similar to or slightly worse than composite. At this point, if the TV is old enough to have only an RF input, you might consider whether replacing the TV would be more practical than an involved converter chain.
Tips for a Better Setup
A few things that make a real difference once your streaming device is connected.
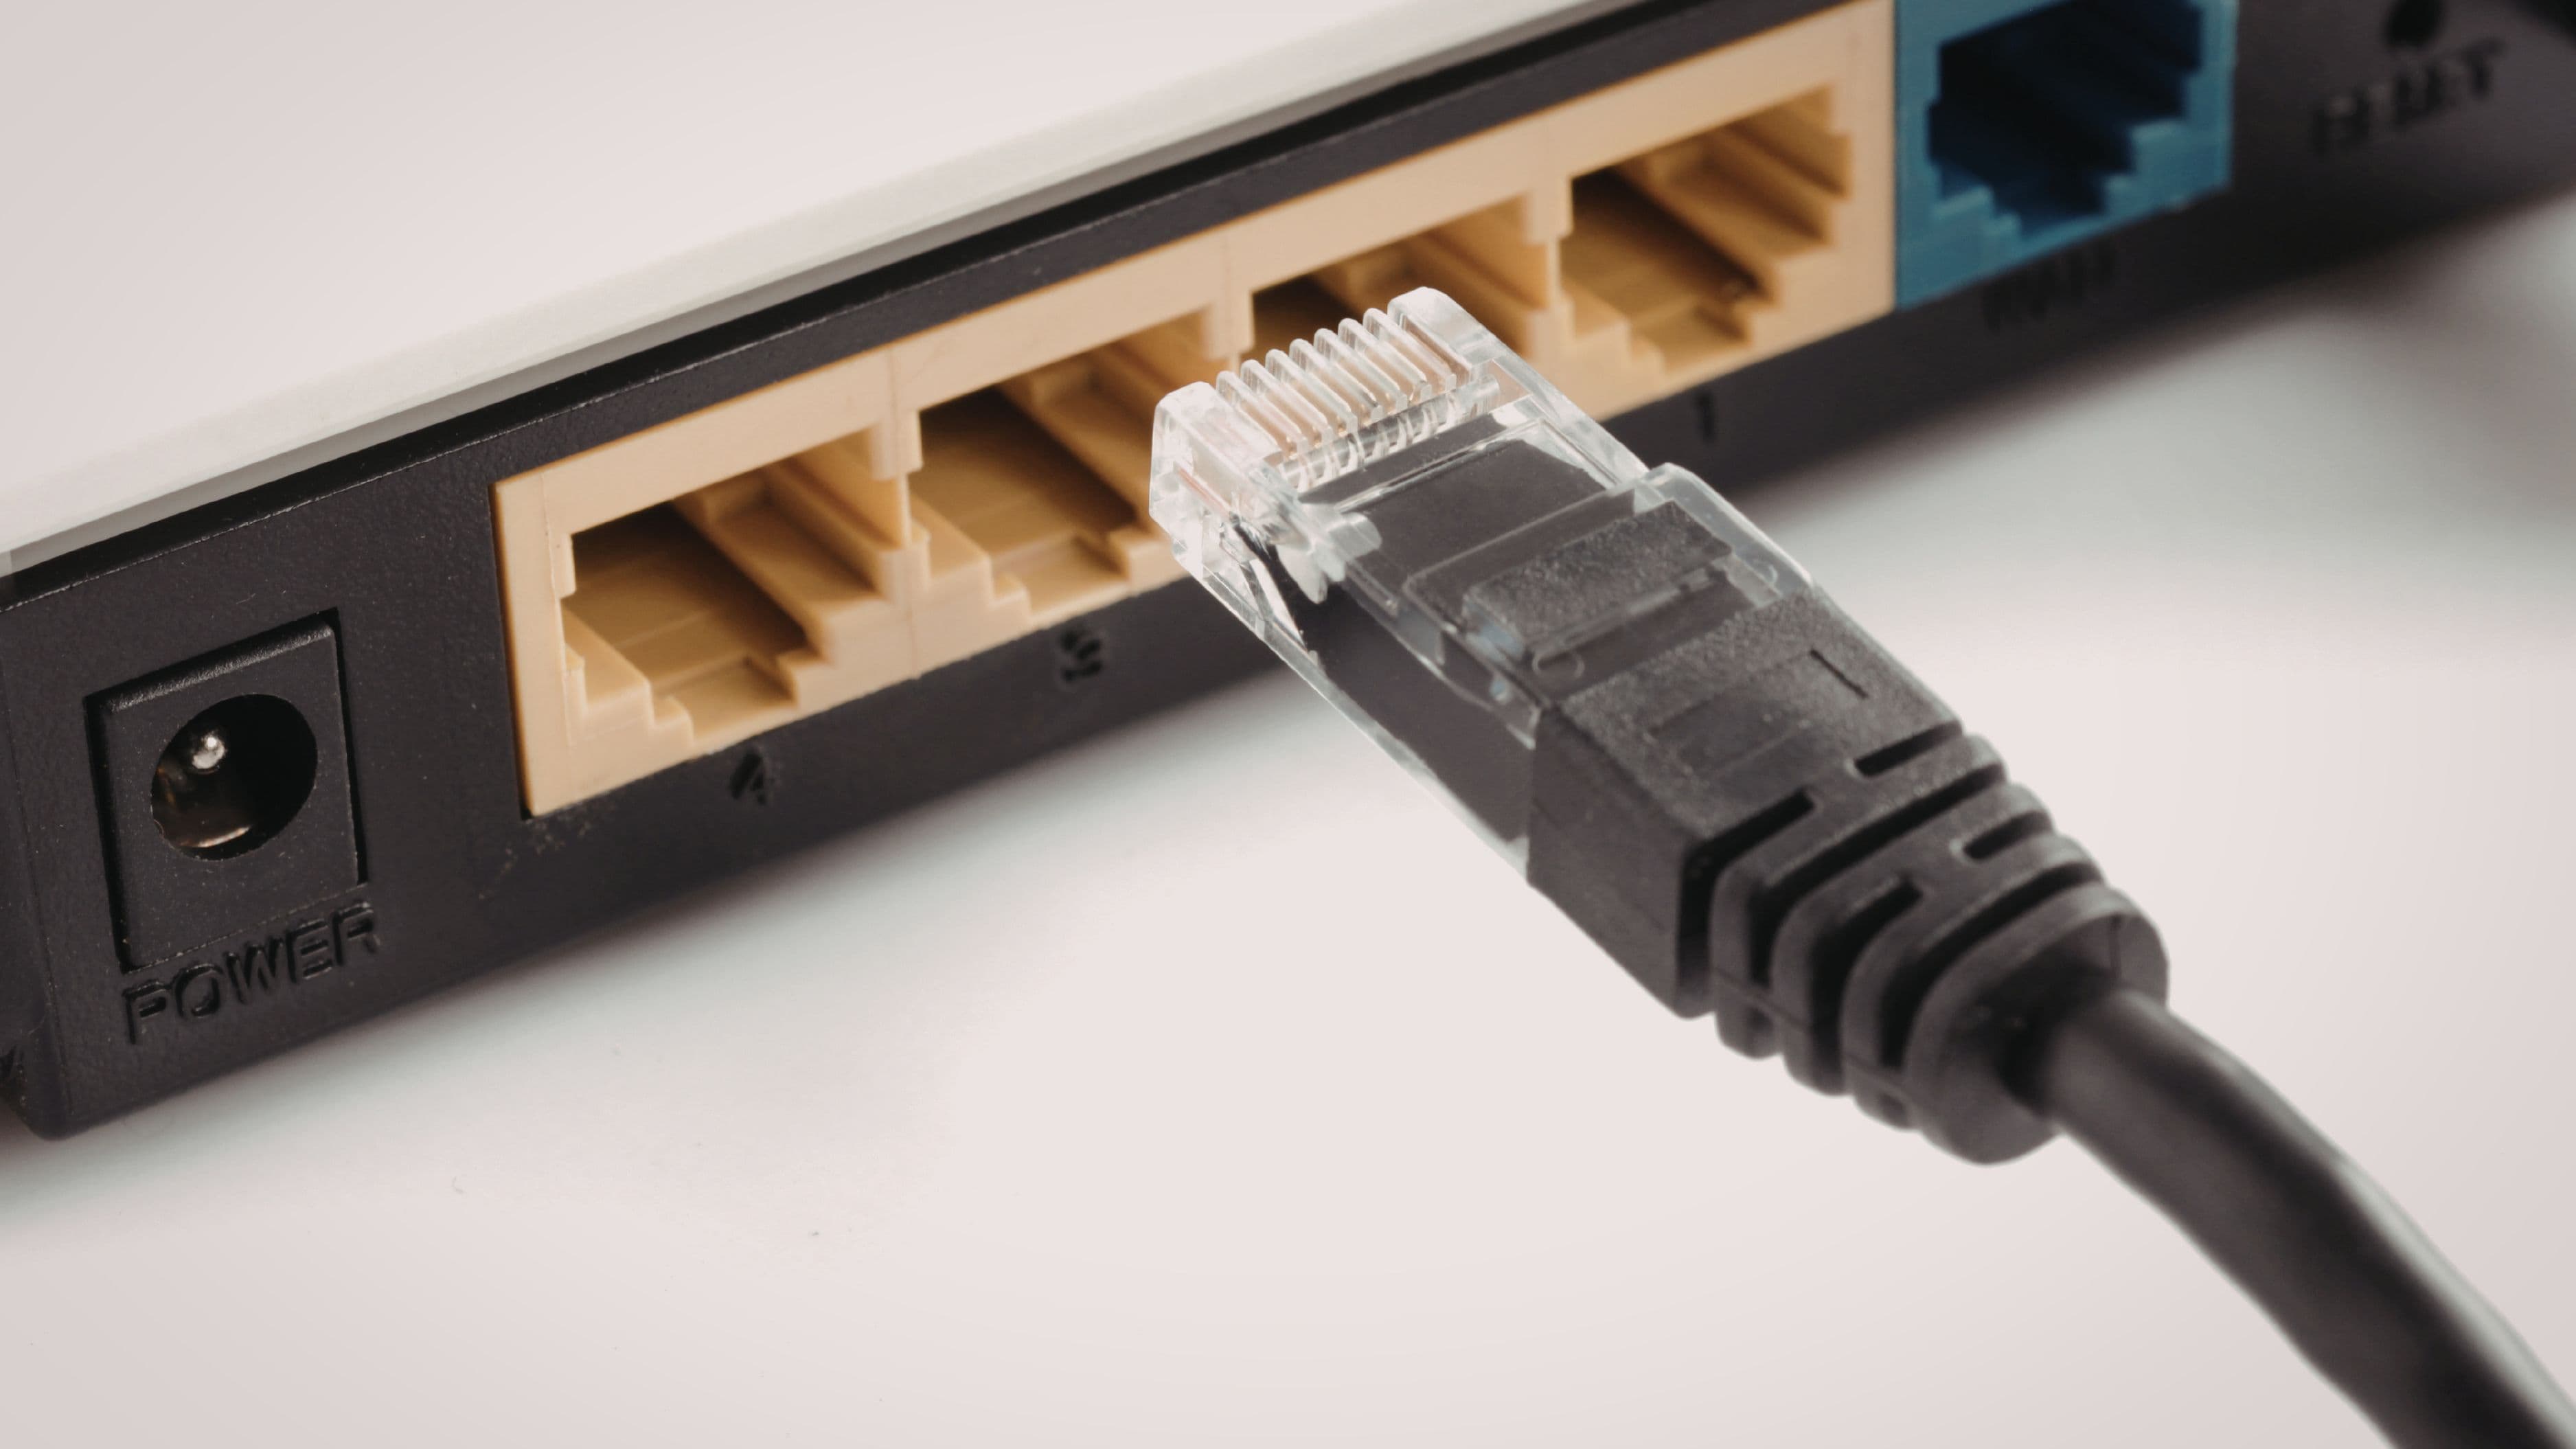
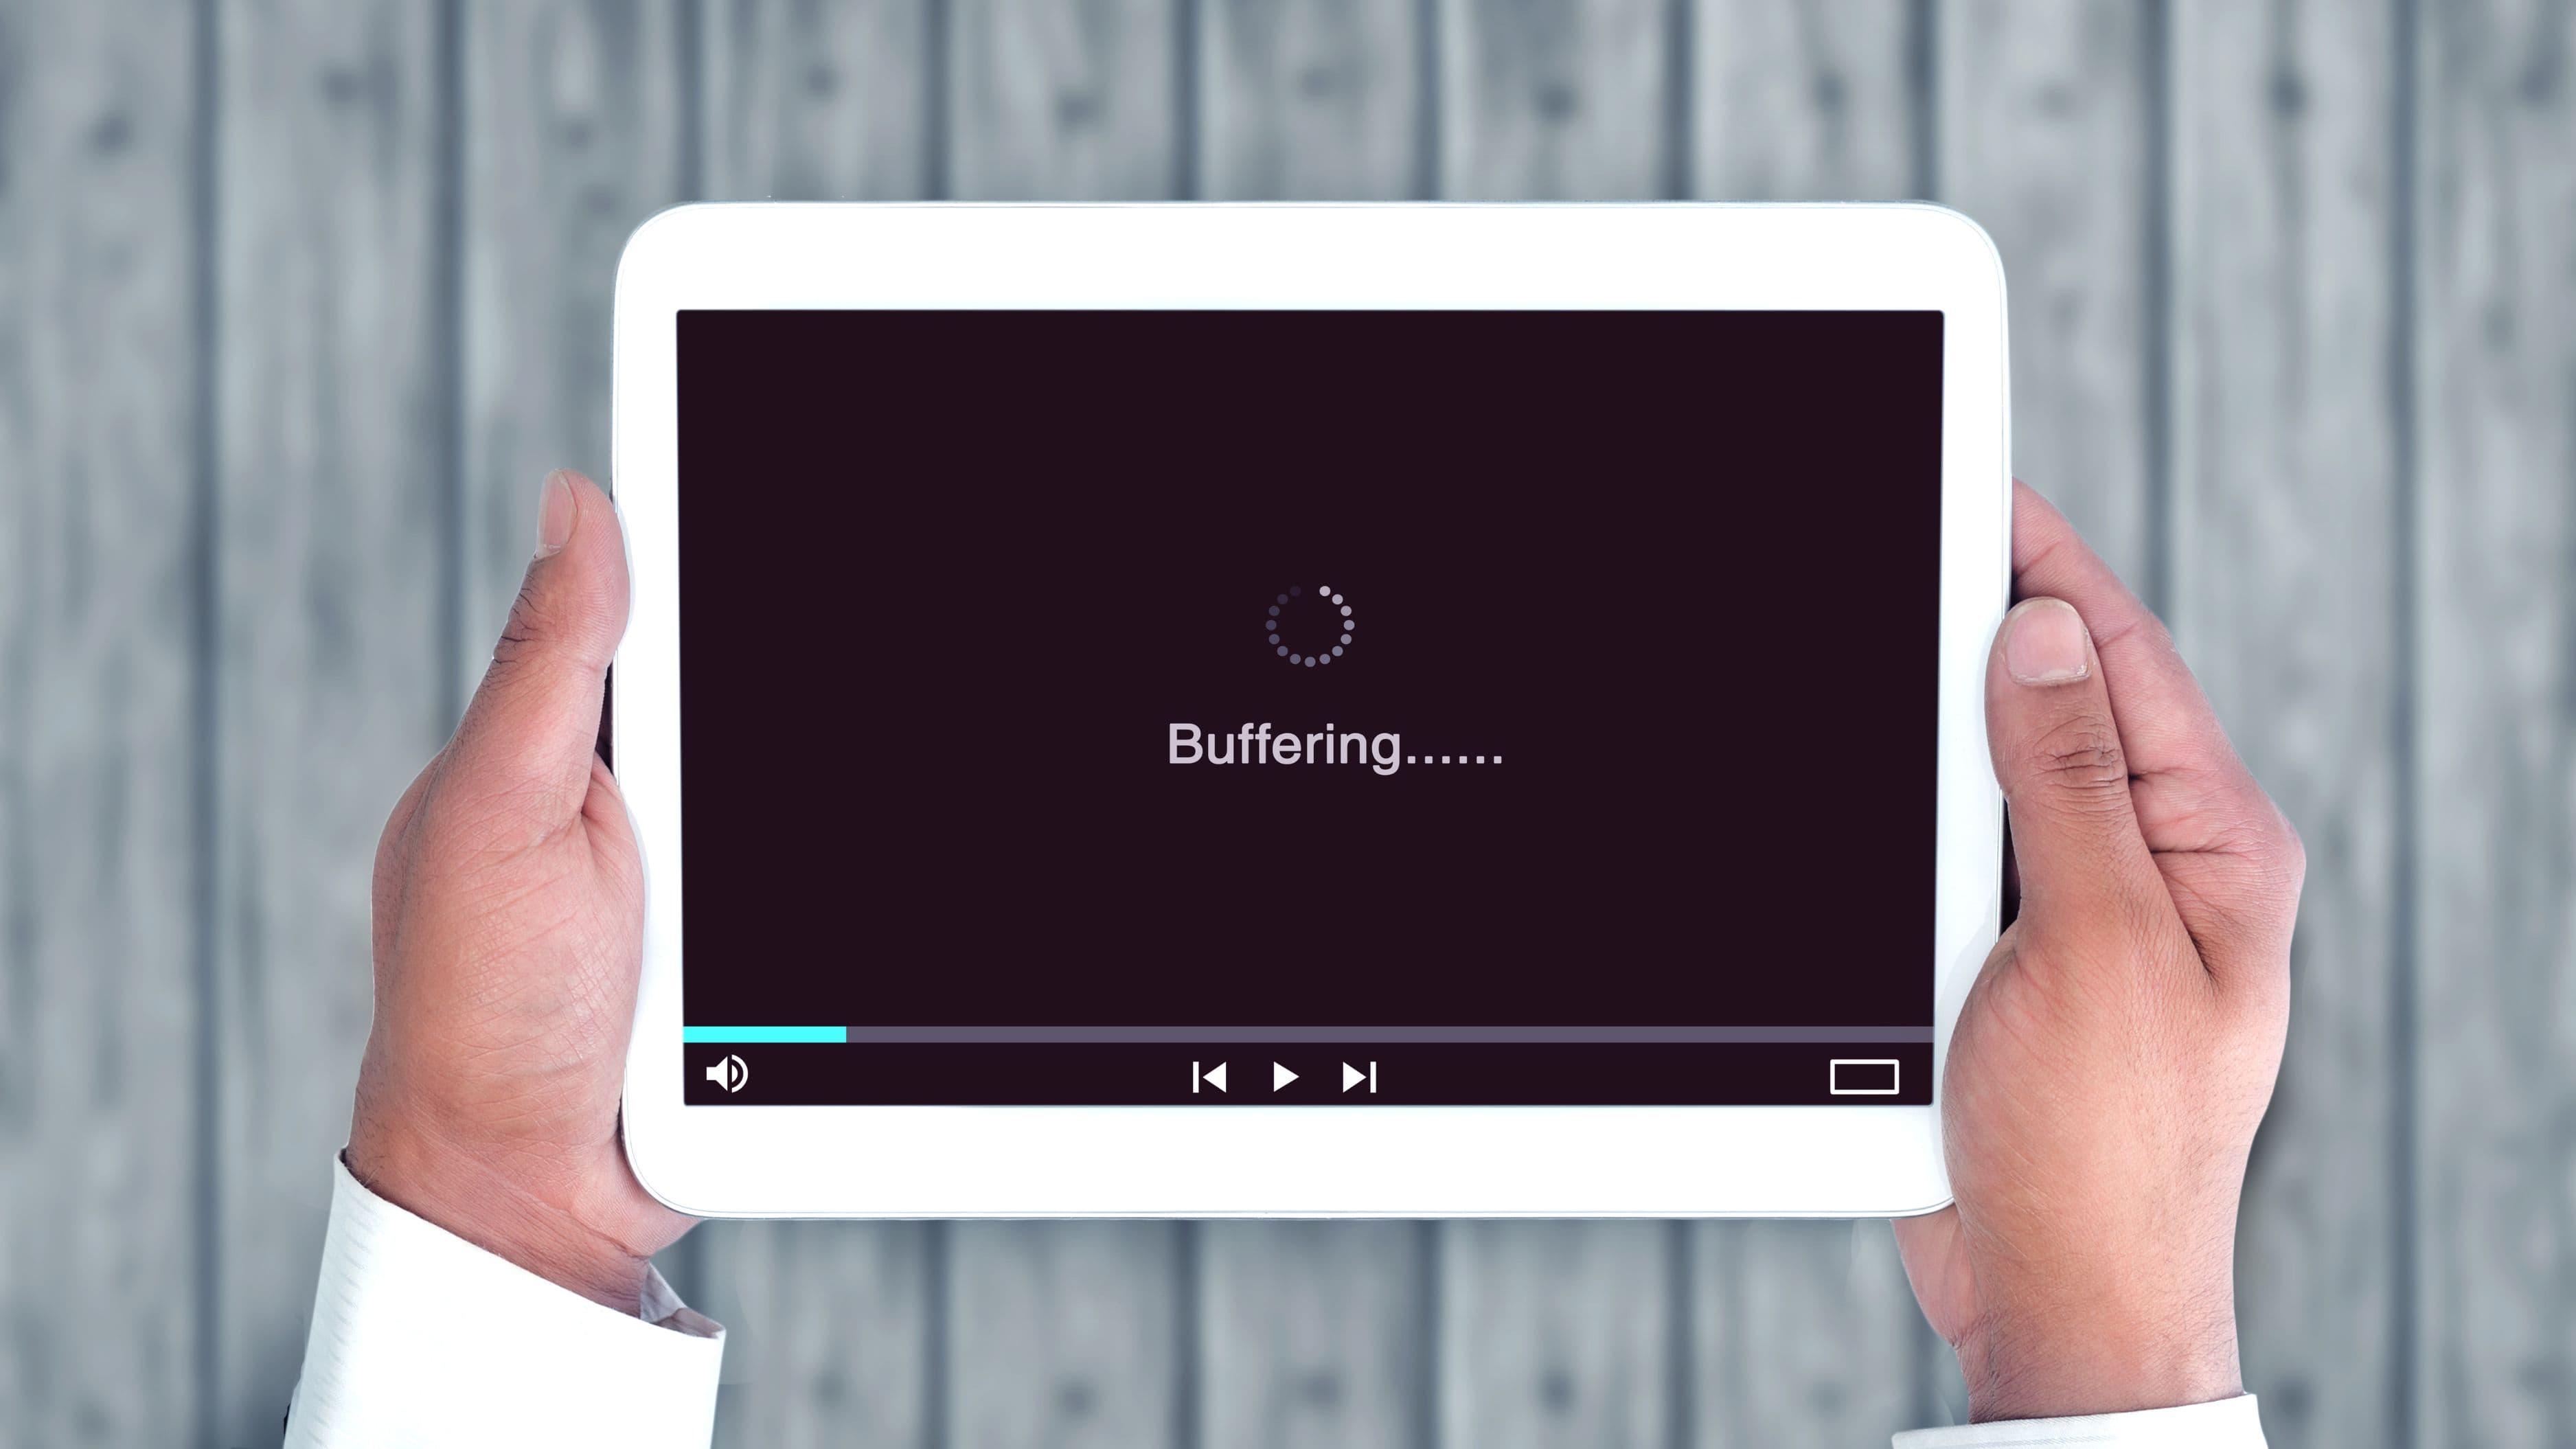
Wired internet beats Wi-Fi if you have the option. Most streaming sticks don't have an Ethernet port, but if you want the most stable connection possible, Roku's higher-end players and Apple TV both support wired connections via a USB-C or Ethernet adapter. For the average household with decent Wi-Fi, wireless works fine – but if you're seeing buffering regularly, a wired connection is the first thing to try.
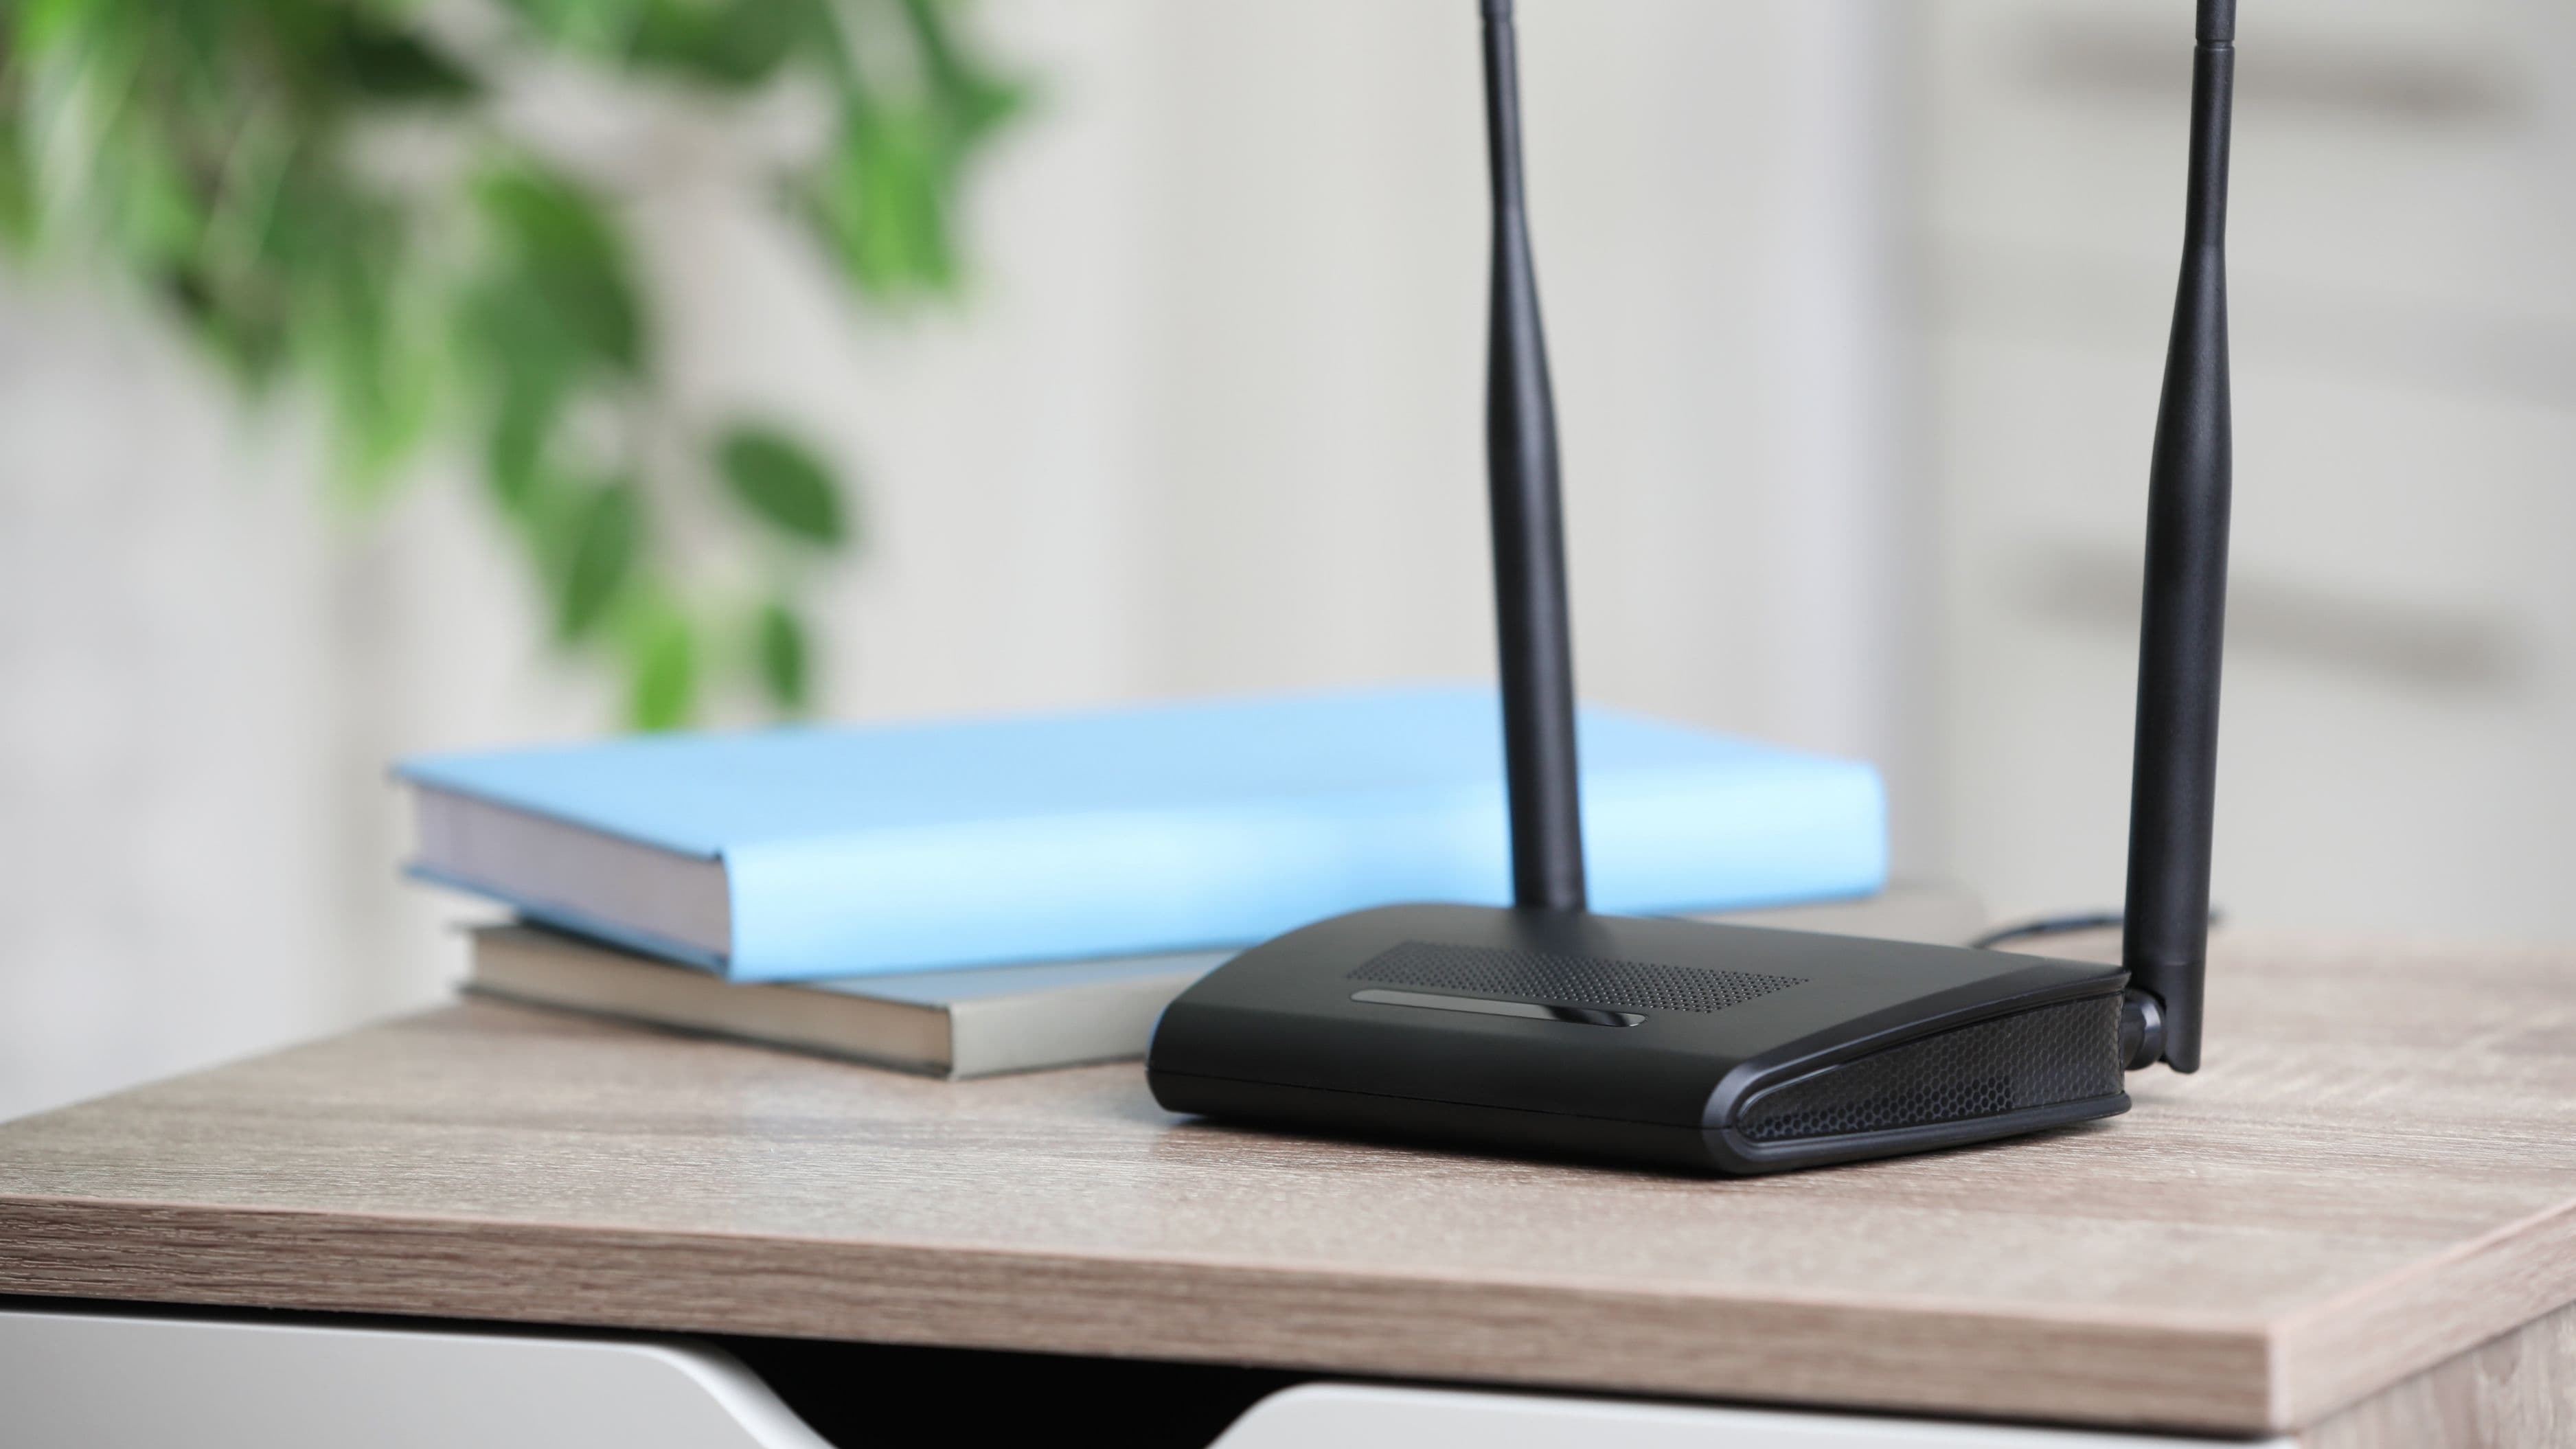
Position your router closer if streaming drops out. Streaming devices are small and don't have powerful antennas. If your router is in another room or on a different floor, a Wi-Fi extender placed between the router and your TV can meaningfully improve stability. Powerline adapters (which use your home's electrical wiring to carry the network signal) are an even cleaner solution for difficult layouts.
Name your HDMI input in your TV's settings. Most older TVs allow you to rename inputs – changing "HDMI 1" to "Roku" or "Fire TV." It takes 30 seconds and removes any confusion when switching inputs.
Update the streaming device before your first real session. Most devices prompt you to update during setup, but if yours skips it, check the settings menu and install any available firmware updates. Streaming devices can run sluggishly on outdated software, and an update often resolves early performance issues.
Common Mistakes to Avoid
Plugging in before switching inputs is the most common first-timer confusion. The streaming device is working fine – you just need to tell the TV to look at the right port. Press Input or Source on your TV remote and cycle through until you see the setup screen.
Skipping the power requirement causes devices to behave erratically. If you're powering the streaming stick from your TV's USB port, make sure it's a powered USB port – some TVs have data-only USB ports that don't supply enough power. If the device seems unstable or doesn't start up, switch to the wall adapter instead.
Using a low-quality HDMI cable with an adapter setup can cause signal dropouts, color problems, or a blank screen. If you're using an HDMI extender or adapter, make sure it's rated for the resolution you're using – a cheap adapter can limit a 4K device to 1080p or cause intermittent connection issues.
Connecting over a very slow Wi-Fi connection and then blaming the device is a common frustration. If you're consistently seeing buffering, check your internet speed first at fast.com or speedtest.net. Most streaming services recommend at least 5 Mbps for HD content and 25 Mbps for 4K. If your speed is fine but buffering persists, the issue is likely router distance or congestion rather than the streaming device itself.
FAQ
Will a streaming stick work with any TV that has HDMI?
Yes. HDMI is a universal standard, and any streaming device that outputs via HDMI will work with any TV that has an HDMI input, regardless of the TV's age or brand. The only variable is resolution – if your TV only supports 1080p, the streaming device will automatically output at 1080p rather than 4K.
Do I need to buy a separate remote?
No. Every major streaming device comes with a remote included. The Fire TV Stick, Roku Streaming Stick, and Apple TV all include remotes that control both the streaming device and basic TV functions (volume, power). You may not need your original TV remote at all once setup is complete.
Can I use the same streaming account I already have?
Yes. Your Netflix, Disney+, Hulu, or any other subscription follows your login credentials, not the device. Sign in during setup and your existing profile, watchlist, and preferences are all there.
Does it matter which HDMI port I use?
Generally no – any HDMI port works. If your TV has both standard HDMI and HDMI ARC ports, use the standard one for a streaming device (ARC is intended for audio return to a soundbar). If one port seems to cause issues, try another.
What internet speed do I actually need for smooth streaming?
Netflix recommends 5 Mbps for HD and 15 Mbps for 4K. Disney+ recommends 25 Mbps for 4K. For a household with multiple devices streaming simultaneously, 50–100 Mbps gives comfortable headroom. You can check your current speed at fast.com.
My TV is very old – is it worth setting up streaming on it?
If the screen is in good condition and you're not planning to replace it soon, yes – a $30–$50 streaming stick is significantly cheaper than a new TV and gives you the same streaming experience. The only scenario where it's not worth it is if the TV itself has picture quality problems (color issues, dim backlight) that a streaming stick won't fix.
Final Thoughts
Turning a non-smart TV into a fully capable streaming setup is one of the easier tech upgrades you can make at home. The hardware is affordable, the setup is quick, and the result – a fast, app-rich interface that's often better than what most smart TVs ship with – lasts for years. Start with an HDMI check, pick a device that fits your ecosystem, and you'll be watching within the hour.
📚 Sources
Netflix – "Internet Connection Speed Recommendations" – help.netflix.com https://help.netflix.com/en/node/306
Disney+ – "Streaming quality and data usage" – help.disneyplus.com https://help.disneyplus.com/article/disneyplus-streaming-quality
Roku – "How to set up your Roku streaming device" – support.roku.com https://support.roku.com/article/208755668
Amazon – "Set up Fire TV Stick" – amazon.com https://www.amazon.com/gp/help/customer/display.html?nodeId=G3FUB5Q9YTMLFSUH
Google – "Set up Chromecast with Google TV" – support.google.com https://support.google.com/chromecast/answer/9748353