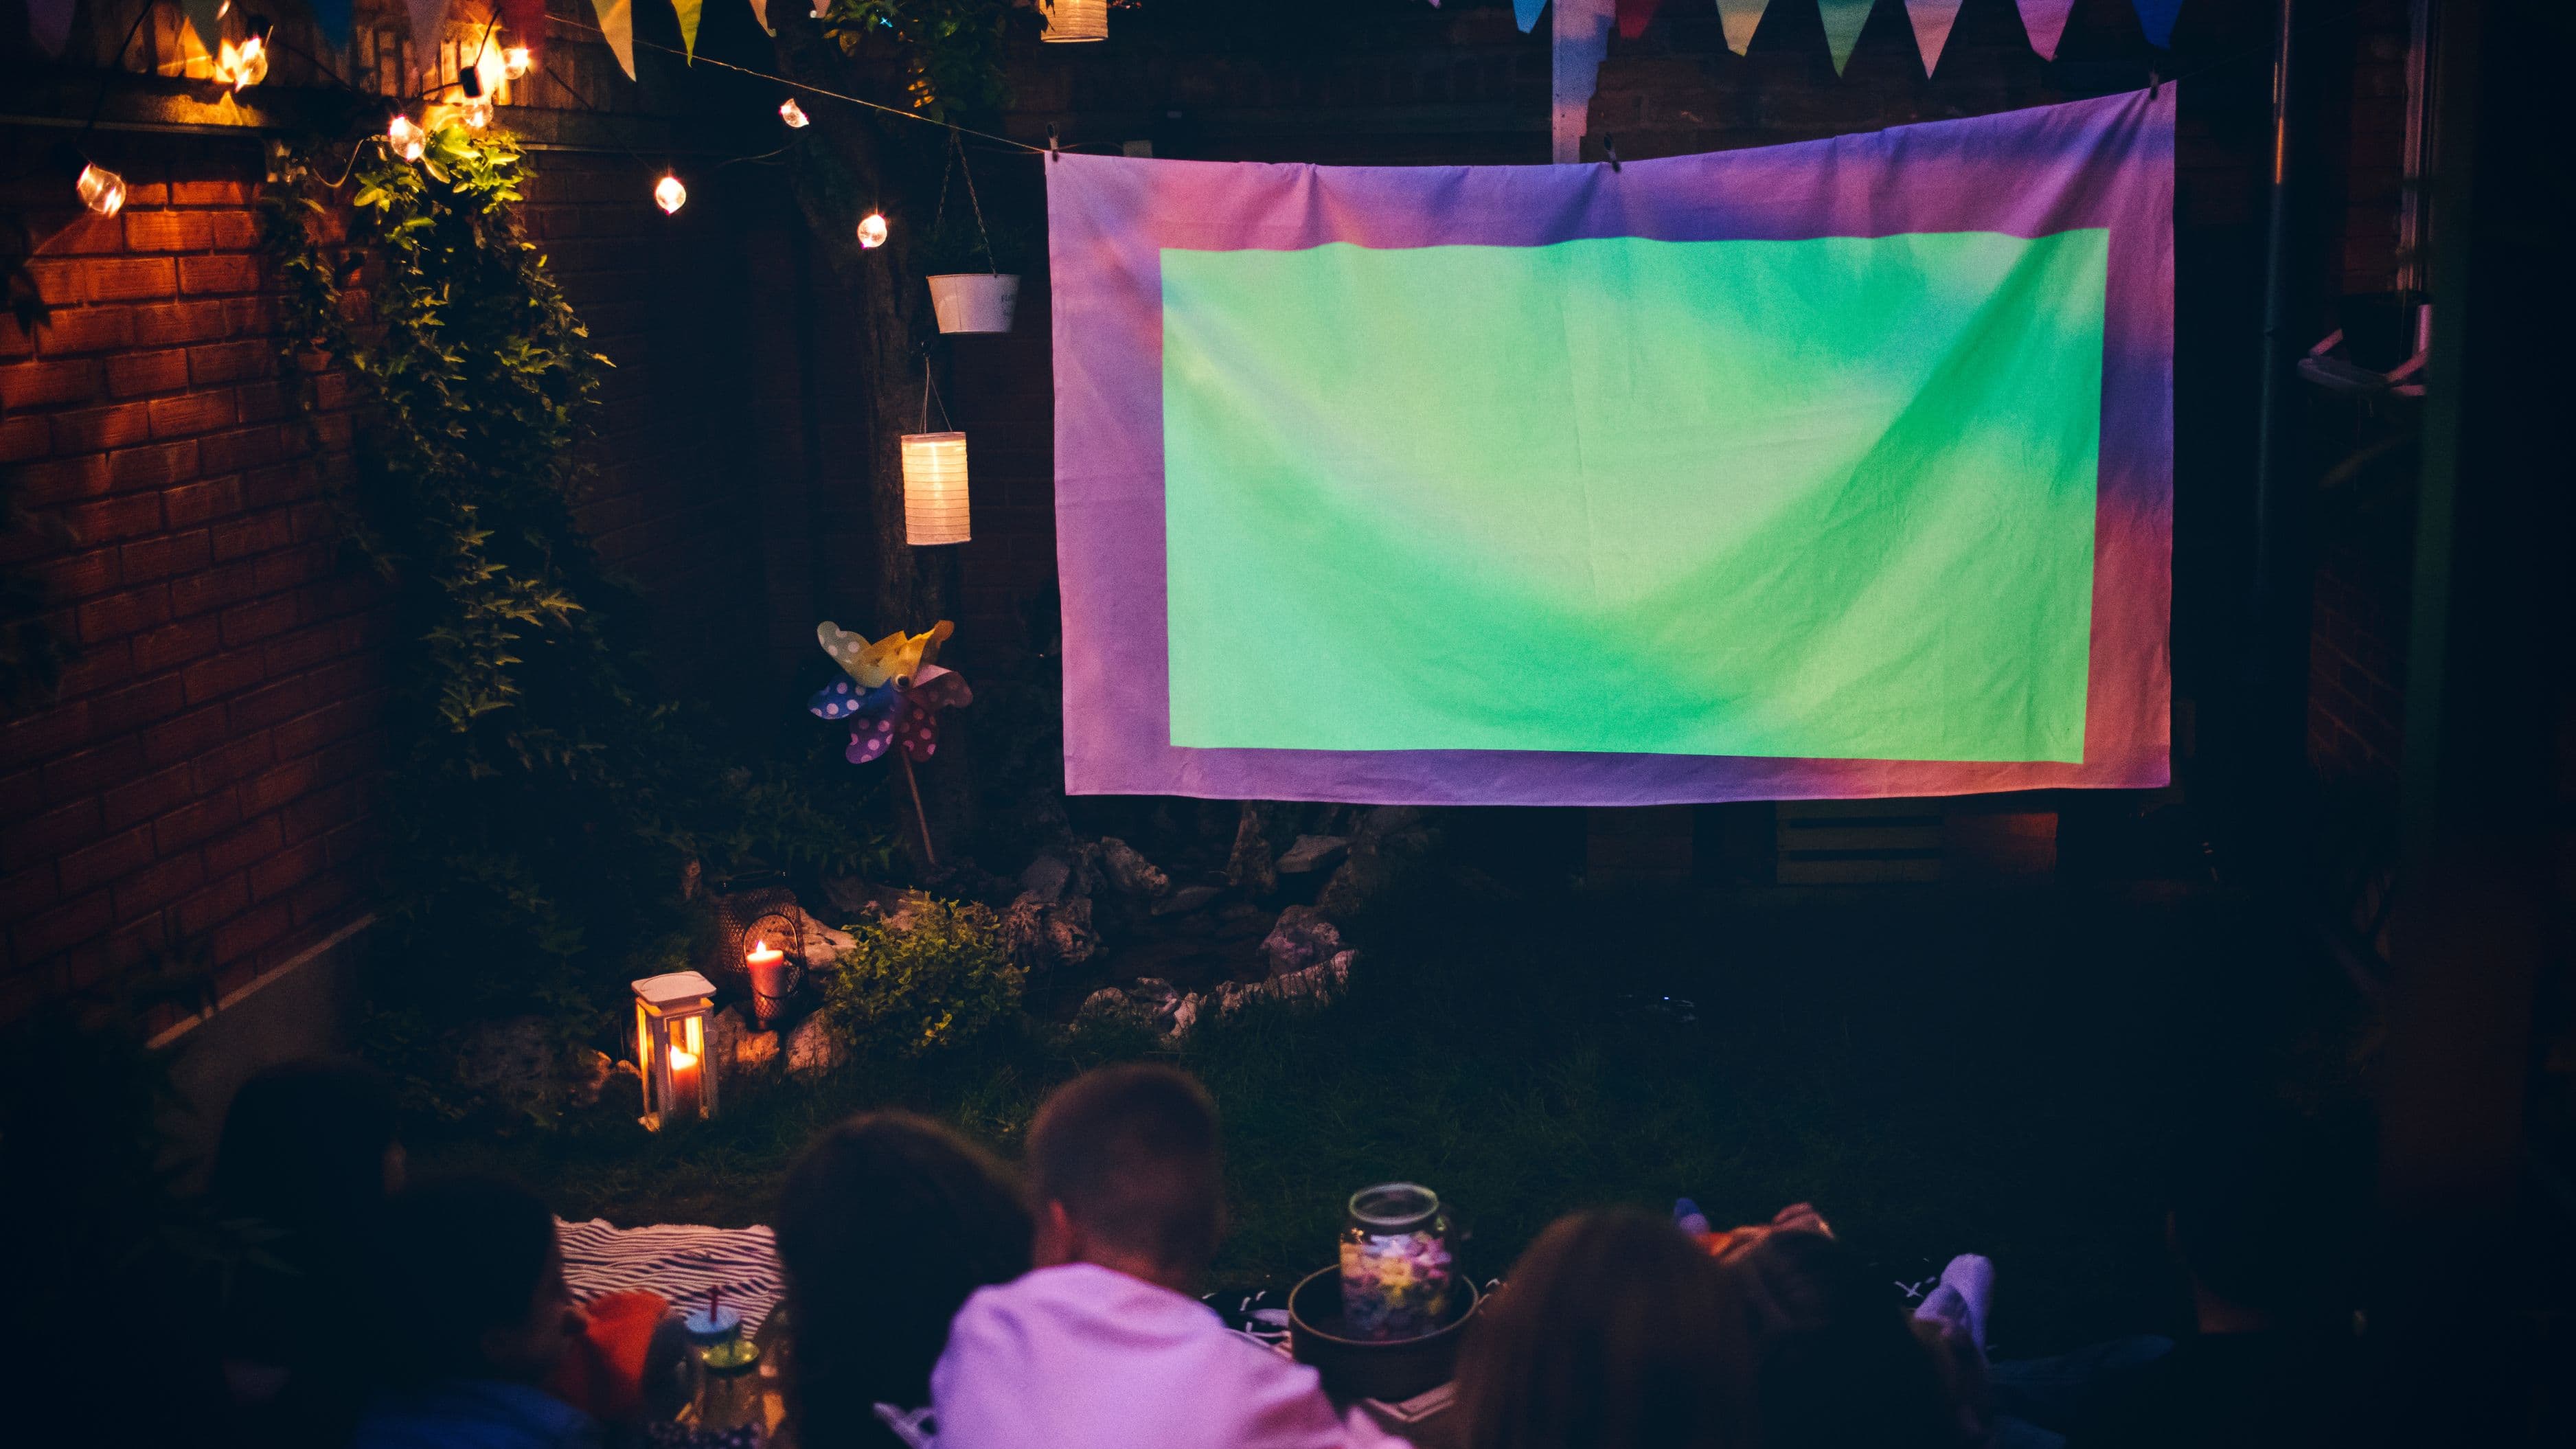

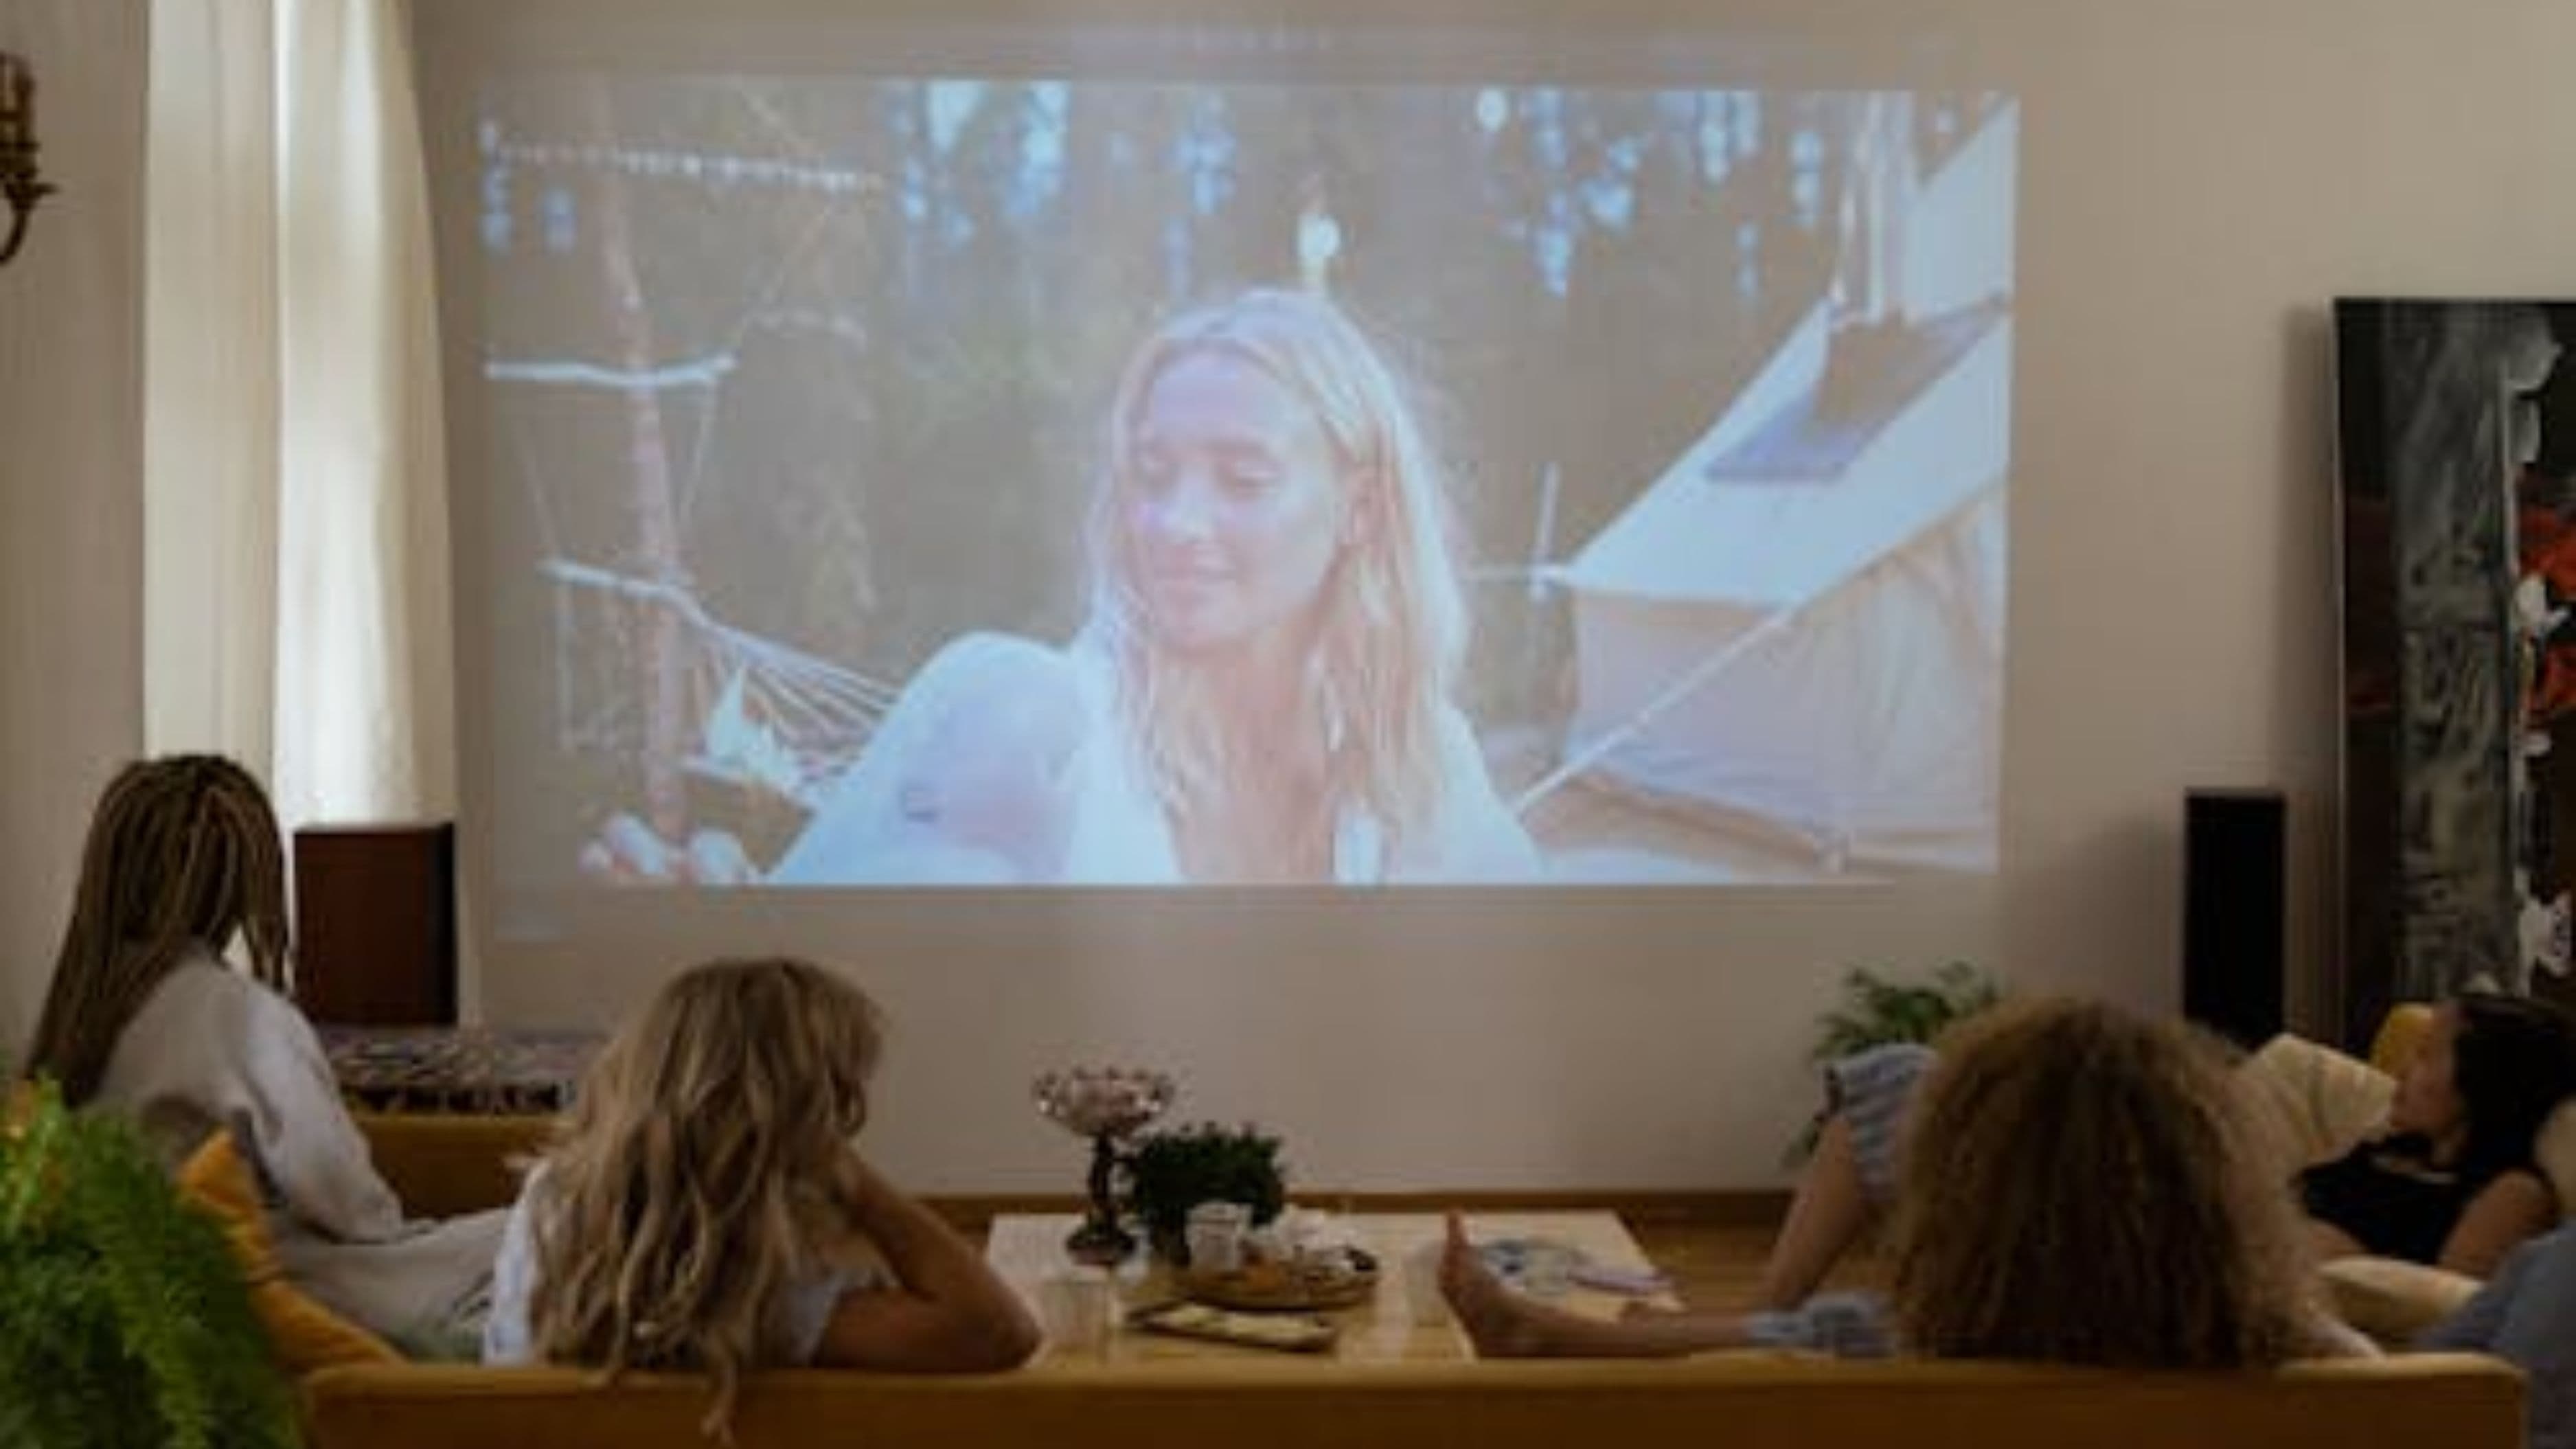
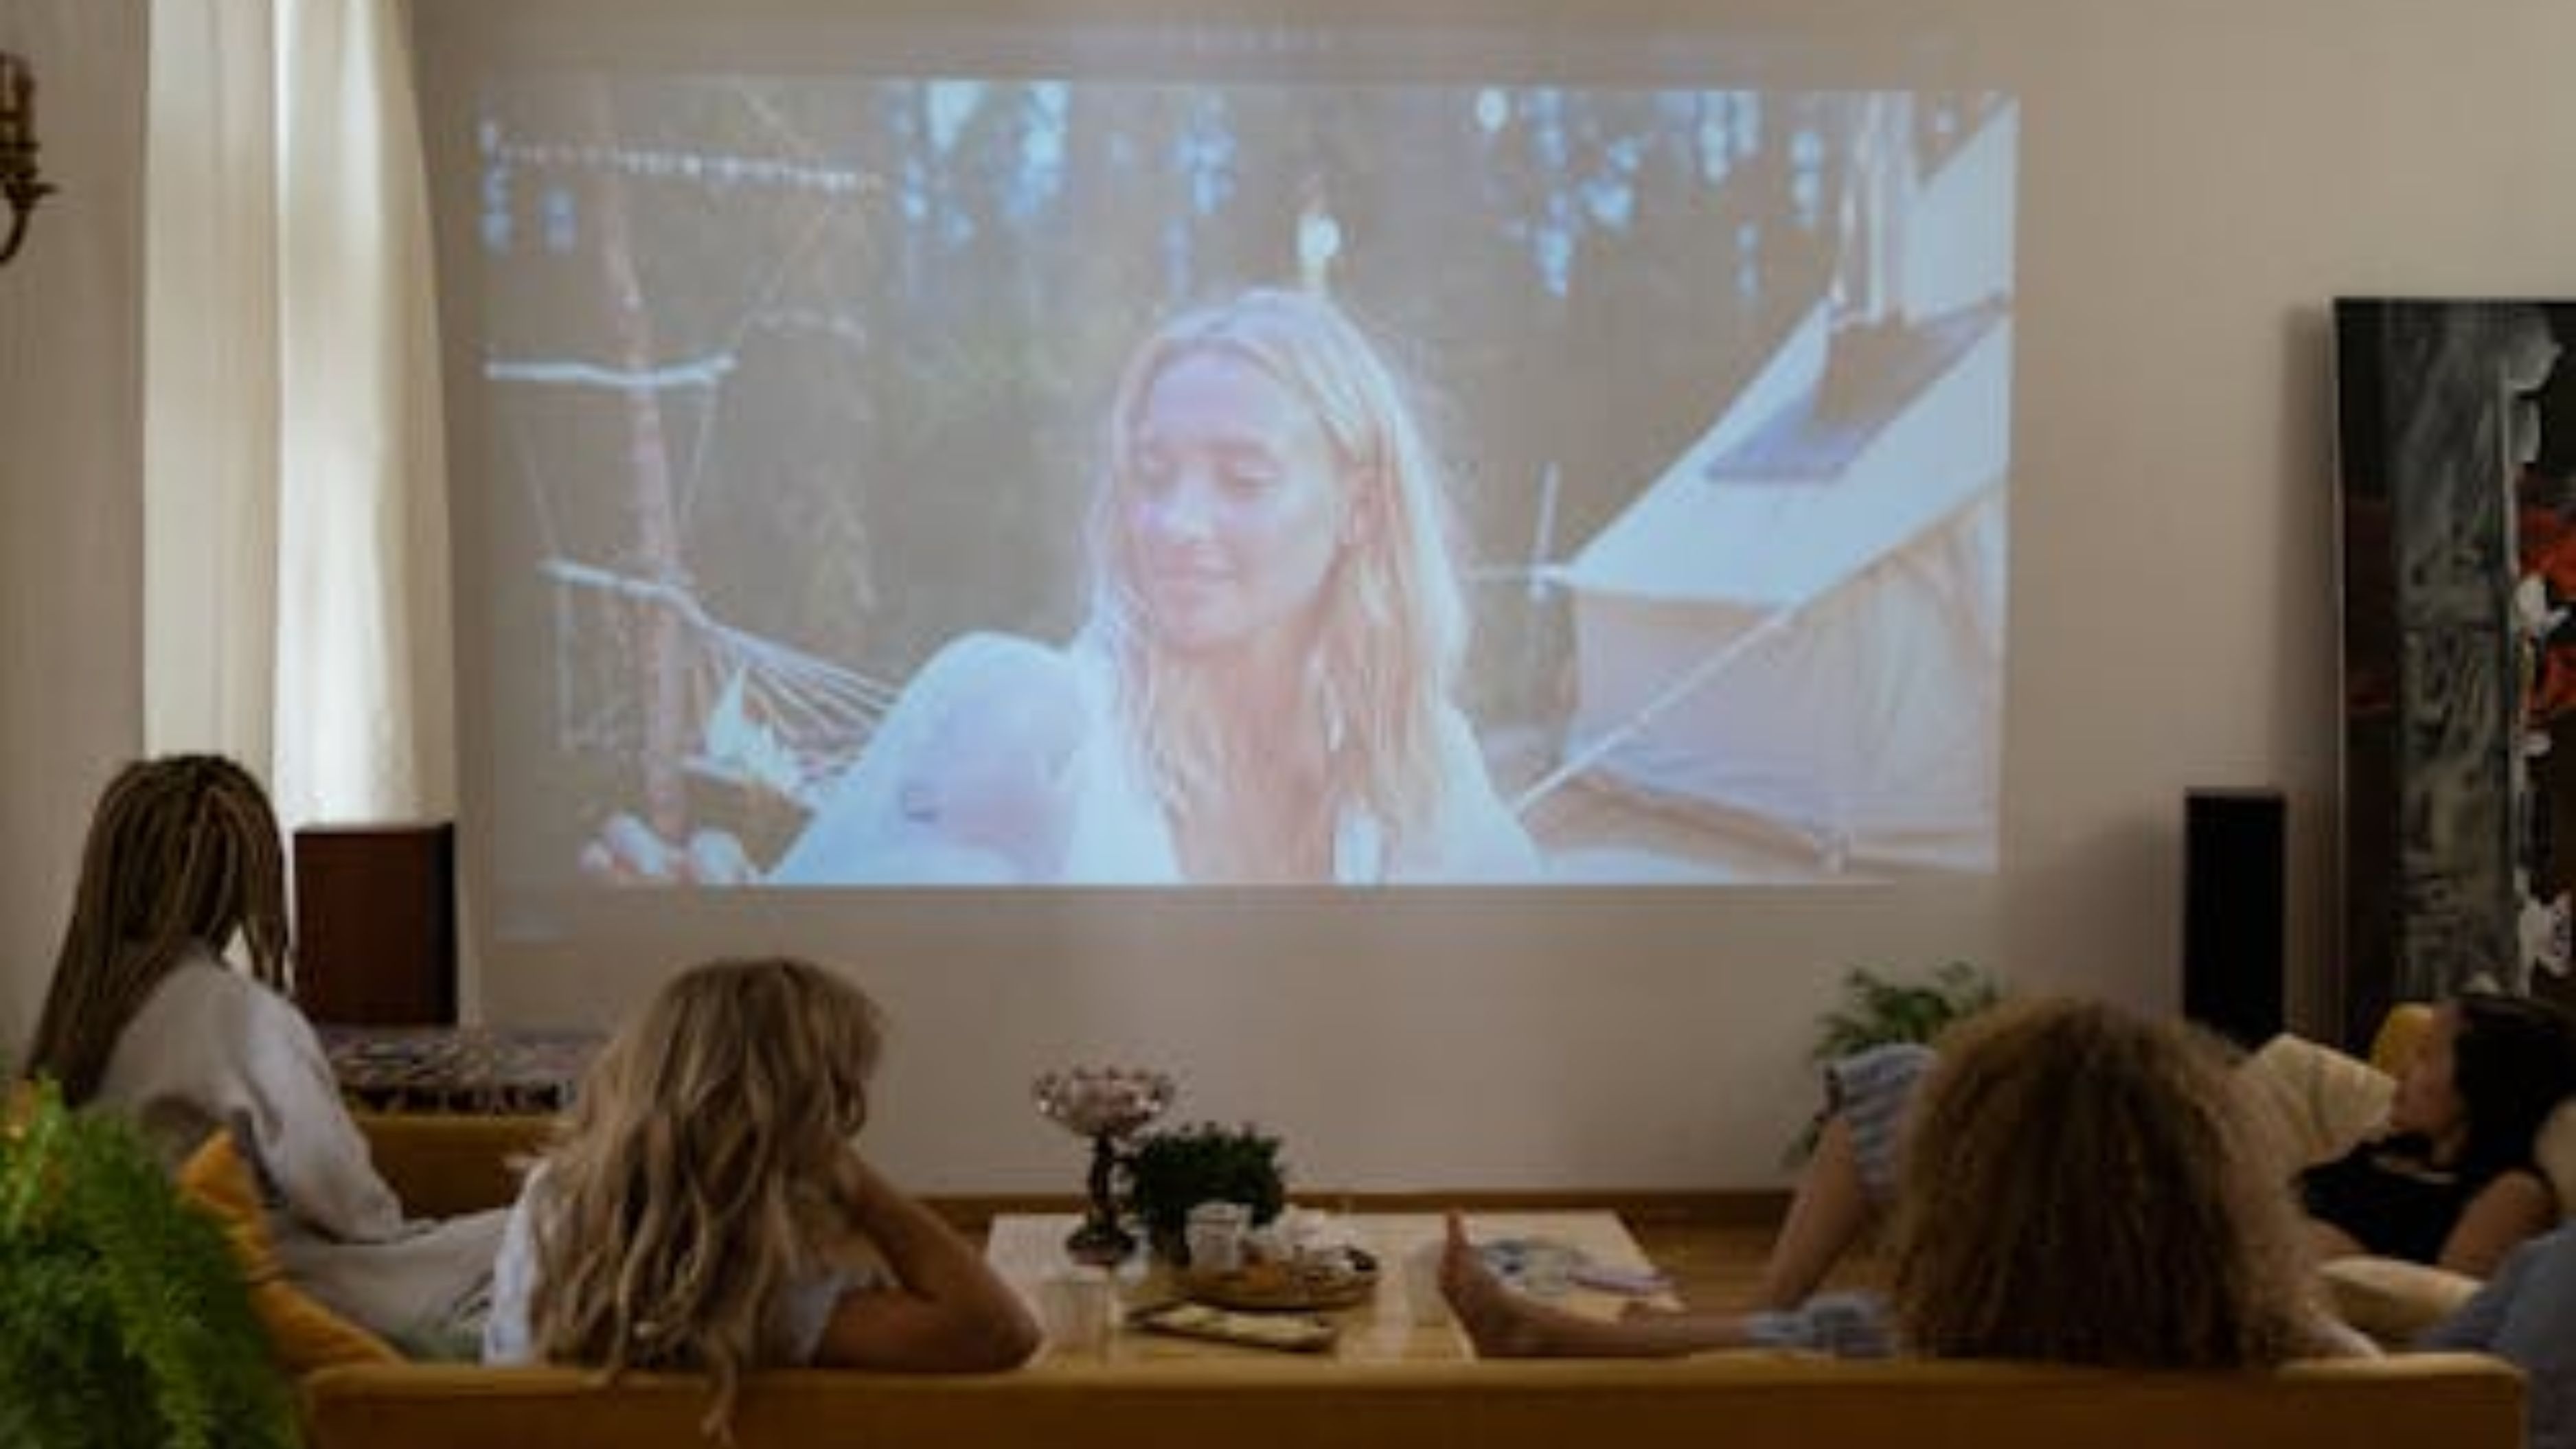
This guide walks you through the full setup process – from choosing where to put it, to getting the image dialled in, to making sure your streaming source is actually delivering 4K content to the screen.
What to Know Before You Start
Realistic expectations on cost: A capable consumer 4K projector starts around $700–$1,000 at the entry level (DLP-based, 3,500–4,000 lumens). Mid-range laser projectors run $1,500–$3,000 and offer significantly better brightness, colour, and longevity. Short-throw and ultra-short-throw models – designed to sit close to the wall – start around $1,200 and can reach well above $3,000 for premium options. Factor in a screen (if not projecting onto a wall) at $150–$600 depending on size and surface type.
Lamp vs. laser light source: Most budget 4K projectors use a traditional lamp that lasts 3,000–5,000 hours and costs $100–$300 to replace. Laser projectors use a solid-state light source rated at 20,000+ hours with no replacement needed. If you plan to use the projector regularly for years, a laser model pays for itself over time and maintains consistent brightness that lamps gradually lose.
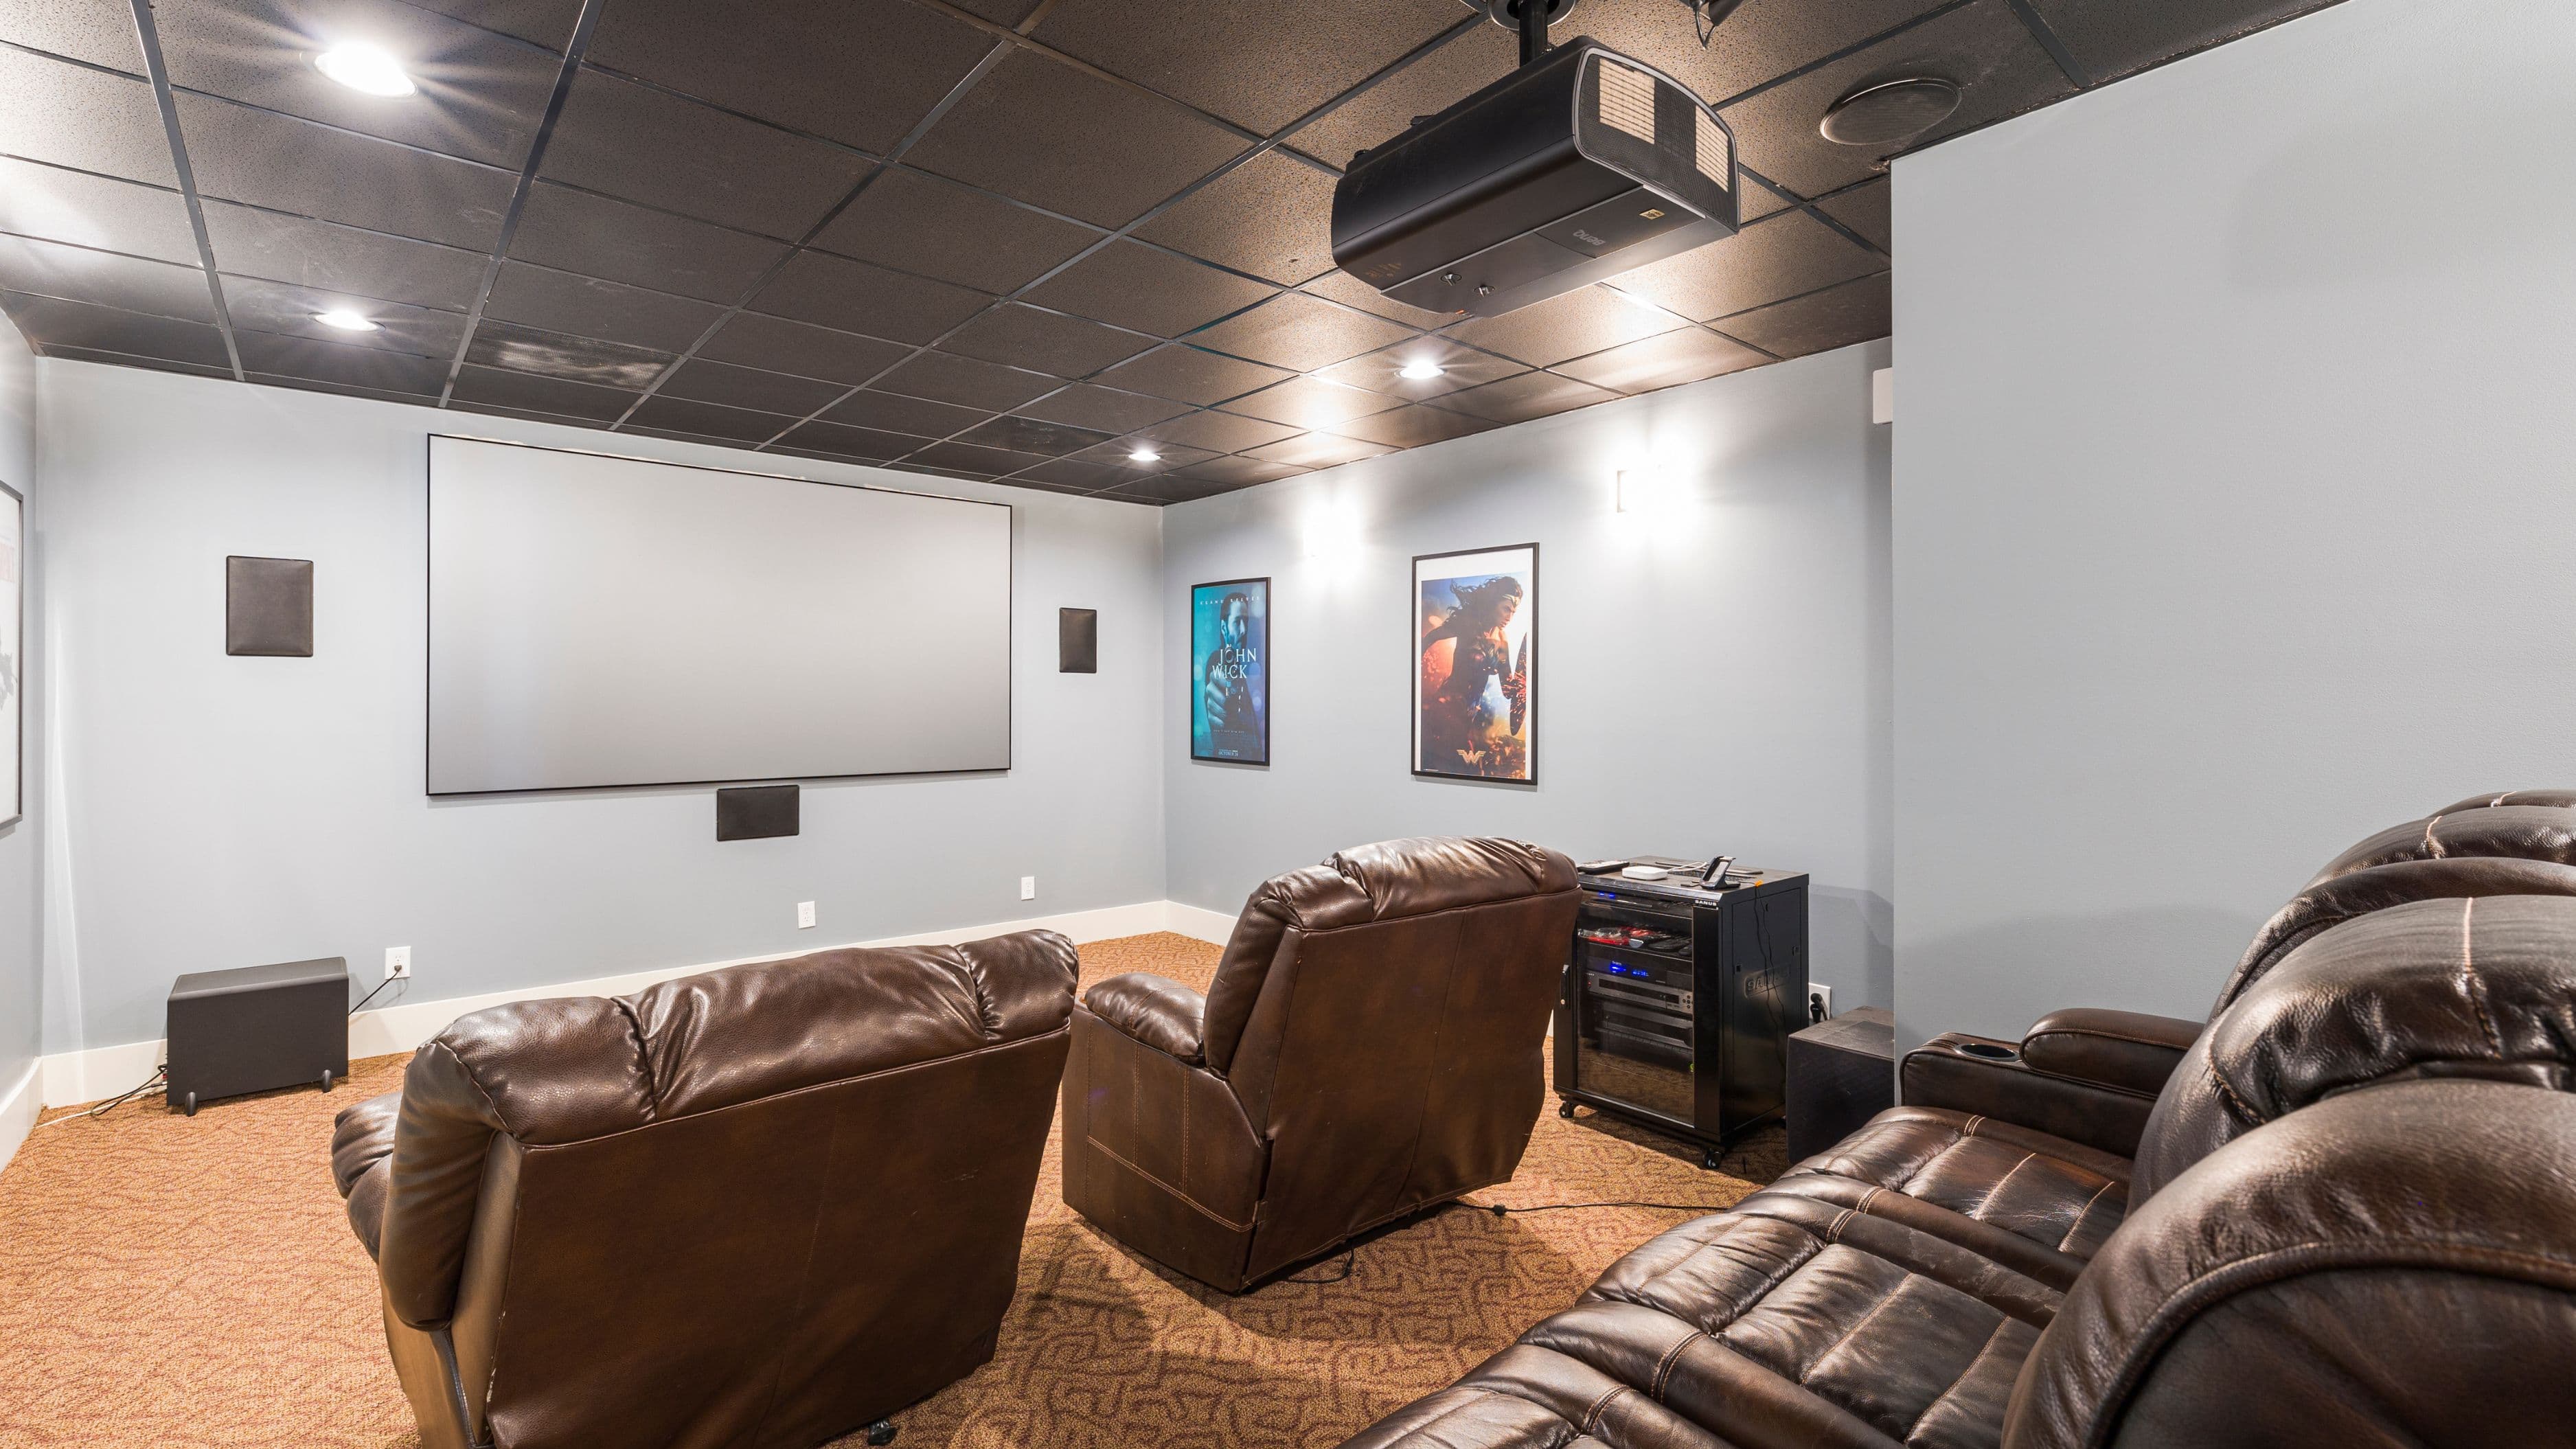
Your room's light situation is the most important factor: More than any spec on the box, the ambient light in your viewing space determines how good a 4K projector looks. In a room with controllable light – blackout curtains, a basement, a dedicated media room – a mid-range projector looks excellent. In a bright living room with afternoon sunlight, even an expensive projector will look washed out unless it has very high brightness (3,500+ lumens) and you use a high-gain screen.
Step 1: Choose the Right Placement
Placement affects image size, focus quality, and brightness – getting it wrong means everything downstream is a compromise.
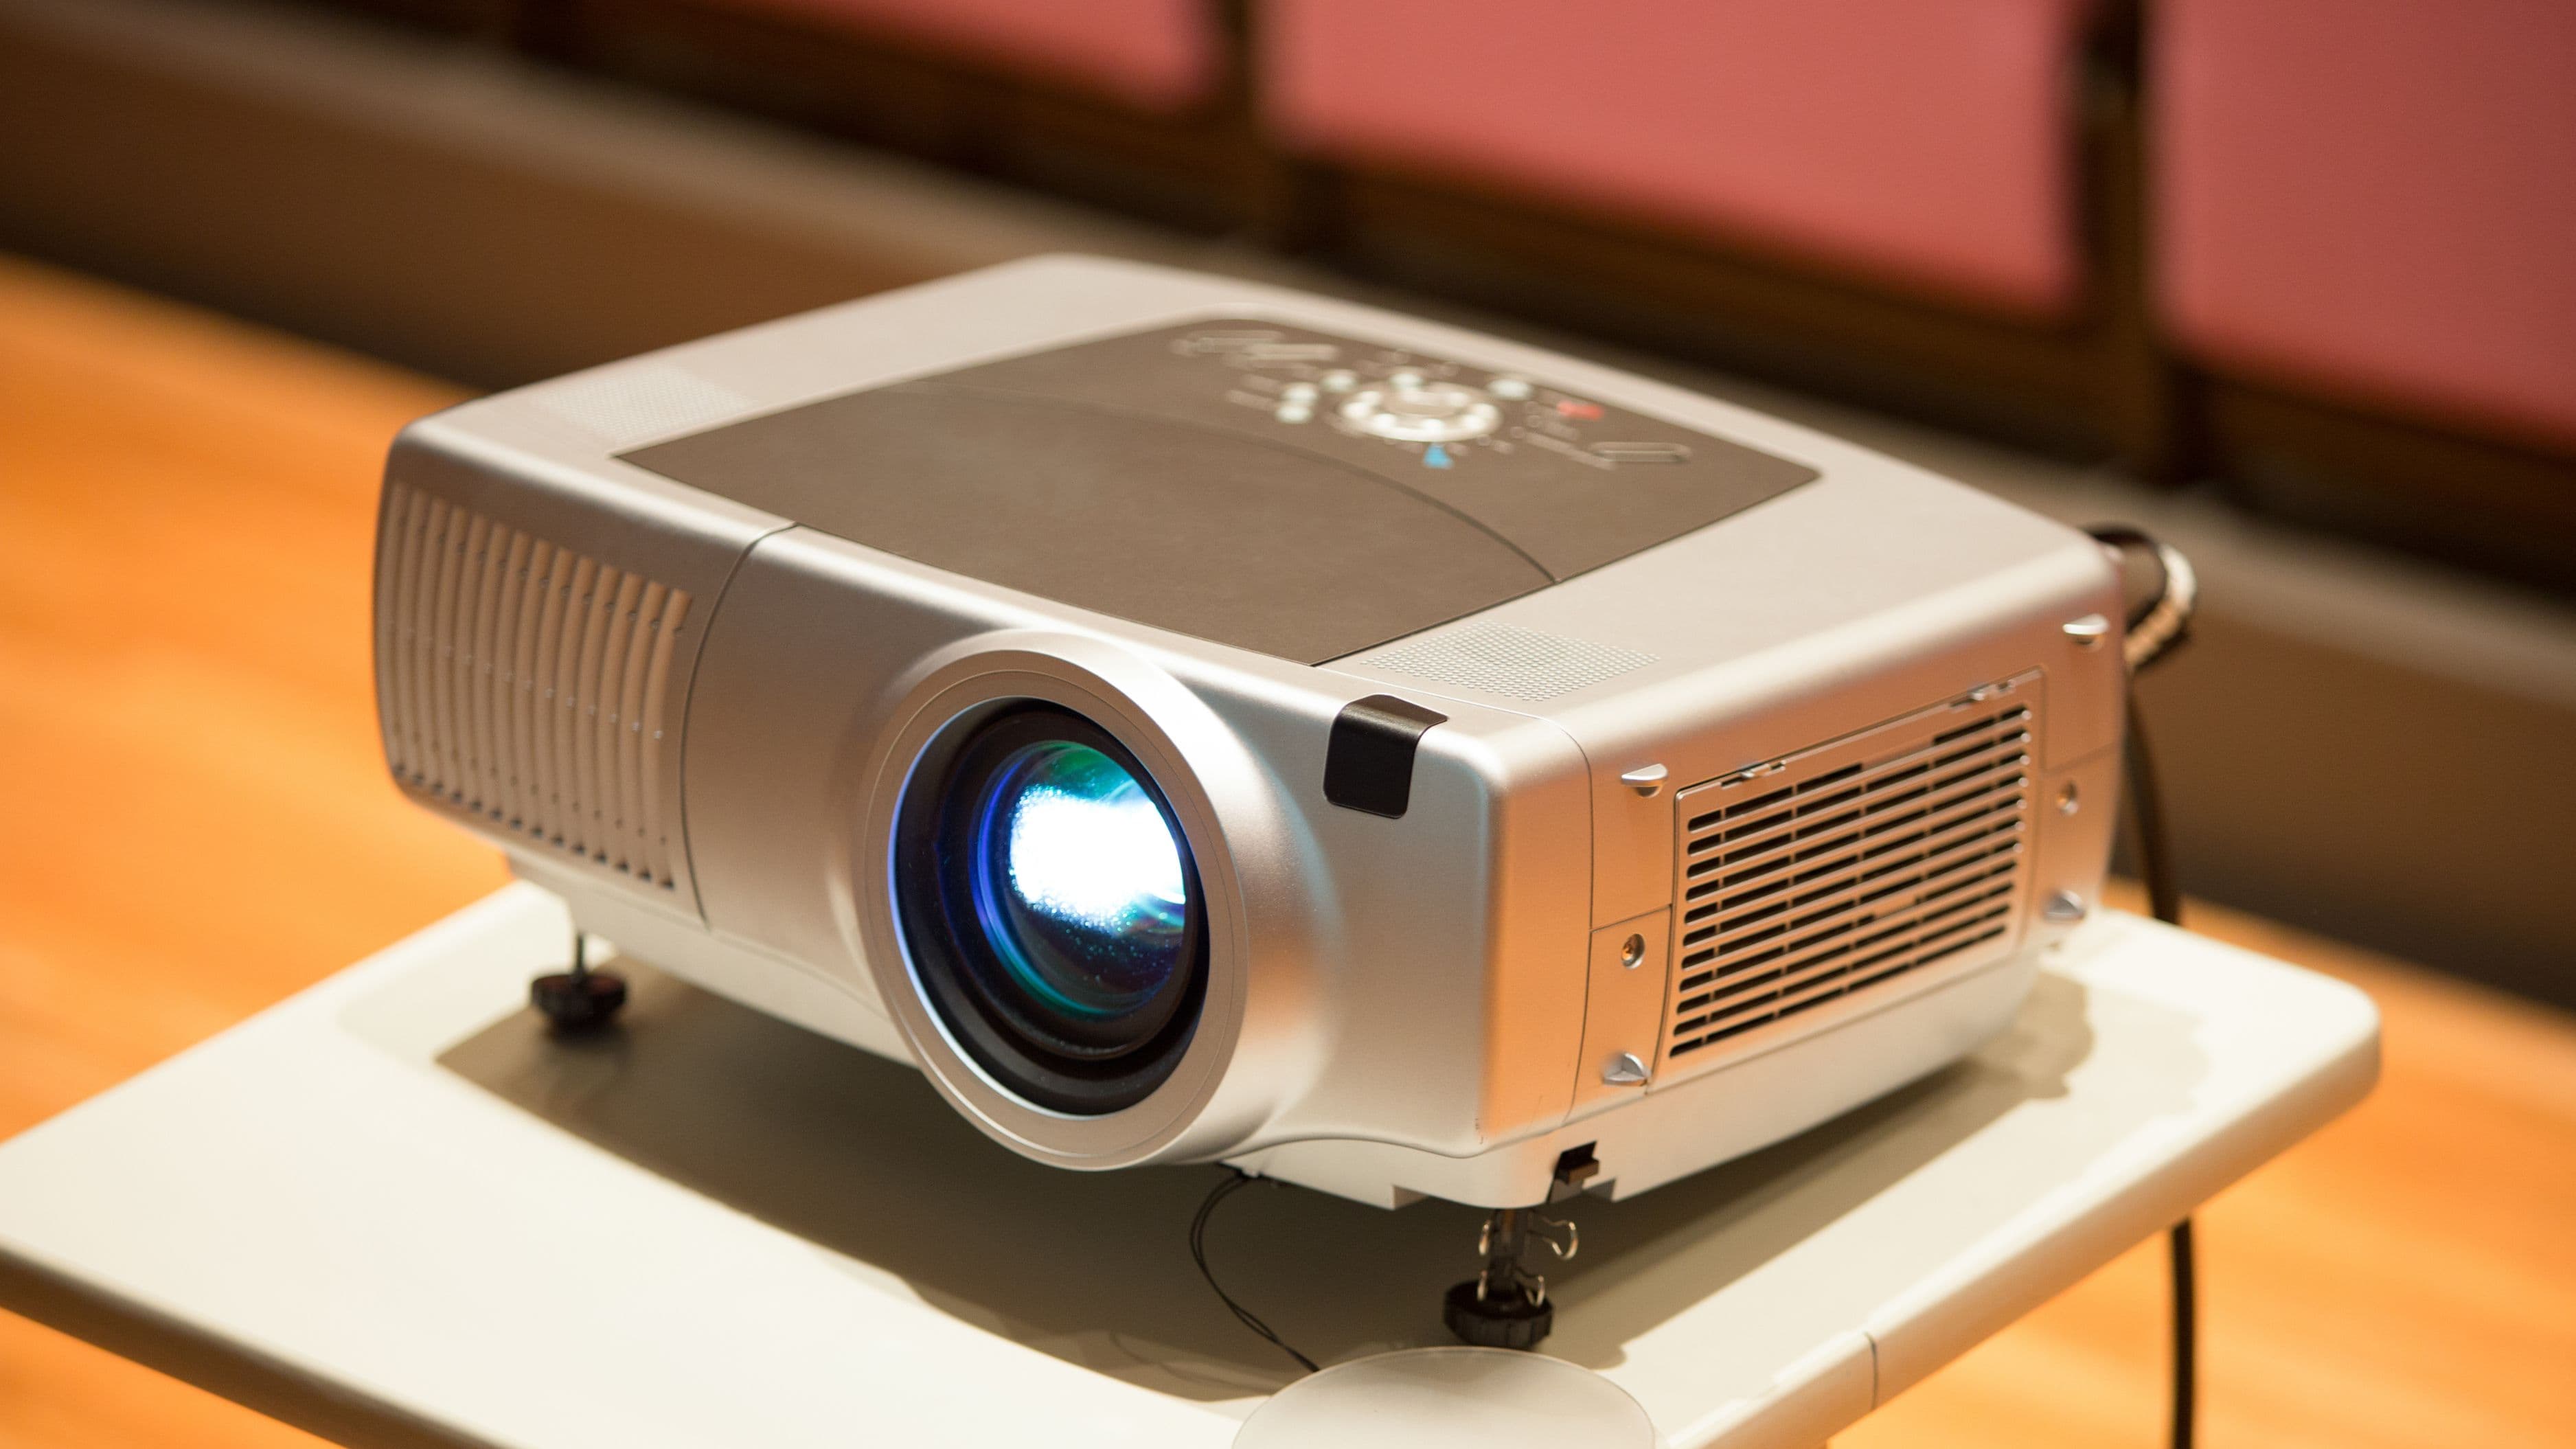
Determine your throw distance. Every projector has a throw ratio – the relationship between the distance from the lens to the screen and the width of the image. A projector with a throw ratio of 1.5:1 needs to be placed 1.5 feet away for every foot of image width. A 10-foot-wide image requires the projector to sit 15 feet away. Most long-throw projectors work in the 8–15 foot range. Short-throw models work from 3–5 feet, and ultra-short-throw models can sit inches from the wall. Check the spec sheet for your specific model's throw ratio before mounting anything.
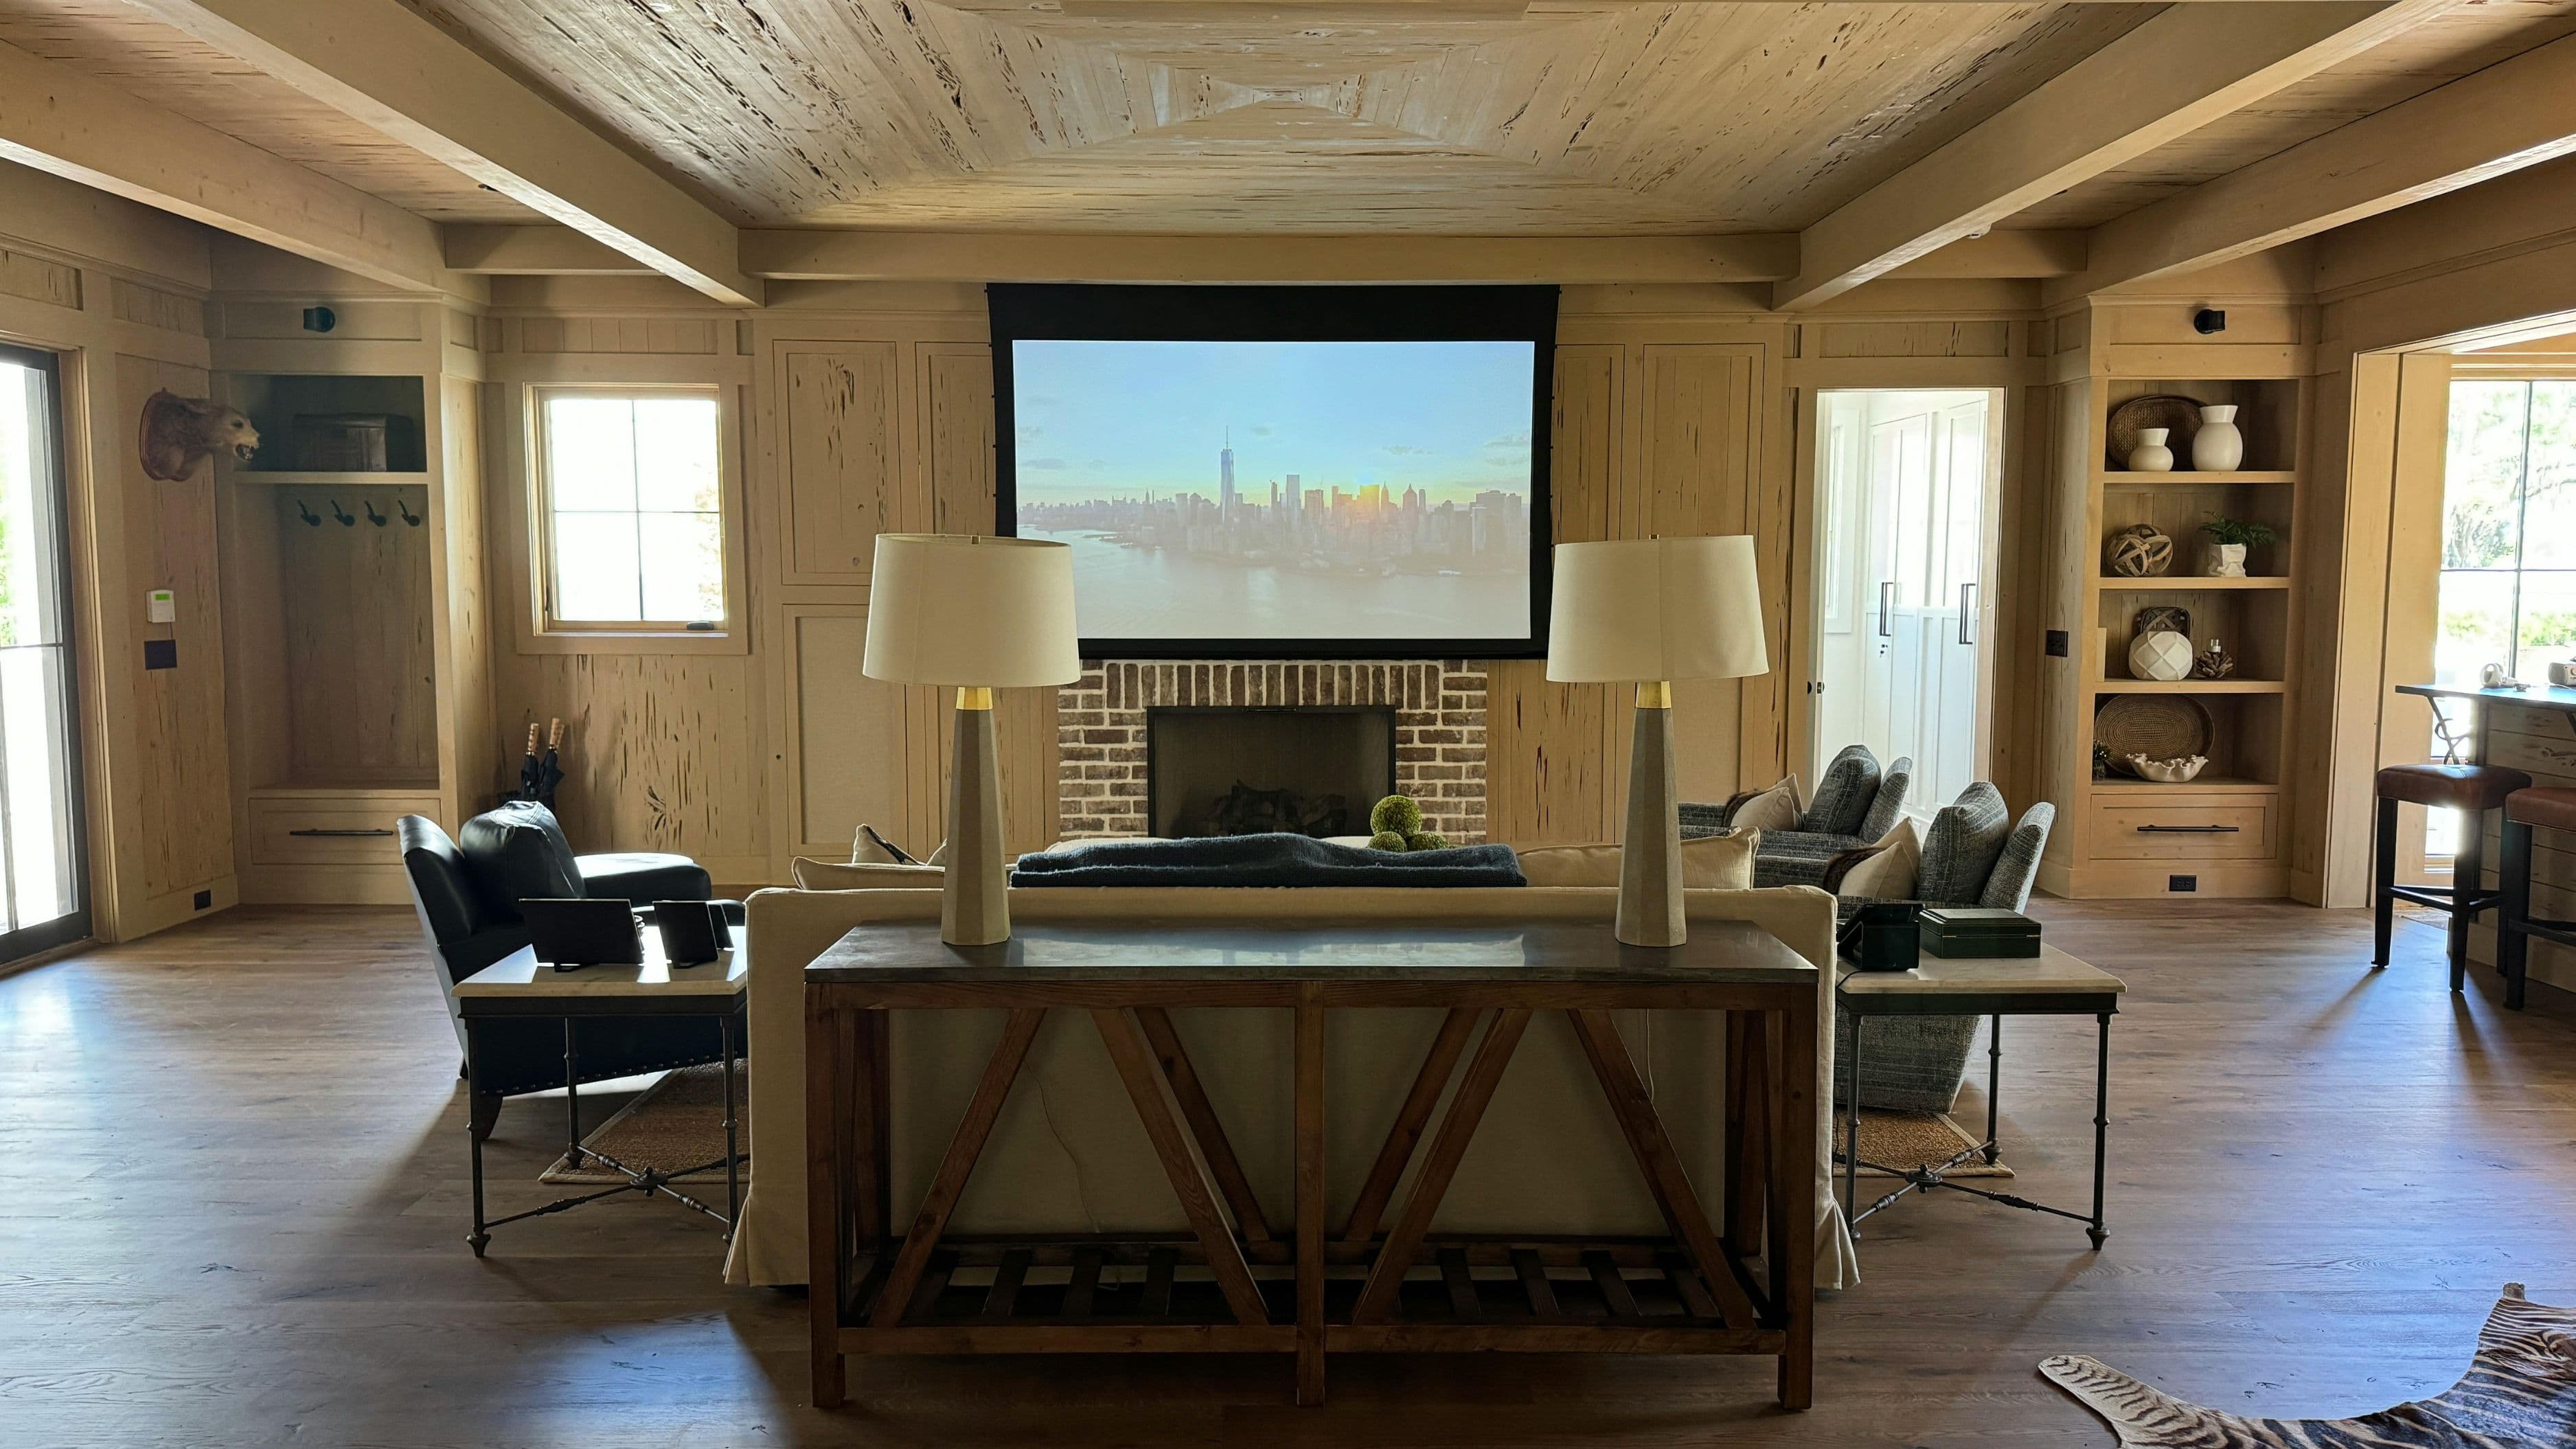
Decide between ceiling mount and shelf/table placement. Ceiling mounting gives you the cleanest setup – the projector is out of the way, cables can be routed through the ceiling, and the lens position is consistent. A ceiling mount bracket costs $30–$80 and most projectors include a standard mounting socket. Table or shelf placement is simpler to set up initially but means a cable running across the floor or along a wall, and more risk of accidental movement that shifts the image.
Centre the projector on the screen axis. The projector lens should be aligned horizontally with the centre of the screen (or your intended projection area). Significant horizontal offset introduces keystone distortion that's difficult to correct without degrading image quality. Most projectors offer lens shift – physical movement of the lens without image degradation – which gives you flexibility on vertical positioning. Use lens shift for vertical adjustments rather than relying on digital keystone correction wherever possible.
Step 2: Set Up the Screen (or Prepare the Wall)
Purpose-built screen vs. painted wall: A grey or white painted wall can produce acceptable results if the surface is smooth and flat, but a proper projection screen provides better gain (brightness reflection), more consistent colour neutrality, and often a defined black border that helps your eyes read the image as a contained picture. For a serious setup, a screen is worth the investment.
Screen gain: Screen gain measures how much light the screen reflects back toward the viewer. A 1.0 gain screen reflects light evenly in all directions – good for wider seating areas. A 1.3–1.5 gain screen reflects more light toward the centre – better for brighter projectors or less-dark rooms, but narrows the optimal viewing angle. For most rooms with reasonable light control, a 1.0–1.1 gain white screen is the most versatile choice.
Screen size and viewing distance: For 4K, the viewing distance guidelines are more forgiving than for 1080p because the higher resolution maintains sharpness at closer distances. A common guideline for 4K is a viewing distance of 1 to 1.5 times the screen diagonal. A 120-inch screen (10 feet wide) works well at 10–15 feet viewing distance. Going larger than your throw distance allows or your room's proportions suit will result in a dimmer, less sharp image regardless of the projector's specs.
Step 3: Connect Your Sources and Audio
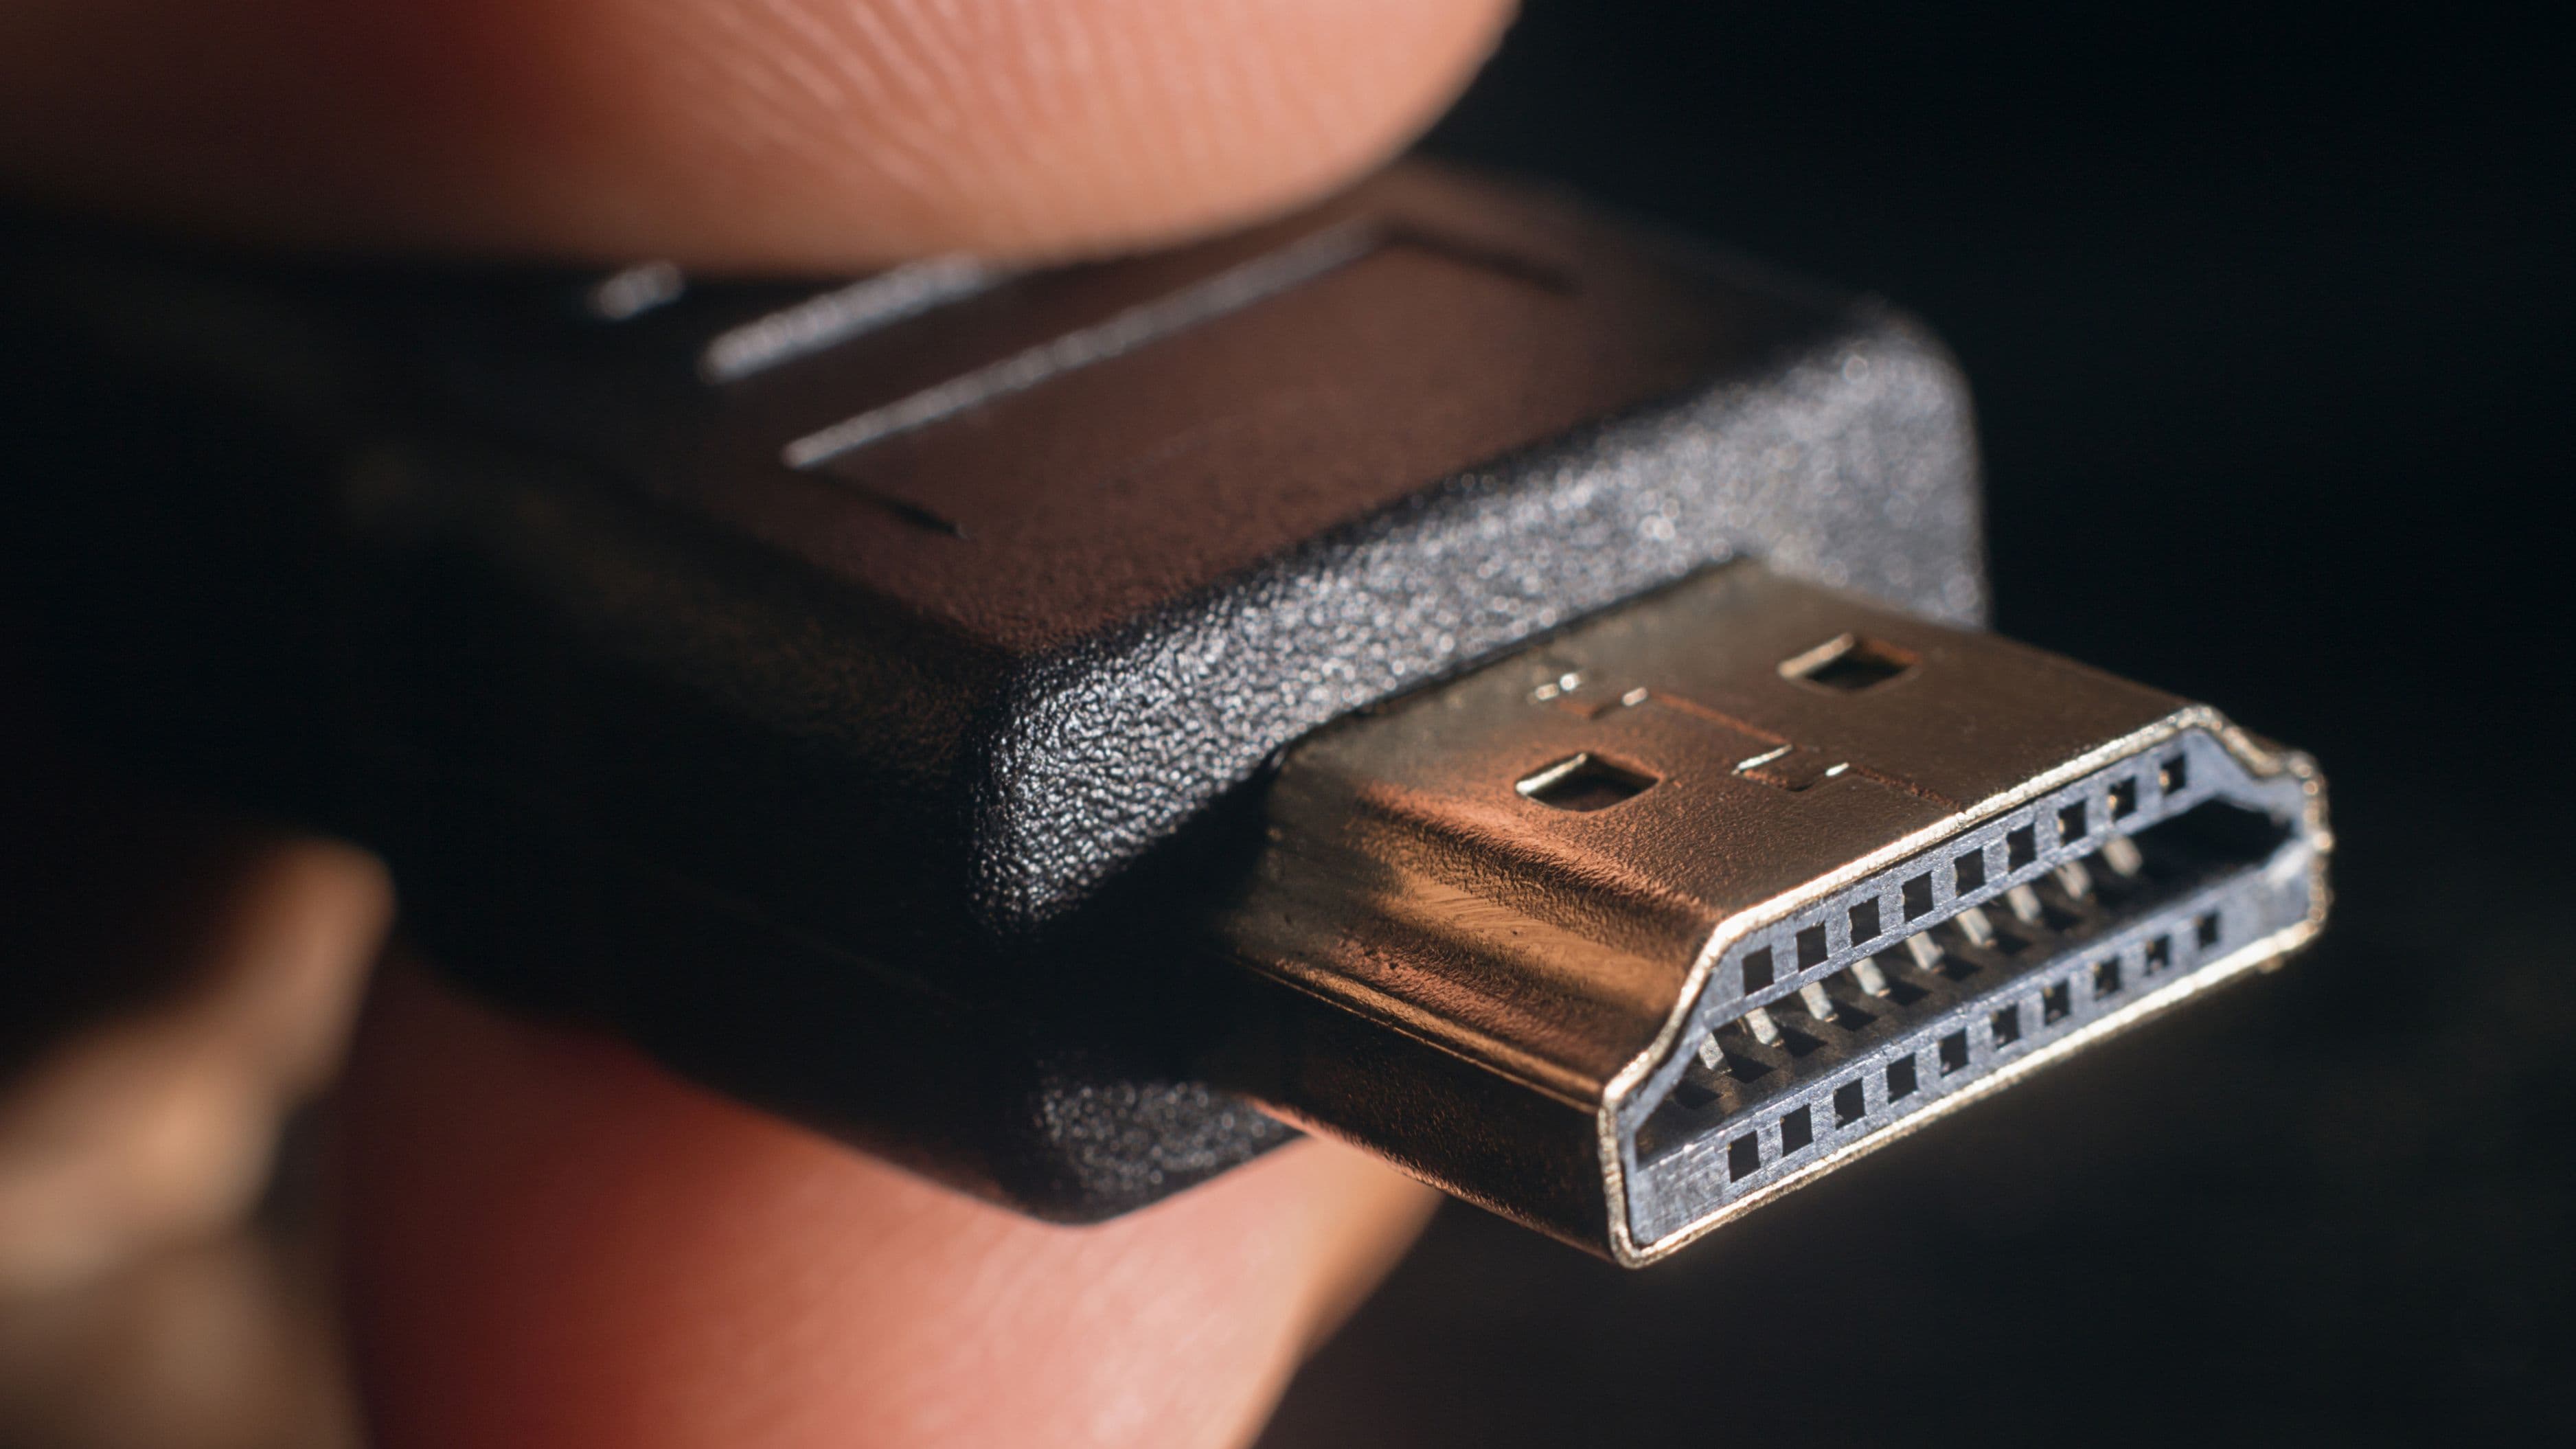
HDMI 2.0 or 2.1 cables: To pass a 4K HDR signal, you need an HDMI 2.0 cable minimum. HDMI 2.1 cables support higher bandwidth needed for 4K at 120Hz or 8K signals. Most 4K projectors only have HDMI 2.0 inputs, which is fine for 4K at 60Hz (the standard for most streaming content). Check your projector's HDMI spec before spending money on HDMI 2.1 cables – you won't benefit from the extra bandwidth if the projector doesn't support it.
Streaming source: Your streaming device is the component that determines whether you actually receive 4K HDR content. A standard Chromecast or older Fire Stick won't deliver 4K. For 4K streaming you need a device like a Fire Stick 4K, Apple TV 4K, Chromecast with Google TV (4K version), Roku Streaming Stick 4K, or a gaming console (PlayStation 5, Xbox Series X) with streaming apps. Connect your streaming device directly to an HDMI input on the projector, or via an AV receiver if you're routing audio through a separate system.
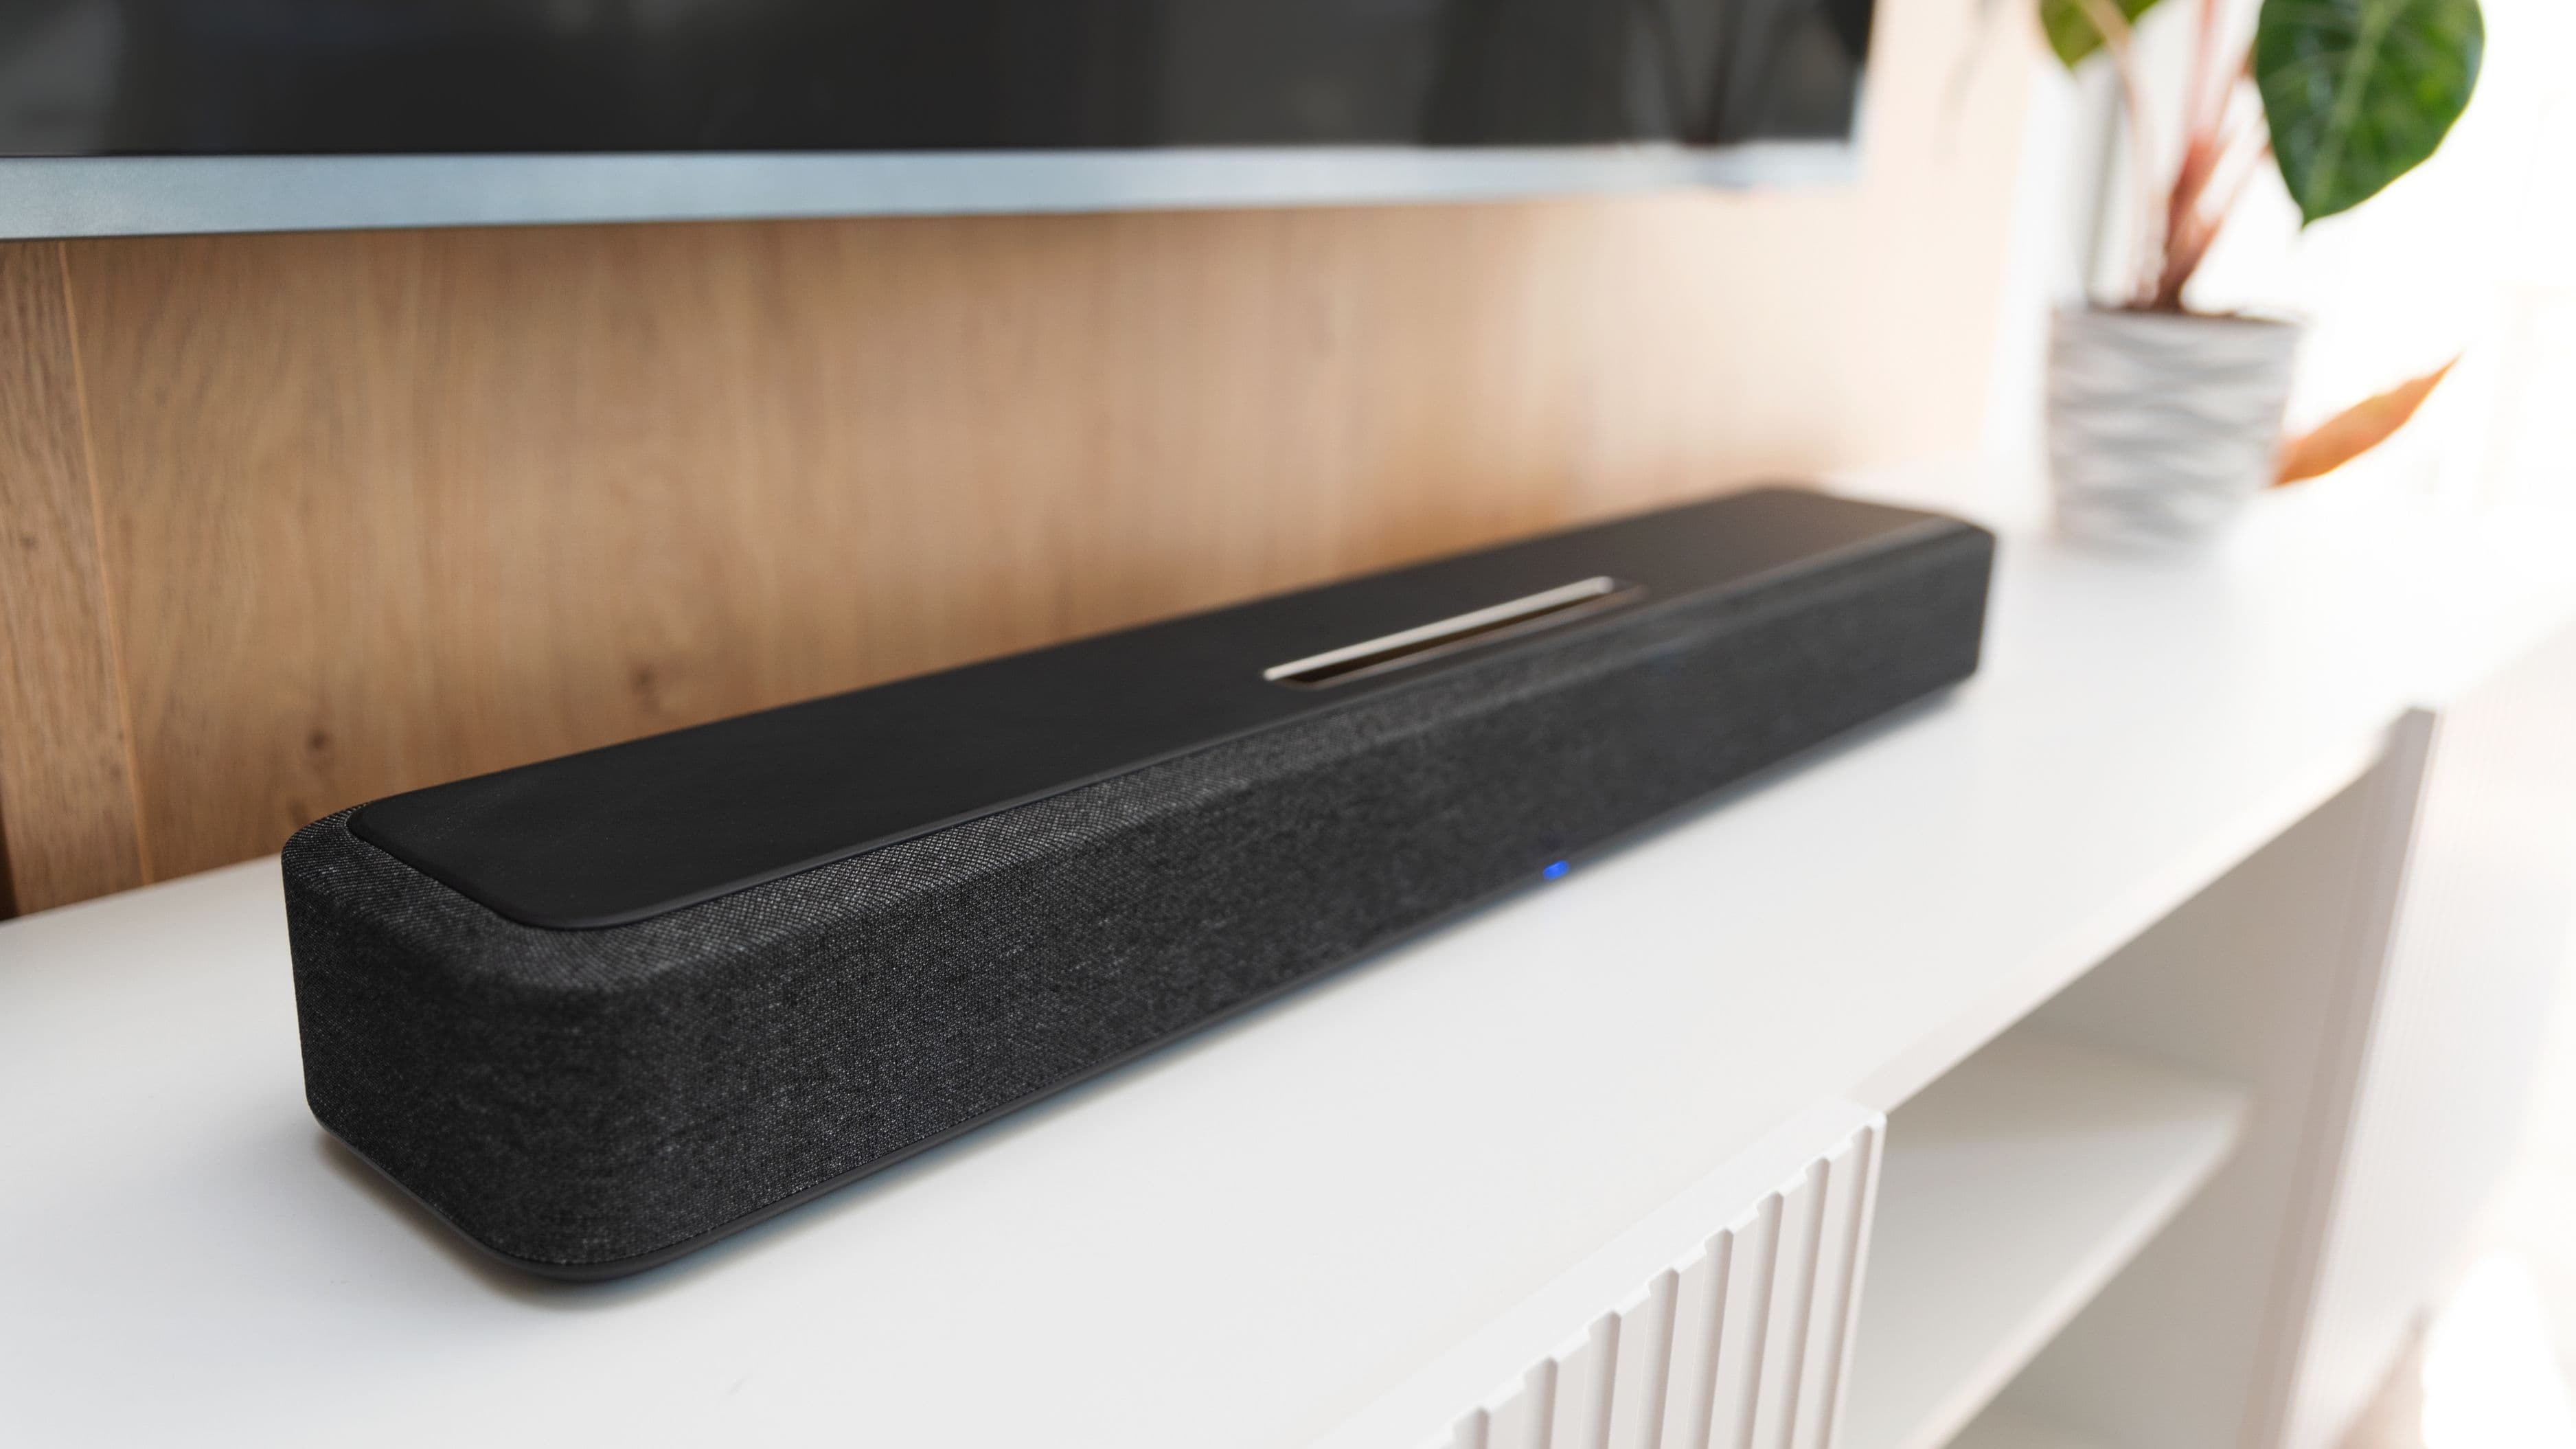
Audio: don't rely on the projector's built-in speakers. Built-in projector speakers are functional for basic use but inadequate for a genuine home cinema experience. Route audio through a separate system: a soundbar with HDMI ARC, a dedicated AV receiver with a speaker system, or even a quality Bluetooth speaker for a simpler setup. If your projector is ceiling-mounted, route an HDMI cable from your streaming device to an AV receiver first (using HDMI ARC), then from the receiver to the projector via a second HDMI cable. This keeps audio managed by the receiver without complex audio extraction.
Step 4: Calibrate the Image
Out of the box, most projectors are calibrated to look bright and vivid in a showroom, not accurate in a dark home viewing environment. A few adjustments make a significant difference.
Start with picture mode. Select "Movie," "Cinema," or "Film" mode rather than "Vivid," "Dynamic," or "Sports." Vivid modes are tuned for maximum brightness at the cost of colour accuracy and shadow detail – fine for a shop floor, wrong for a dark room. Cinema or Movie modes are closer to calibrated performance and are where you should start.
Adjust brightness (black level). The brightness control in most projectors actually adjusts the black level rather than overall output. Set it so that dark scenes have visible shadow detail without looking grey or washed out. A simple test: play a scene with a dark room in it and make sure you can see objects in the shadows without the black background looking milky.
Adjust contrast (white level). This sets the peak brightness. Play a scene with bright highlights – a sunny outdoor scene, a white wall in daylight – and reduce contrast until bright areas have visible detail without looking blown out.
Colour temperature: For accurate colours in a dark room, a colour temperature of 6500K (often labeled "Warm" or "D65") is the standard reference target. Cooler settings (bluer) make whites look artificially bright; warmer settings are easier on the eyes over long viewing sessions.
Sharpness: Counter-intuitively, reducing sharpness from its default often looks better. Projectors apply artificial edge enhancement that can make images look over-processed. Try dropping sharpness to 0 or a low setting and see if the picture looks more natural.
Step 5: Enable HDR and Confirm 4K Is Reaching the Screen
Check your streaming service's settings. Netflix, Disney+, Apple TV+, and other major services require you to set video quality in their app settings to stream at 4K. In Netflix, go to Account > Playback Settings and set to "High" (or "Ultra HD" if available on your plan). In Disney+, go to your profile settings and ensure video quality is set to the highest available option. On a slow internet connection, services will automatically drop to a lower resolution – a stable wired connection or strong 5GHz Wi-Fi is needed to maintain 4K streaming consistently.
Confirm HDR is active. Most 4K projectors support HDR10, and some support Dolby Vision. When HDR content is playing correctly, most streaming devices display an HDR indicator. On your projector, ensure HDR is enabled in the picture settings. Note that many projectors handle HDR differently from TVs – their lower peak brightness means HDR tonemapping looks different than on a high-brightness TV. If HDR content looks darker than expected, check the projector's HDR settings and try adjusting the HDR tone-mapping if that option is available.
Common Mistakes to Avoid
Using digital keystone correction instead of physically repositioning the projector. Digital keystone correction fixes a trapezoid-shaped image by processing it digitally, but this reduces effective resolution and introduces slight softness. If your image is trapezoidal, move the projector rather than applying digital correction. A small physical adjustment makes a bigger visual difference than you'd expect.
Projecting onto a textured or painted wall without testing first. A smooth, flat white or grey surface is necessary for a good projected image. Textured walls – eggshell paint, orange peel, exposed brick – create visible texture in the projected image that's distracting at larger sizes.
Not giving the room light control enough attention. Even a small amount of ambient light – a gap under a door, light from a TV status LED, a window with thin curtains – visibly reduces perceived contrast in a projected image. Dark rooms make projectors look dramatically better than bright or moderately lit ones.
Expecting 4K projector image quality to match a 4K TV. Projectors operate at a fraction of a TV's peak brightness. HDR on a projector looks different from HDR on a 1,000-nit TV. The trade-off is pure image size – a 120-inch projector image has no TV equivalent at any price. Understanding this trade-off helps set the right expectations.
FAQ
Do I need a 4K streaming plan to watch 4K on a projector? Yes. Netflix 4K requires the Premium plan. Disney+ and Apple TV+ include 4K in their standard subscriptions. Amazon Prime Video includes some 4K content at no extra cost but has HDR tiers. Without a plan that includes 4K, your content will max out at 1080p regardless of your projector's resolution.
Can I use a 4K projector for gaming? Yes, but check input lag specifications carefully. For movies and TV, input lag doesn't matter. For gaming, you want input lag under 25ms – ideally under 16ms for competitive play. Many projectors have a dedicated "Game Mode" that reduces processing and input lag. Check the specific model's spec sheet for its game mode input lag before buying if gaming is a priority use case.
Is a 4K projector noticeably better than 1080p? At screen sizes of 100 inches and above, viewed from a reasonable distance, 4K is noticeably sharper than 1080p. At smaller screen sizes or longer viewing distances, the difference becomes less apparent. For a large-screen home cinema setup, 4K is worth it at current price points.
How long does a lamp-based projector's bulb last? Most lamp projectors list a bulb life of 3,000–5,000 hours in normal mode and up to 10,000 hours in eco mode (reduced brightness). At 3 hours of viewing per day, a 5,000-hour bulb lasts approximately four and a half years. Replacement bulbs cost $100–$300 depending on the model.
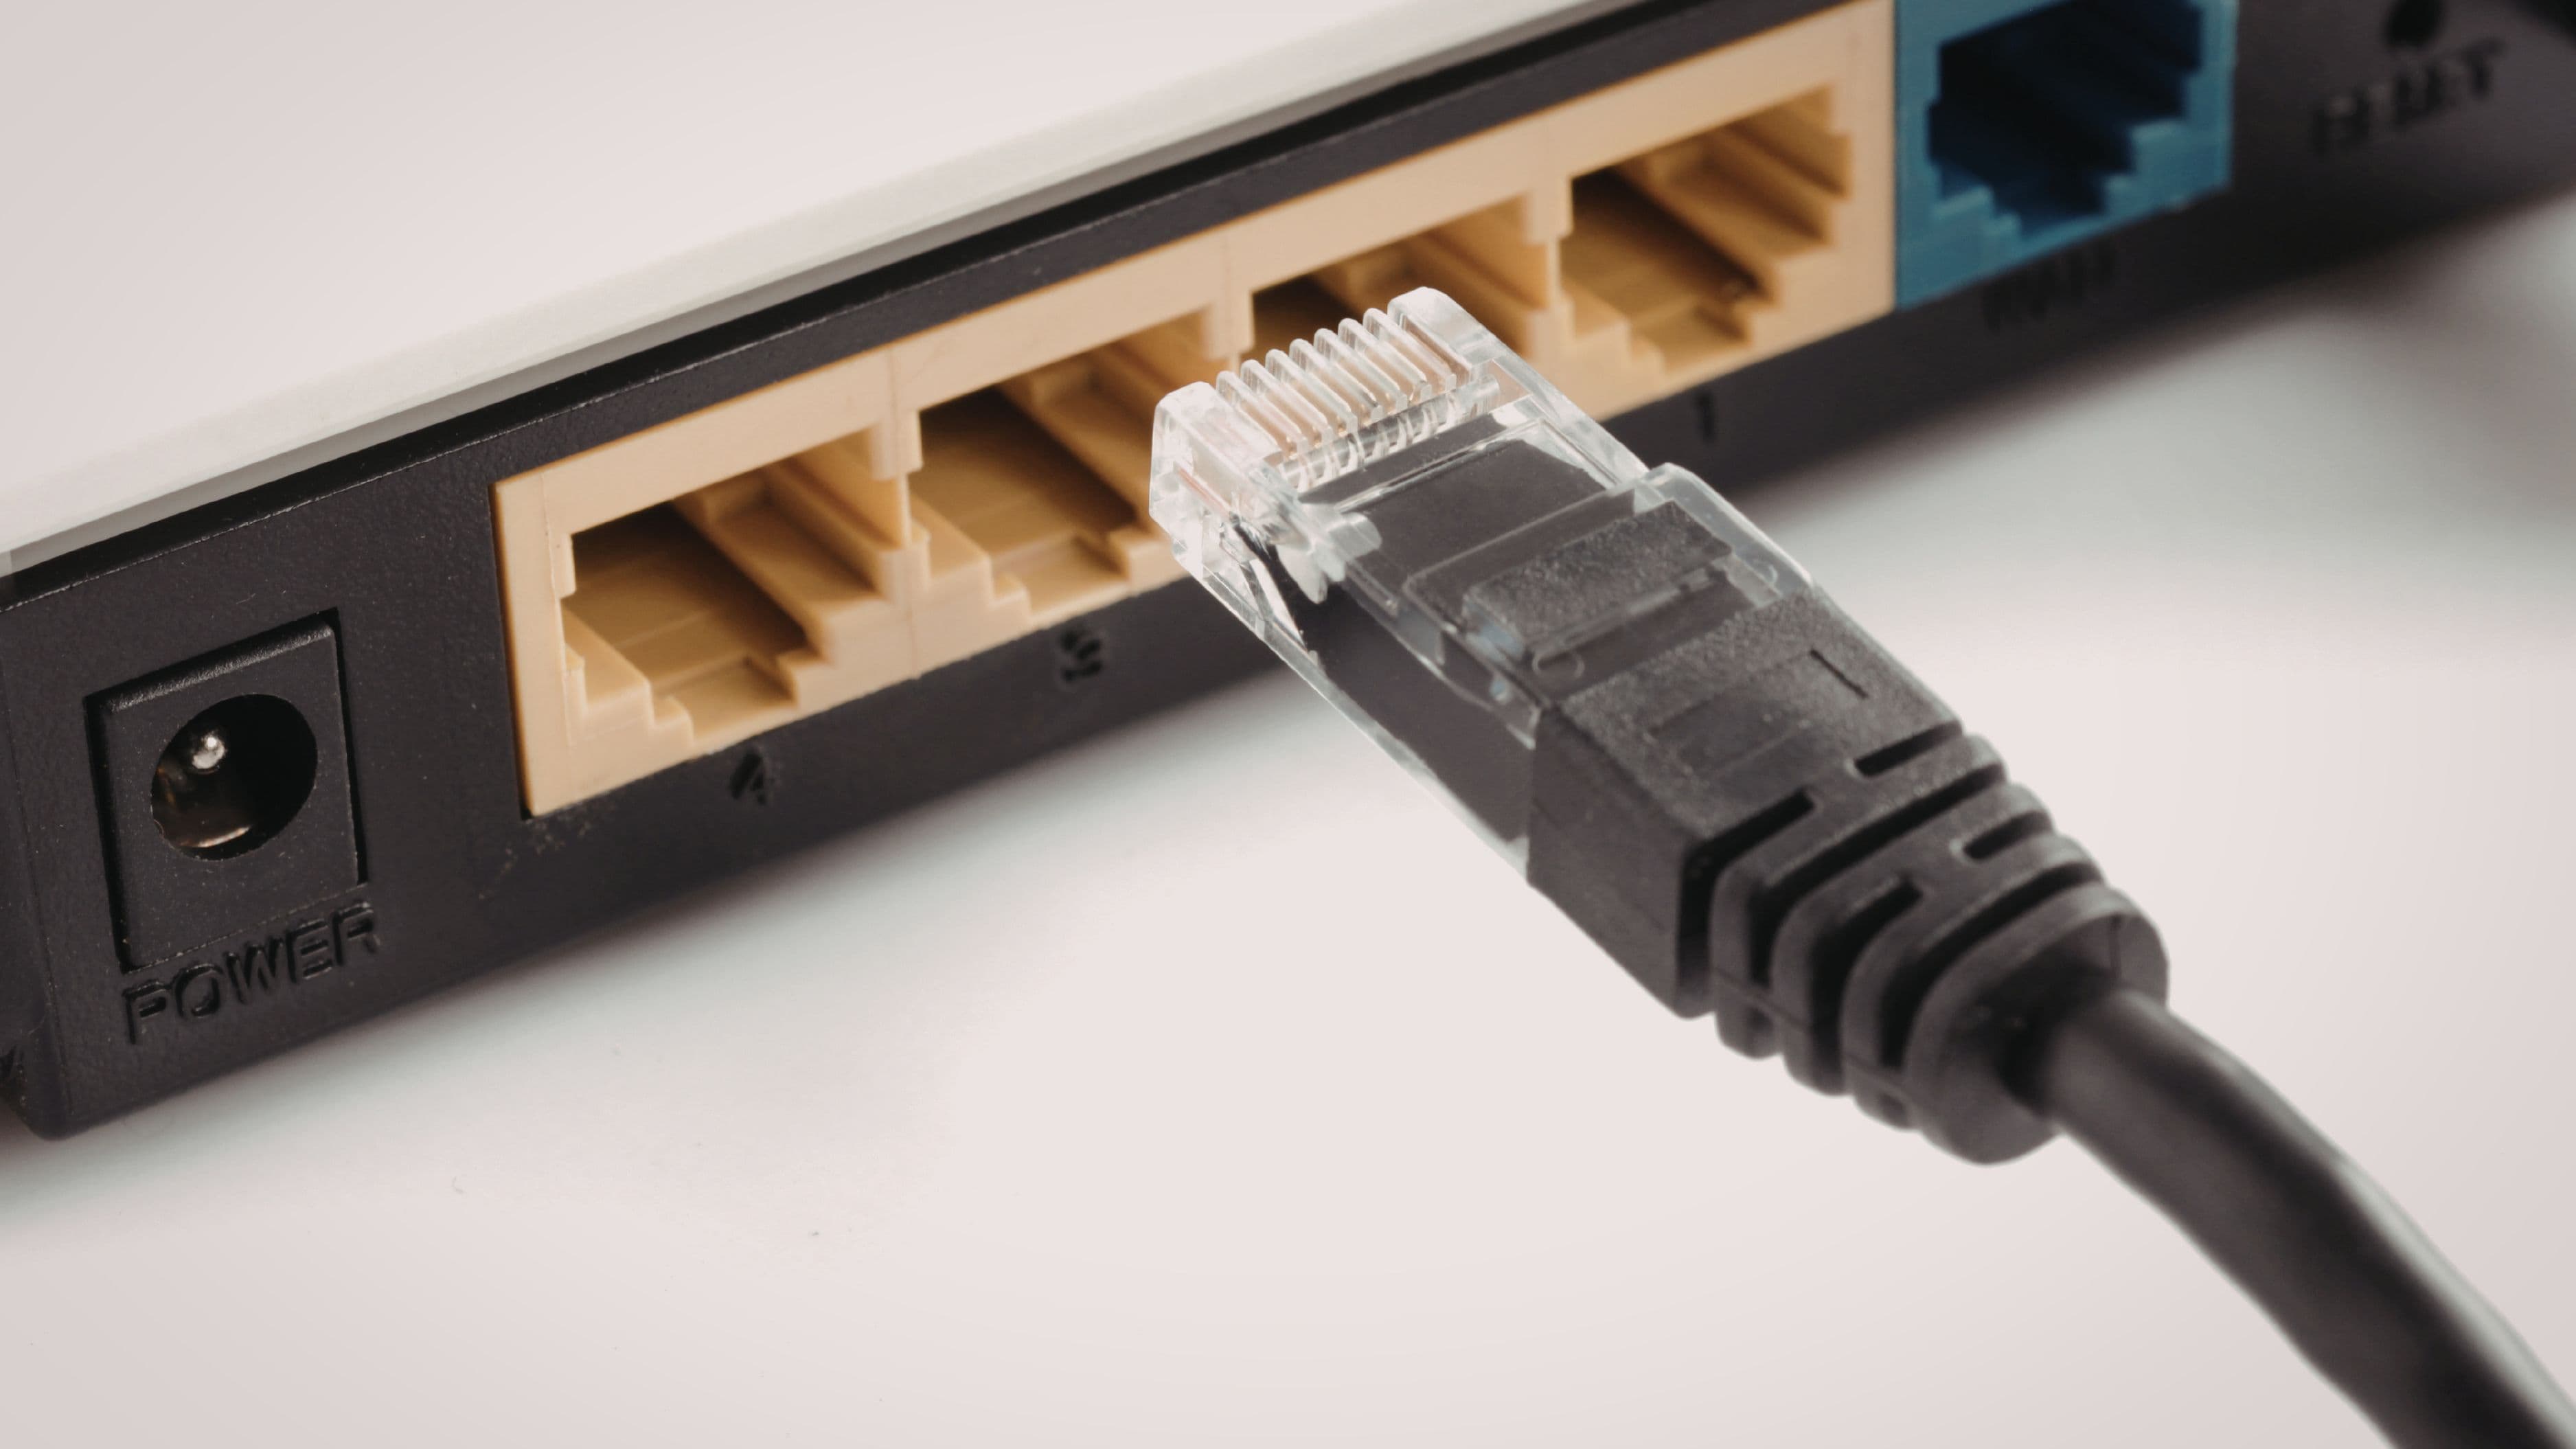
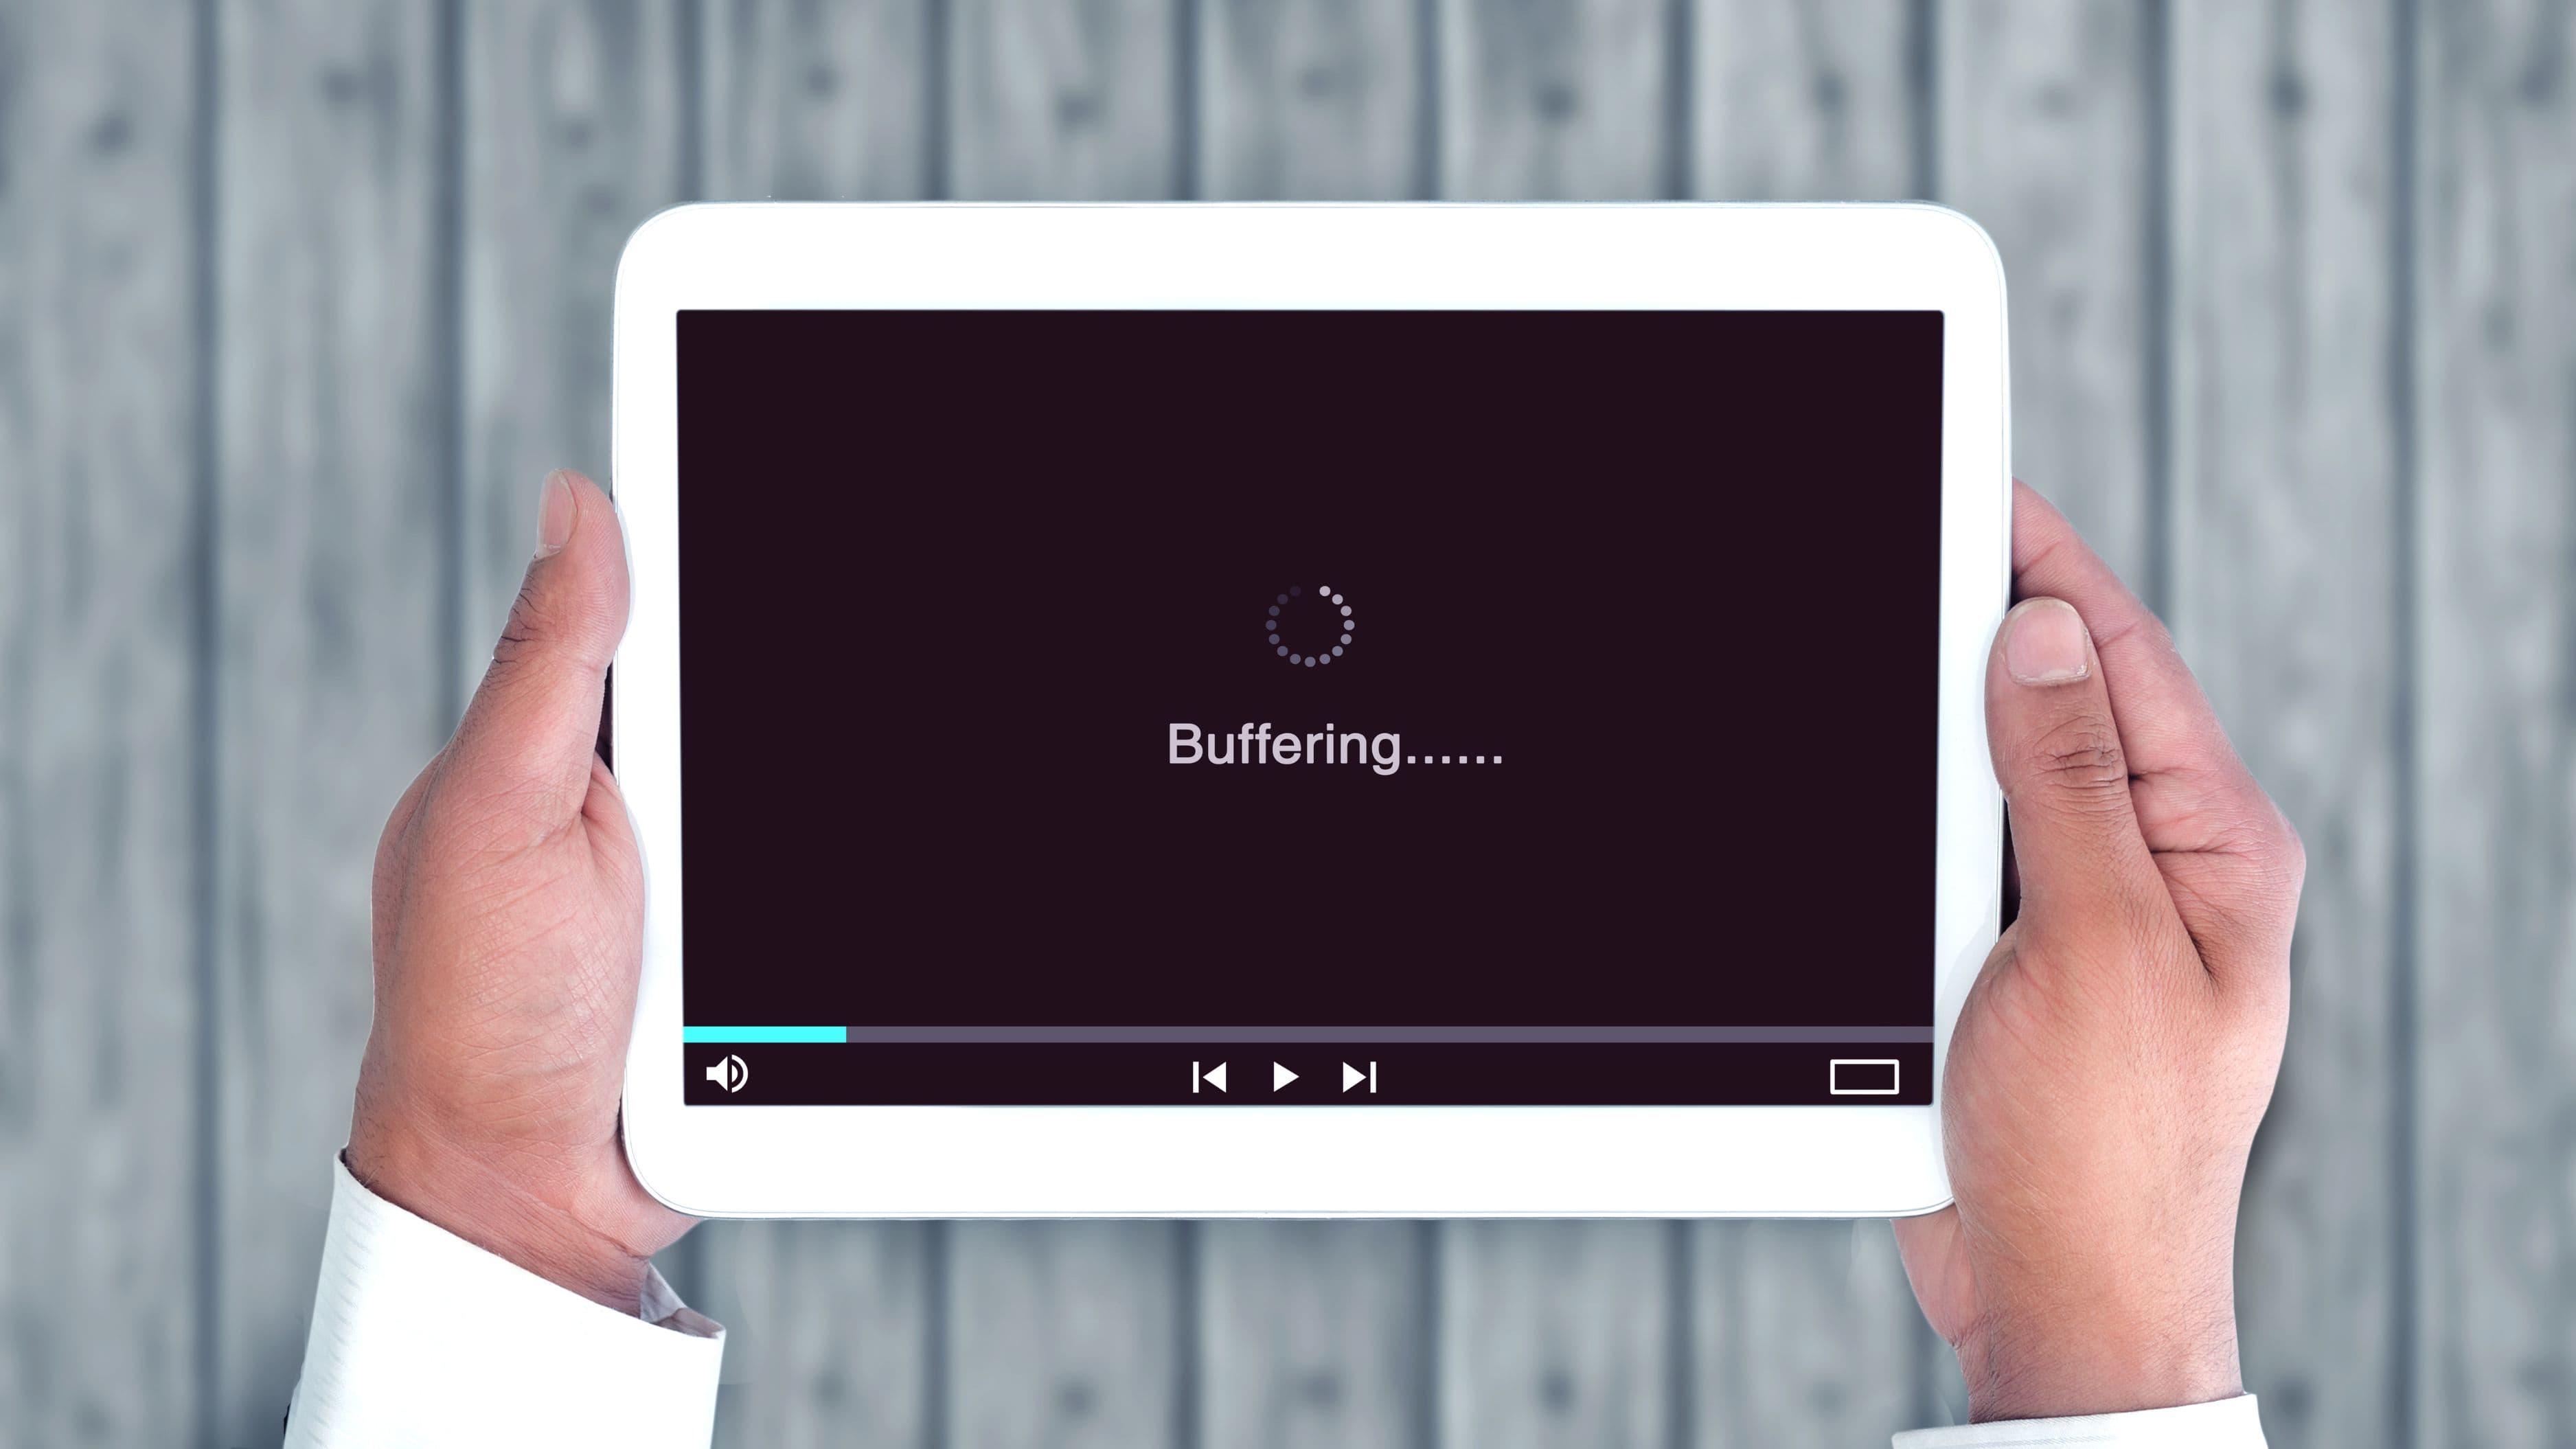
What internet speed do I need for 4K streaming? Netflix recommends a minimum of 15Mbps for 4K Ultra HD streaming. Disney+ recommends 25Mbps. In practice, a stable connection of 25–50Mbps handles 4K streaming comfortably. Unstable connections cause more problems than slow ones – if your Wi-Fi signal drops periodically, a wired Ethernet connection to your streaming device eliminates buffering.
📚 Sources
CNET – Best 4K projectors reviewed: https://www.cnet.com/tech/home-entertainment/best-4k-projector/
Rtings.com – Projector calibration and settings guide: https://www.rtings.com/projector/learn/how-to-calibrate-a-projector
Netflix Help Center – Video quality settings: https://help.netflix.com/en/node/87
Wirecutter / NYT – Best projectors for home theater: https://www.nytimes.com/wirecutter/reviews/best-projector/
Sound On Sound – Setting up a home cinema projector: https://www.soundonsound.com/techniques/setting-home-cinema-projector
Disney+ Help – Video and audio quality: https://help.disneyplus.com/article/disneyplus-video-audio-quality